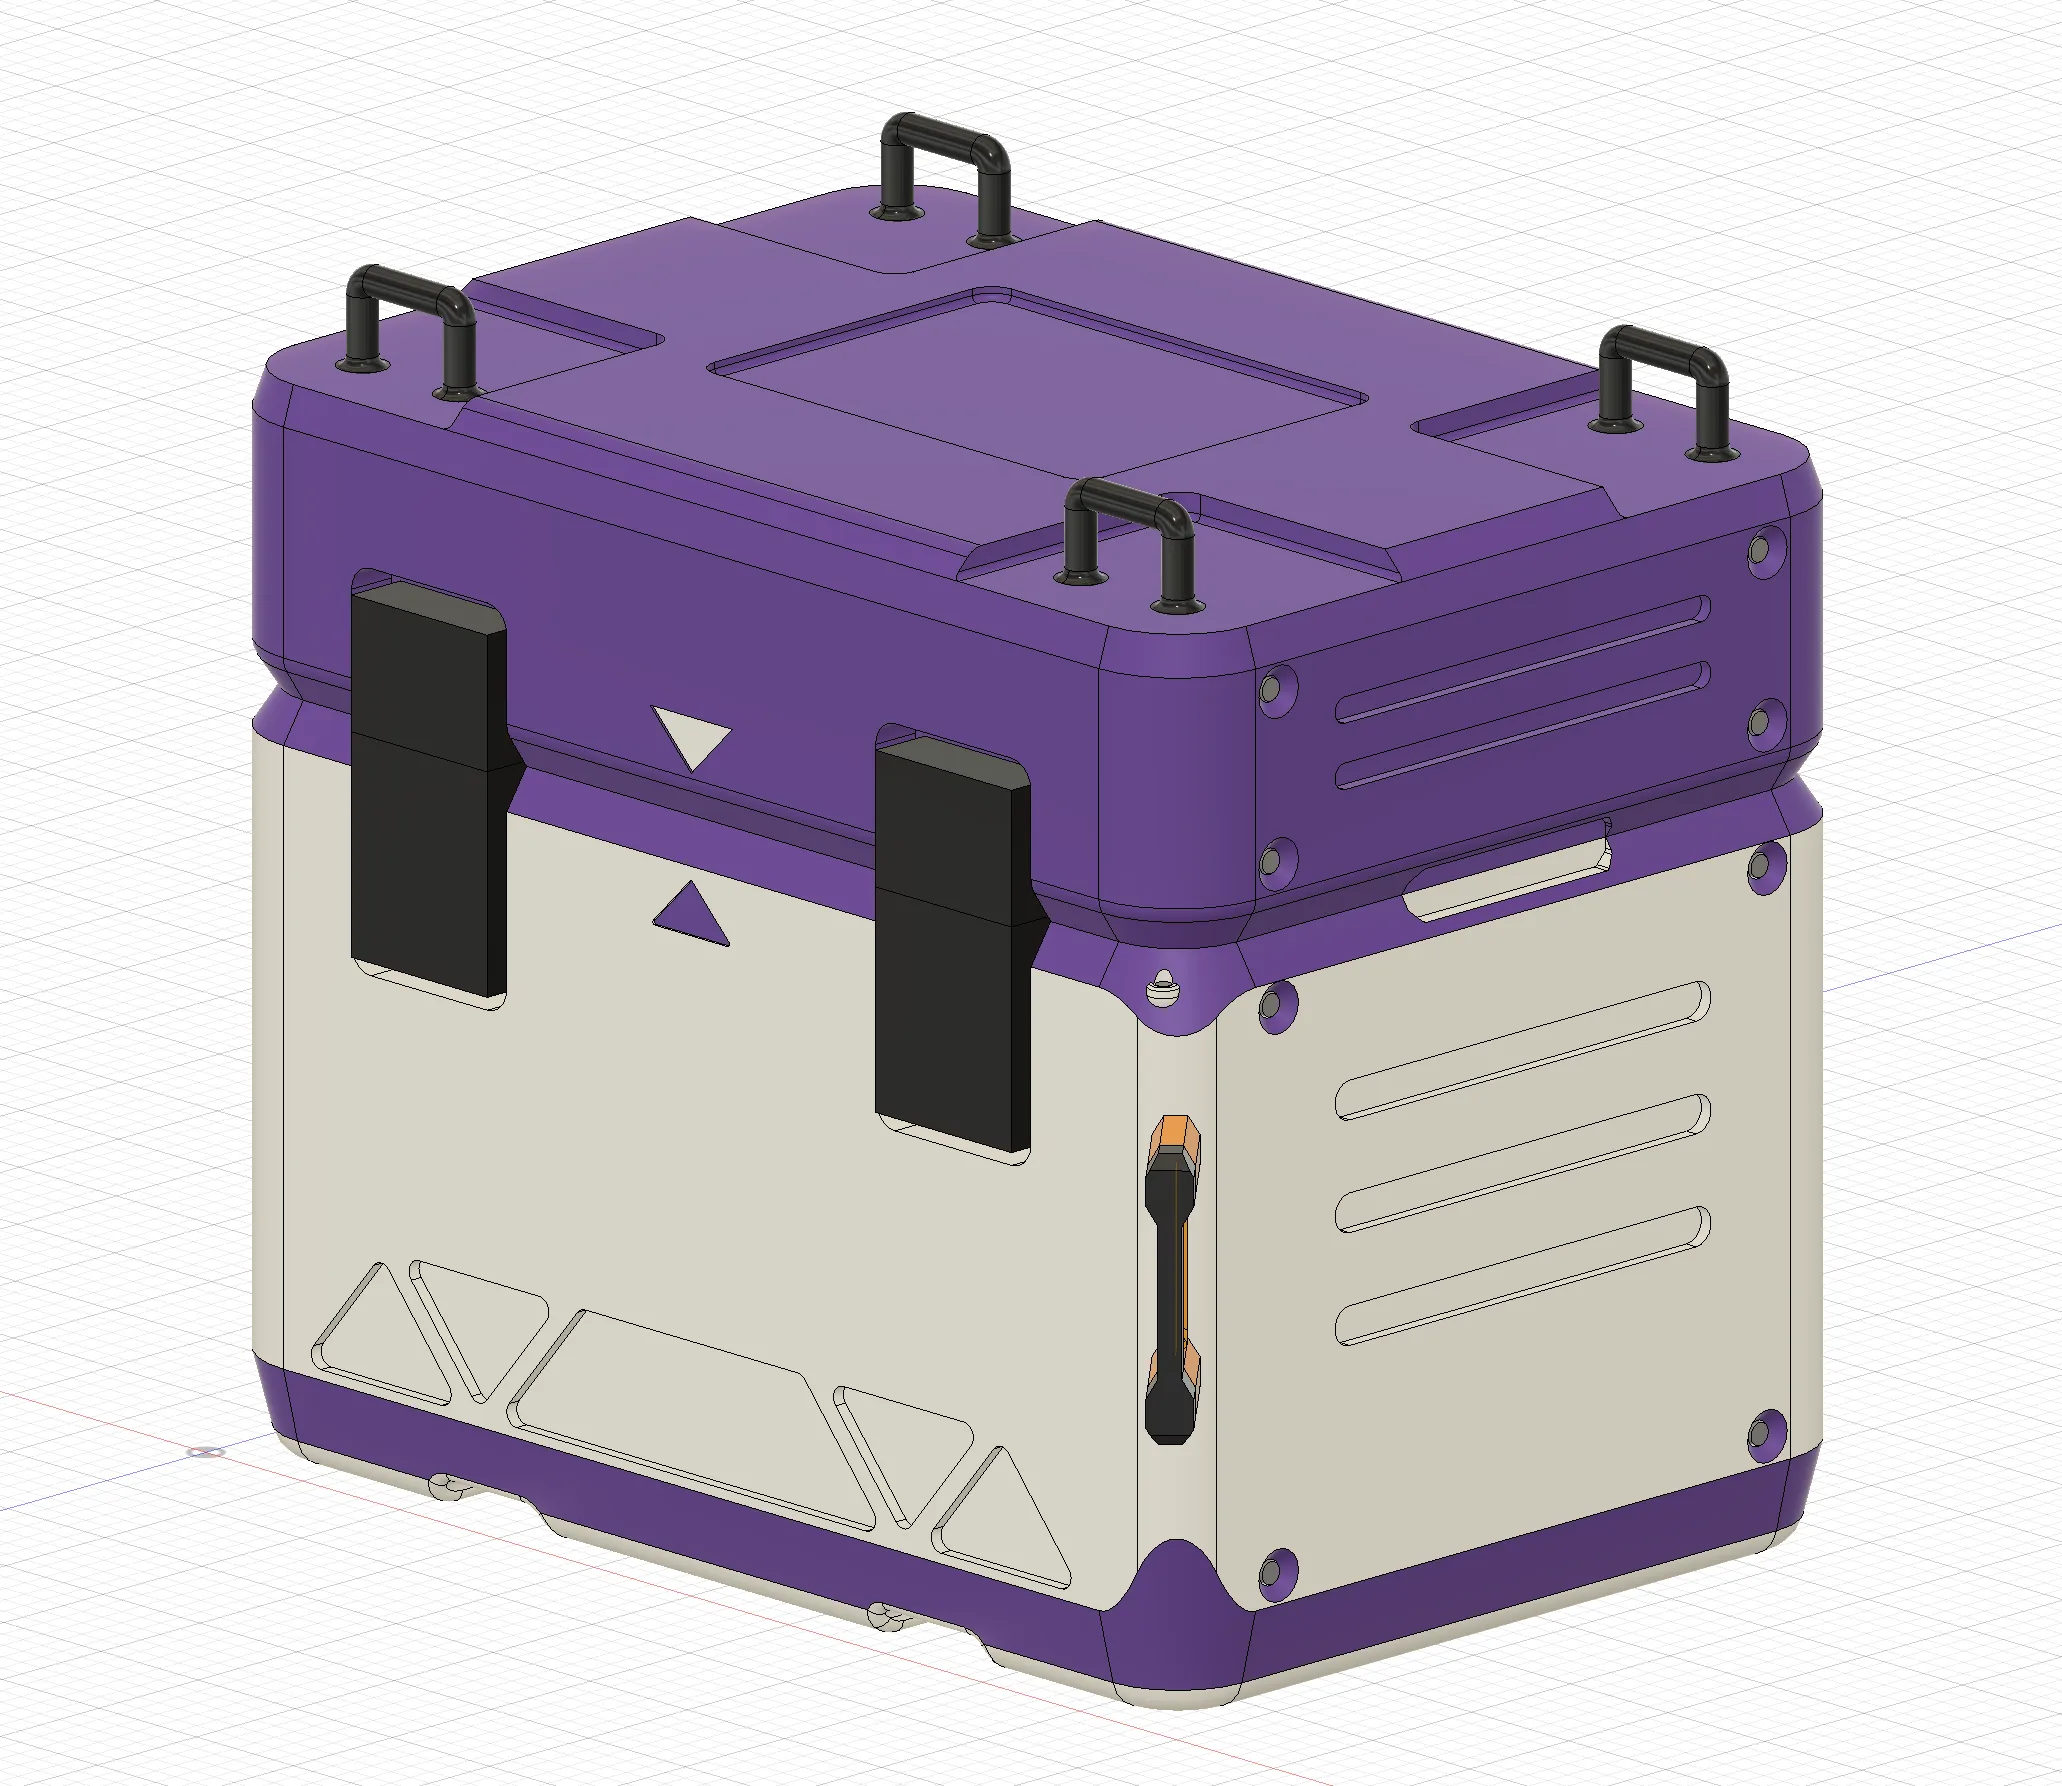
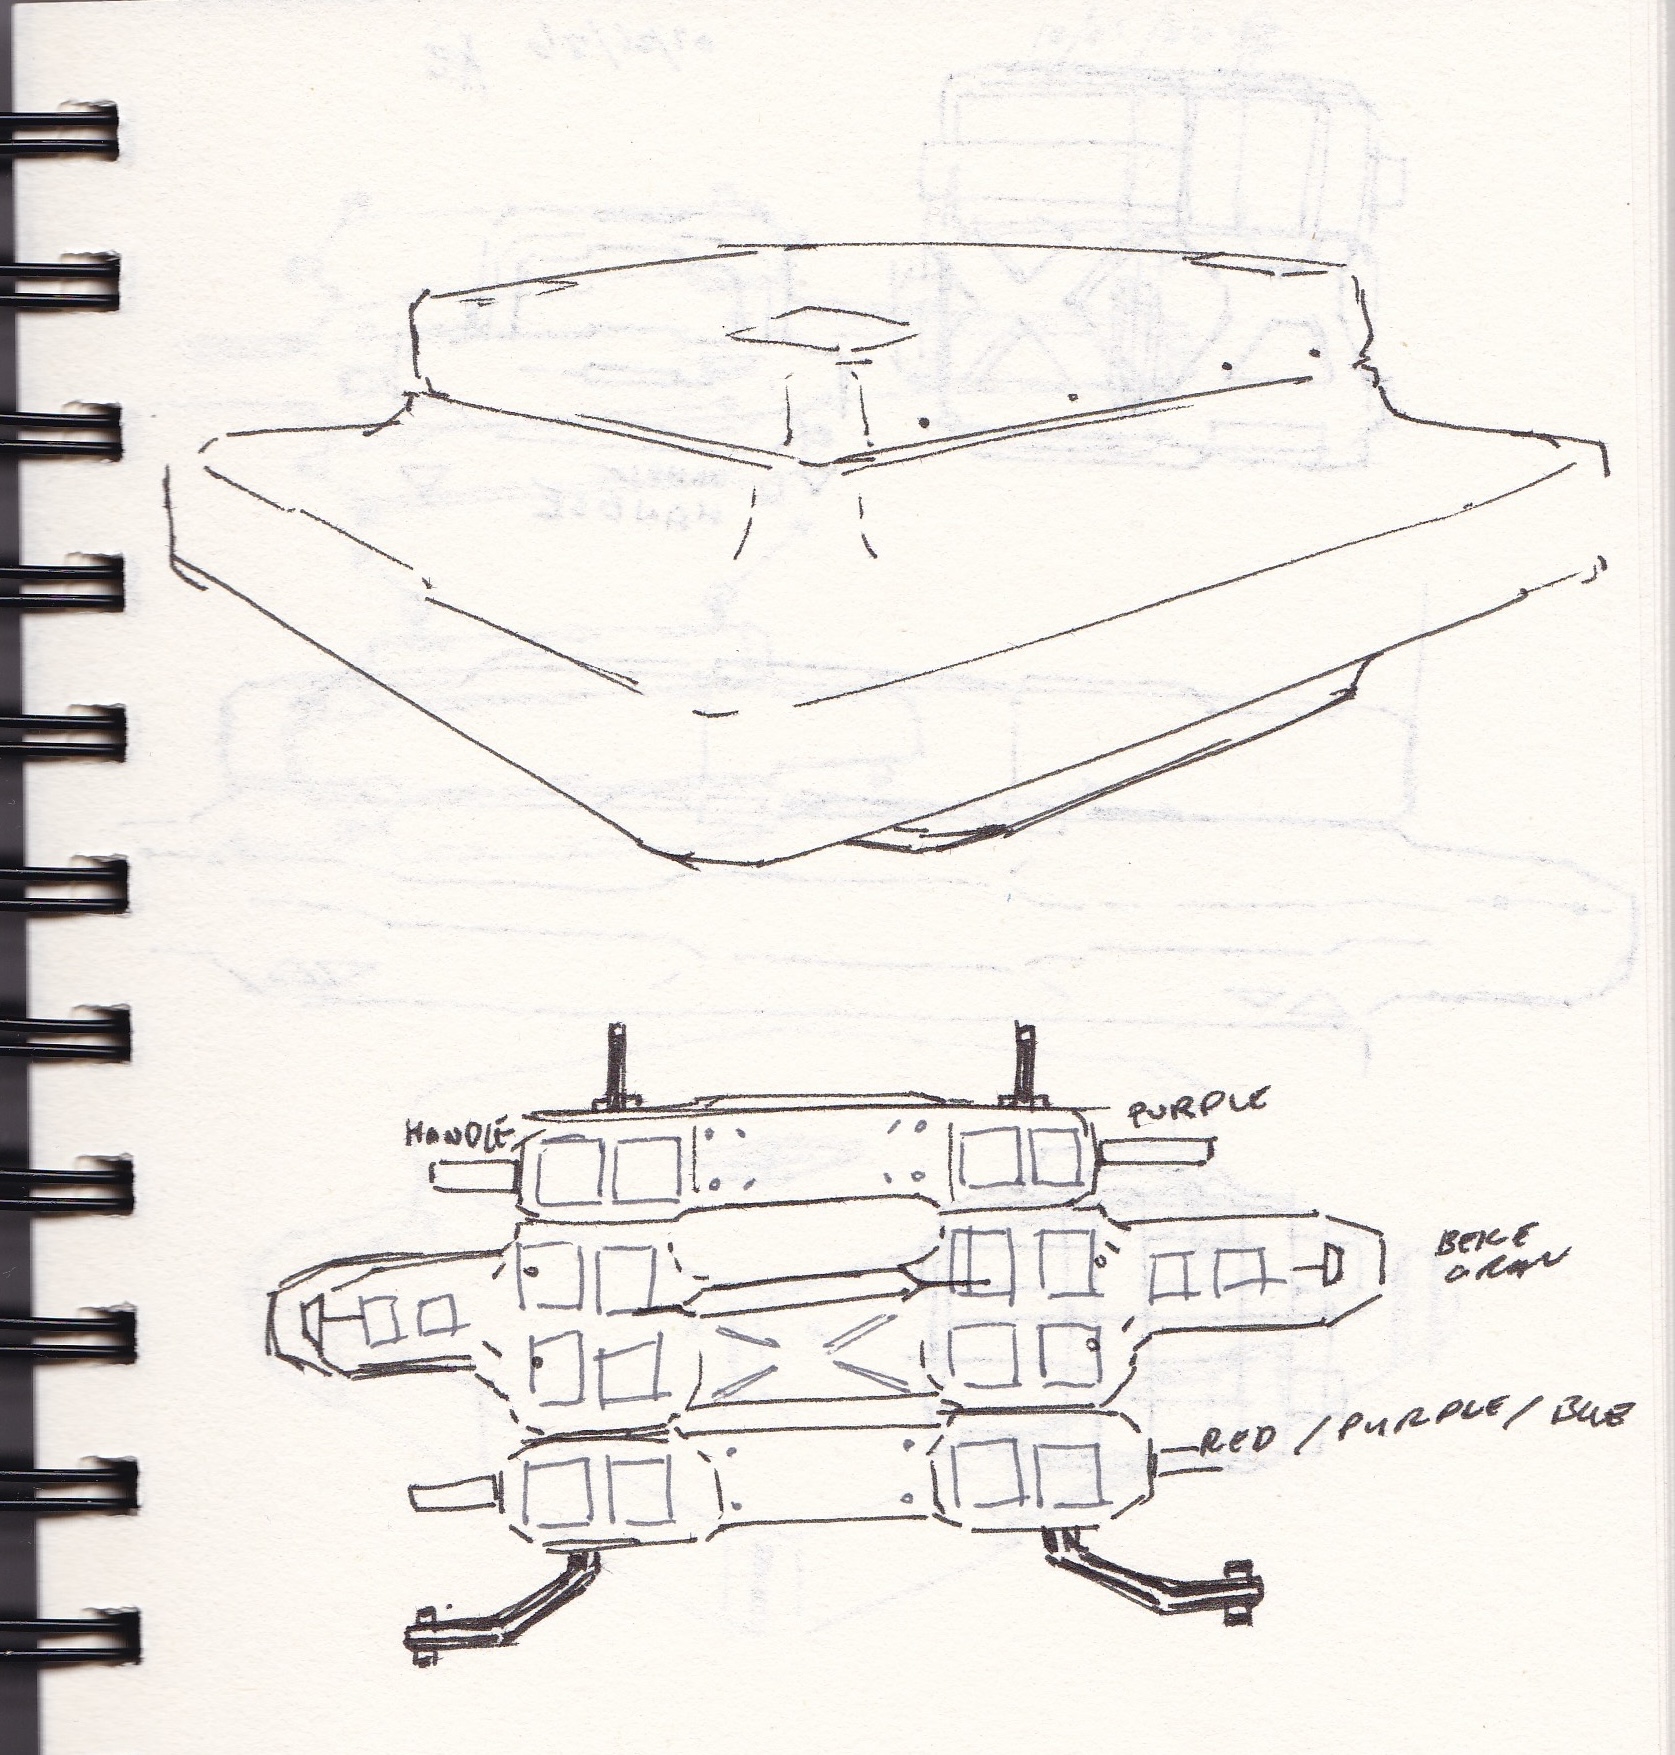
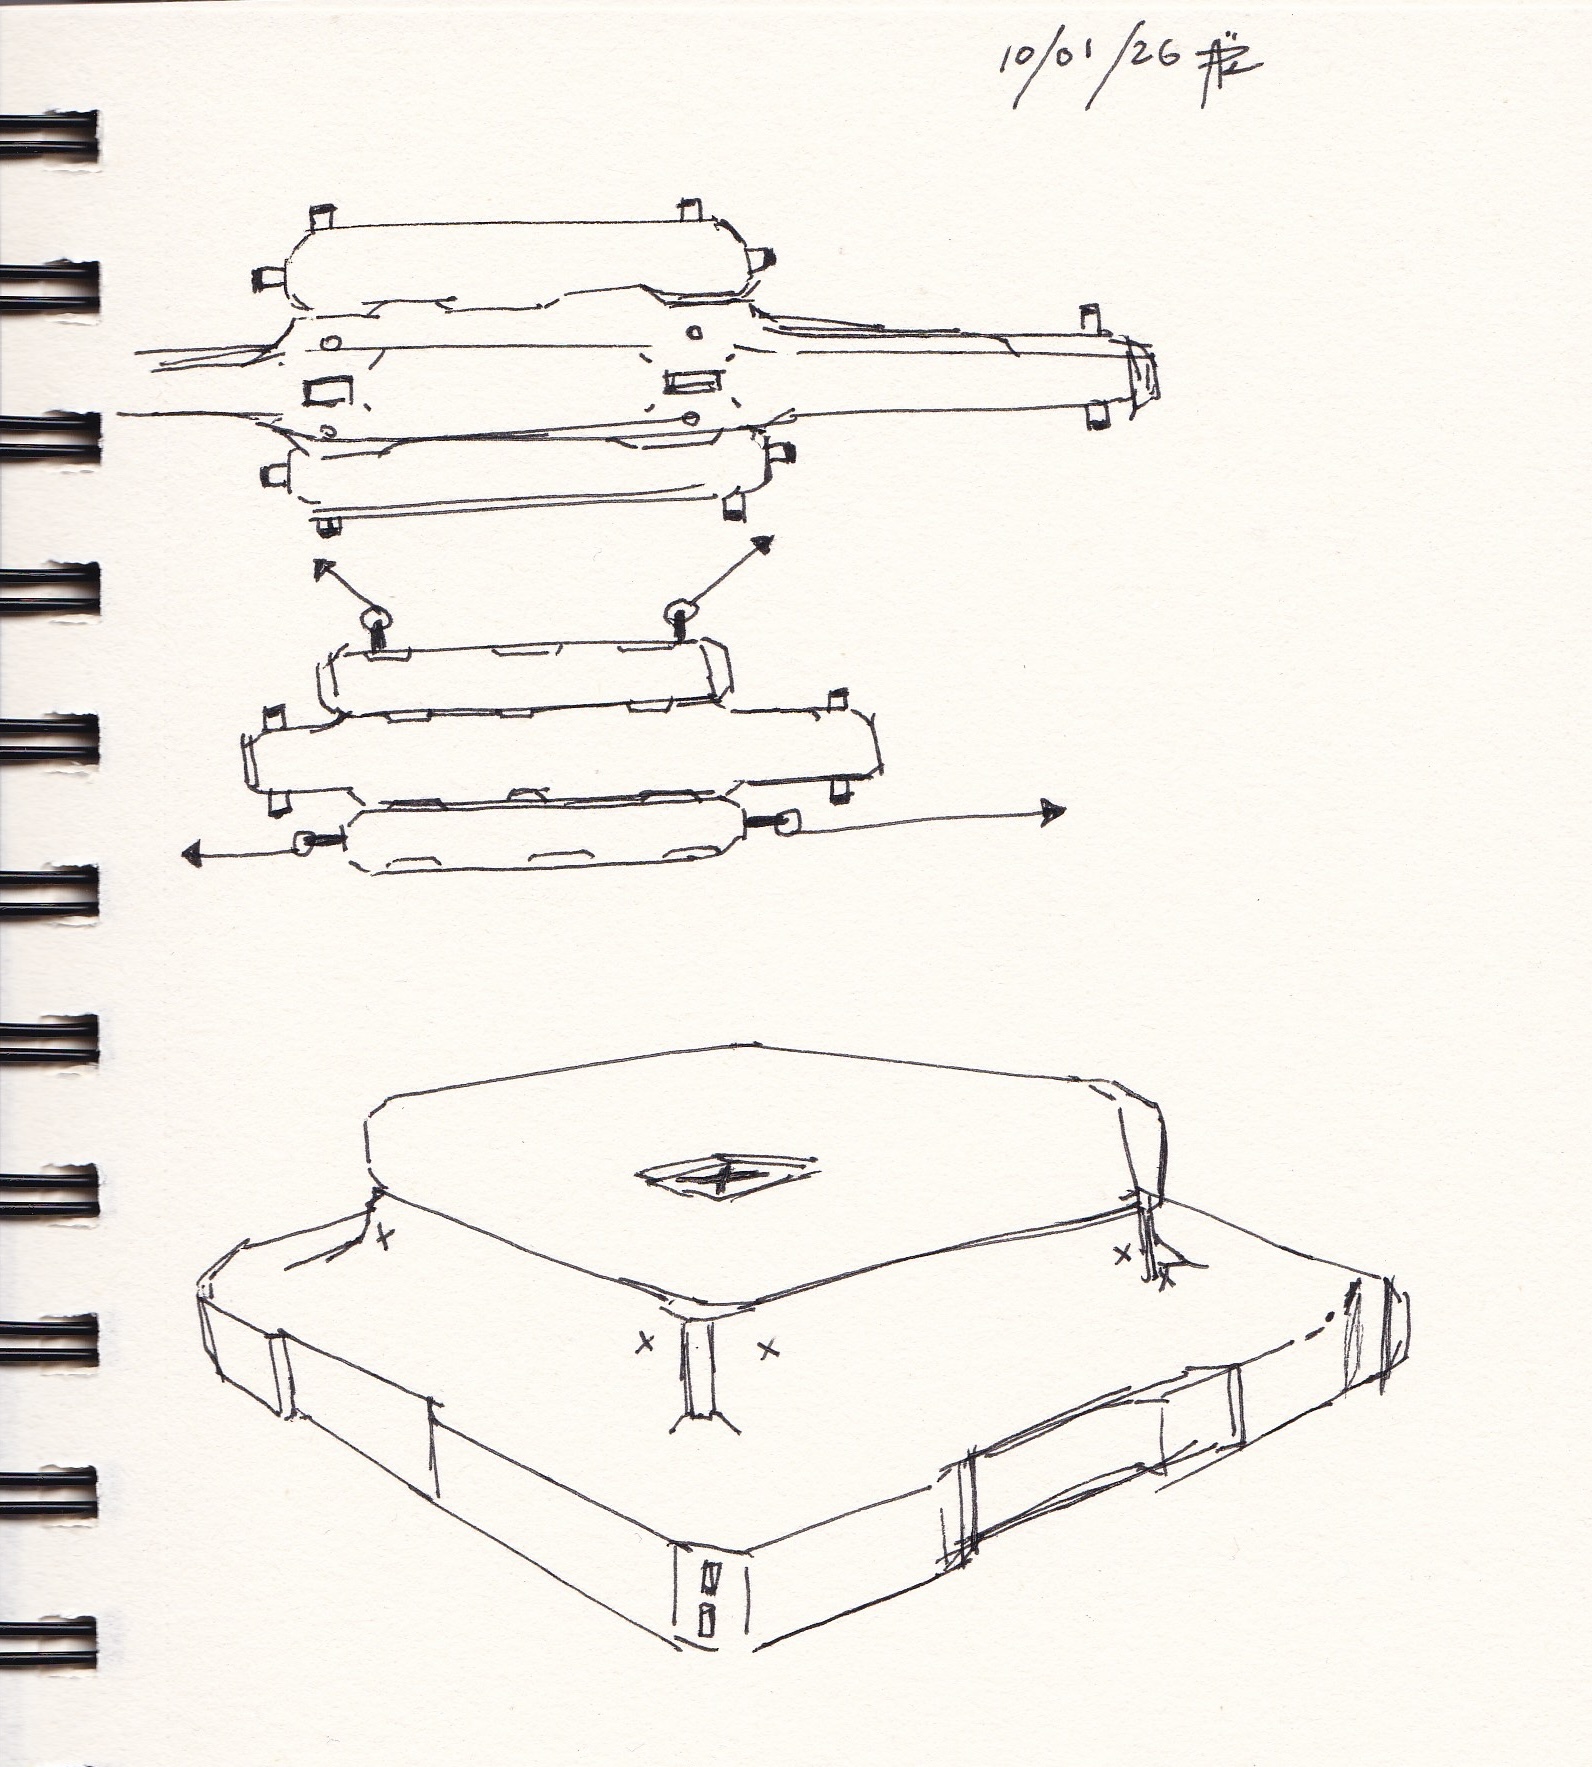
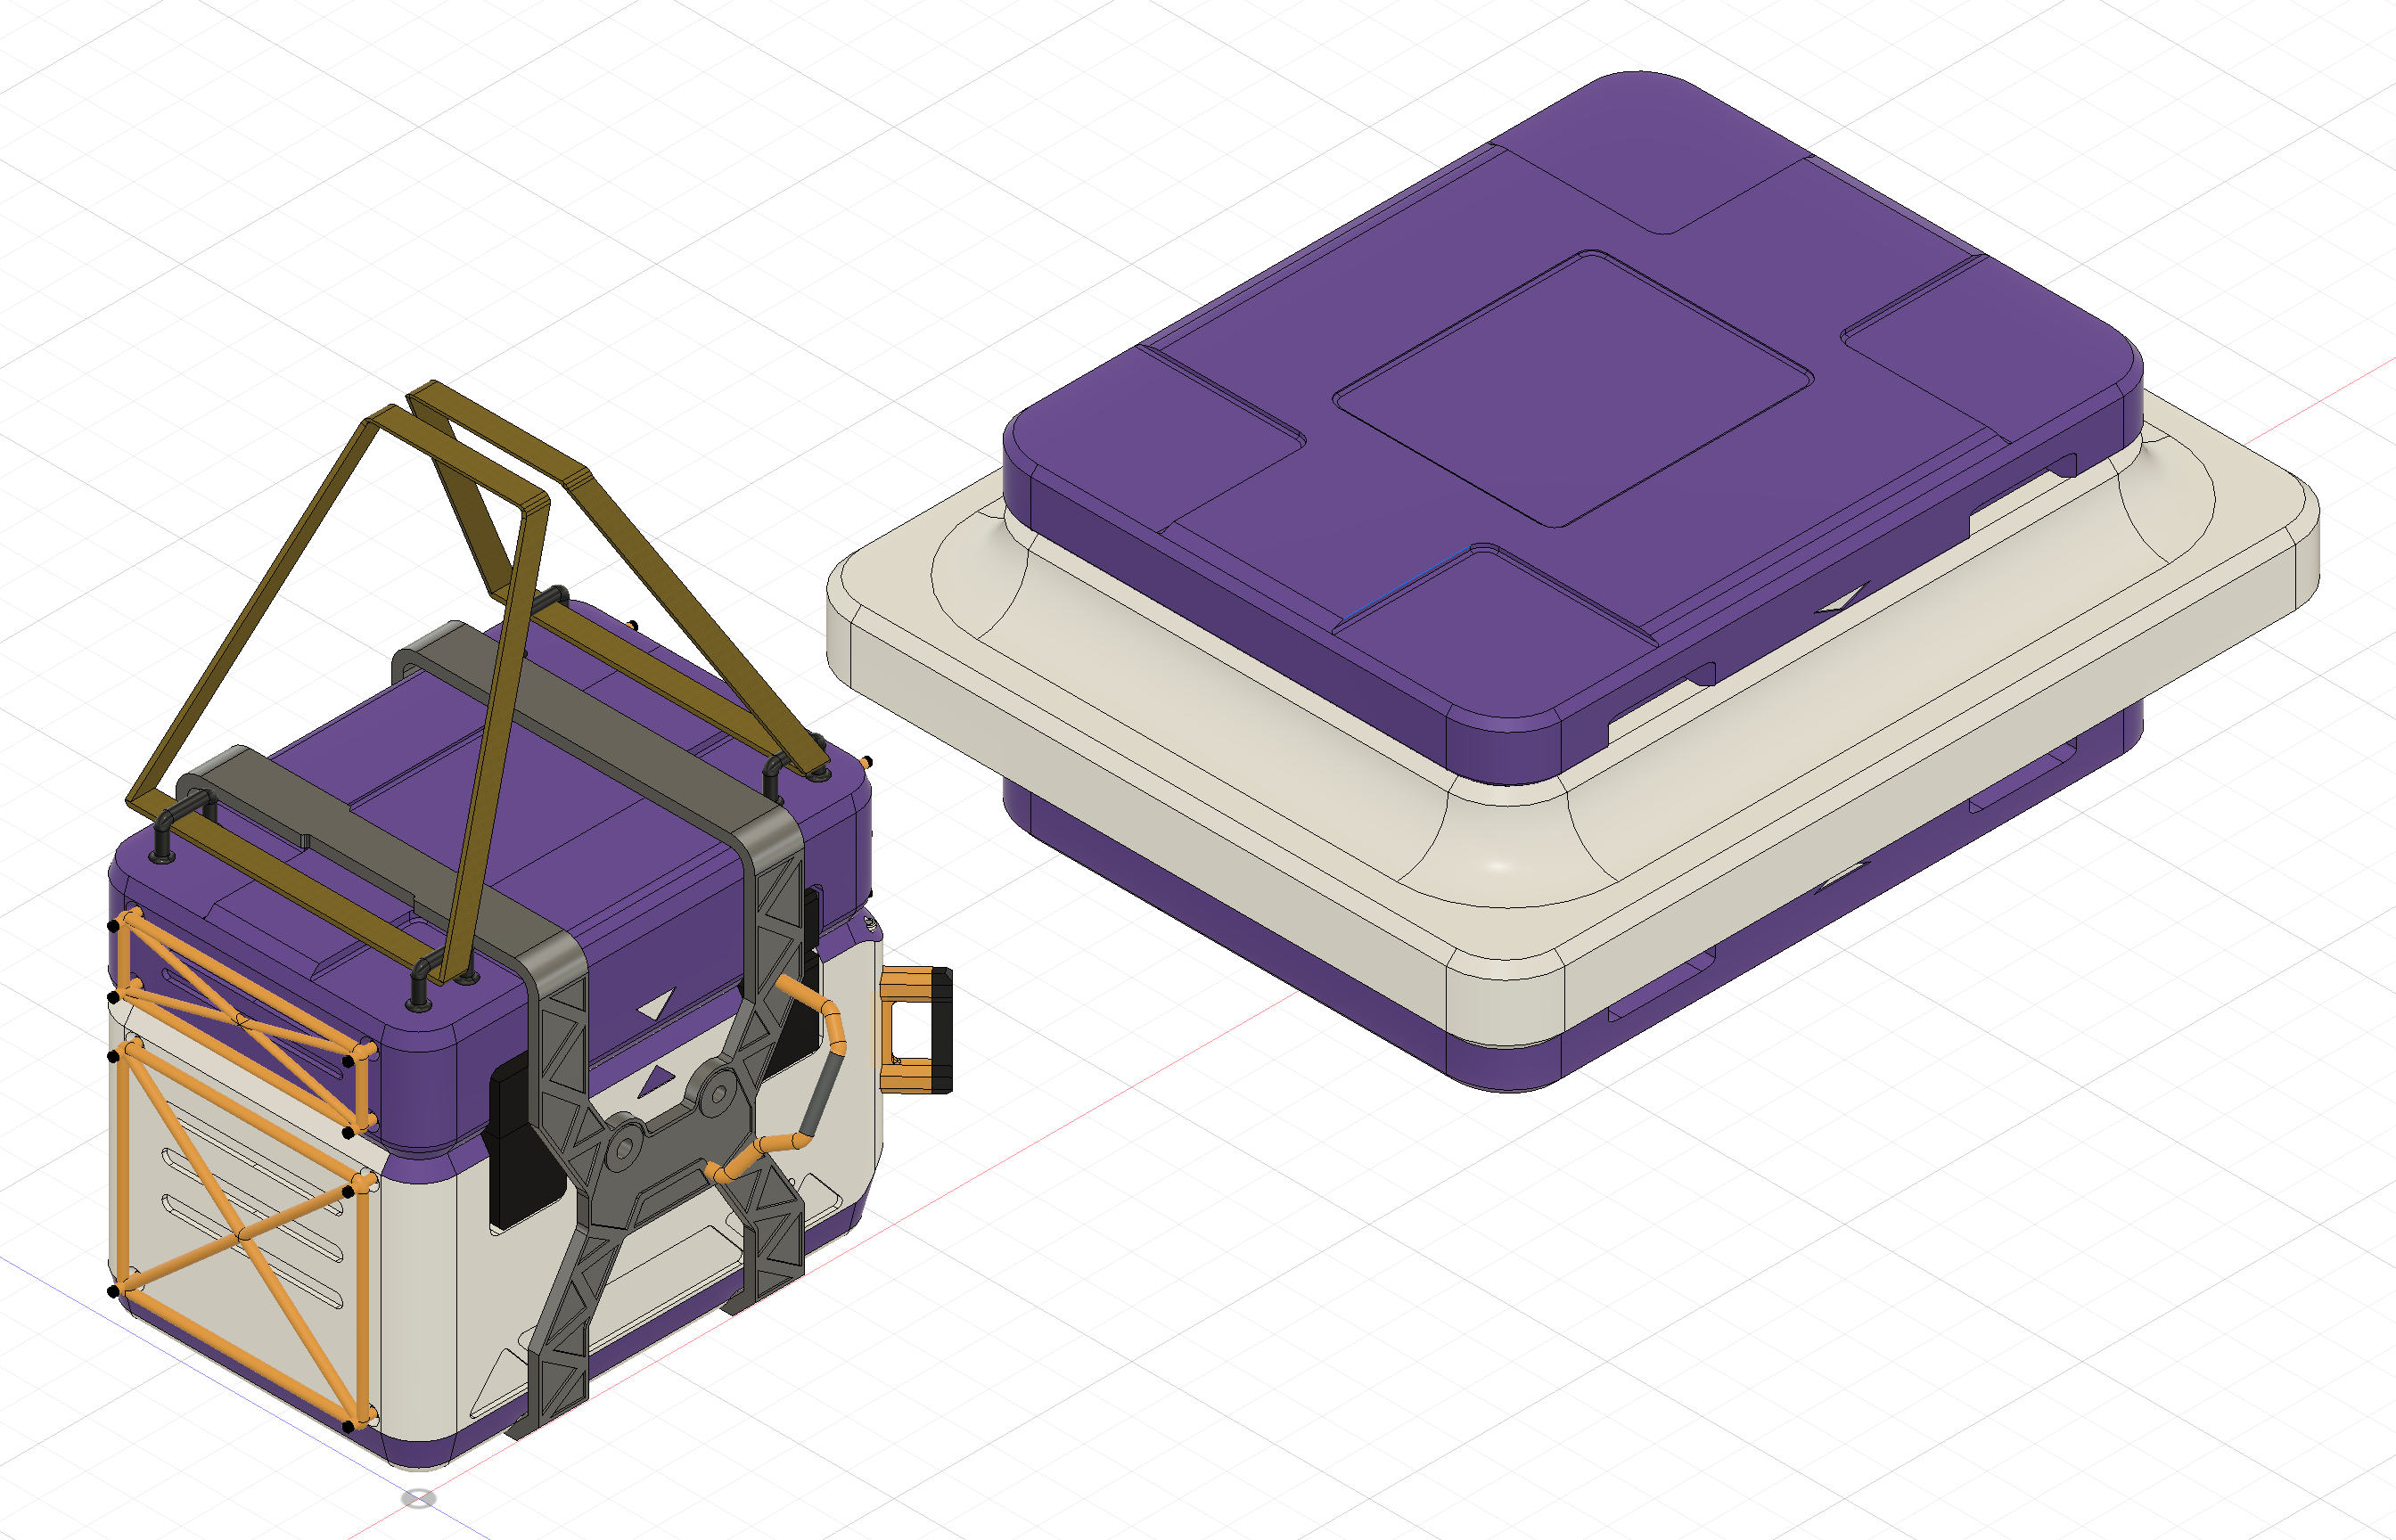
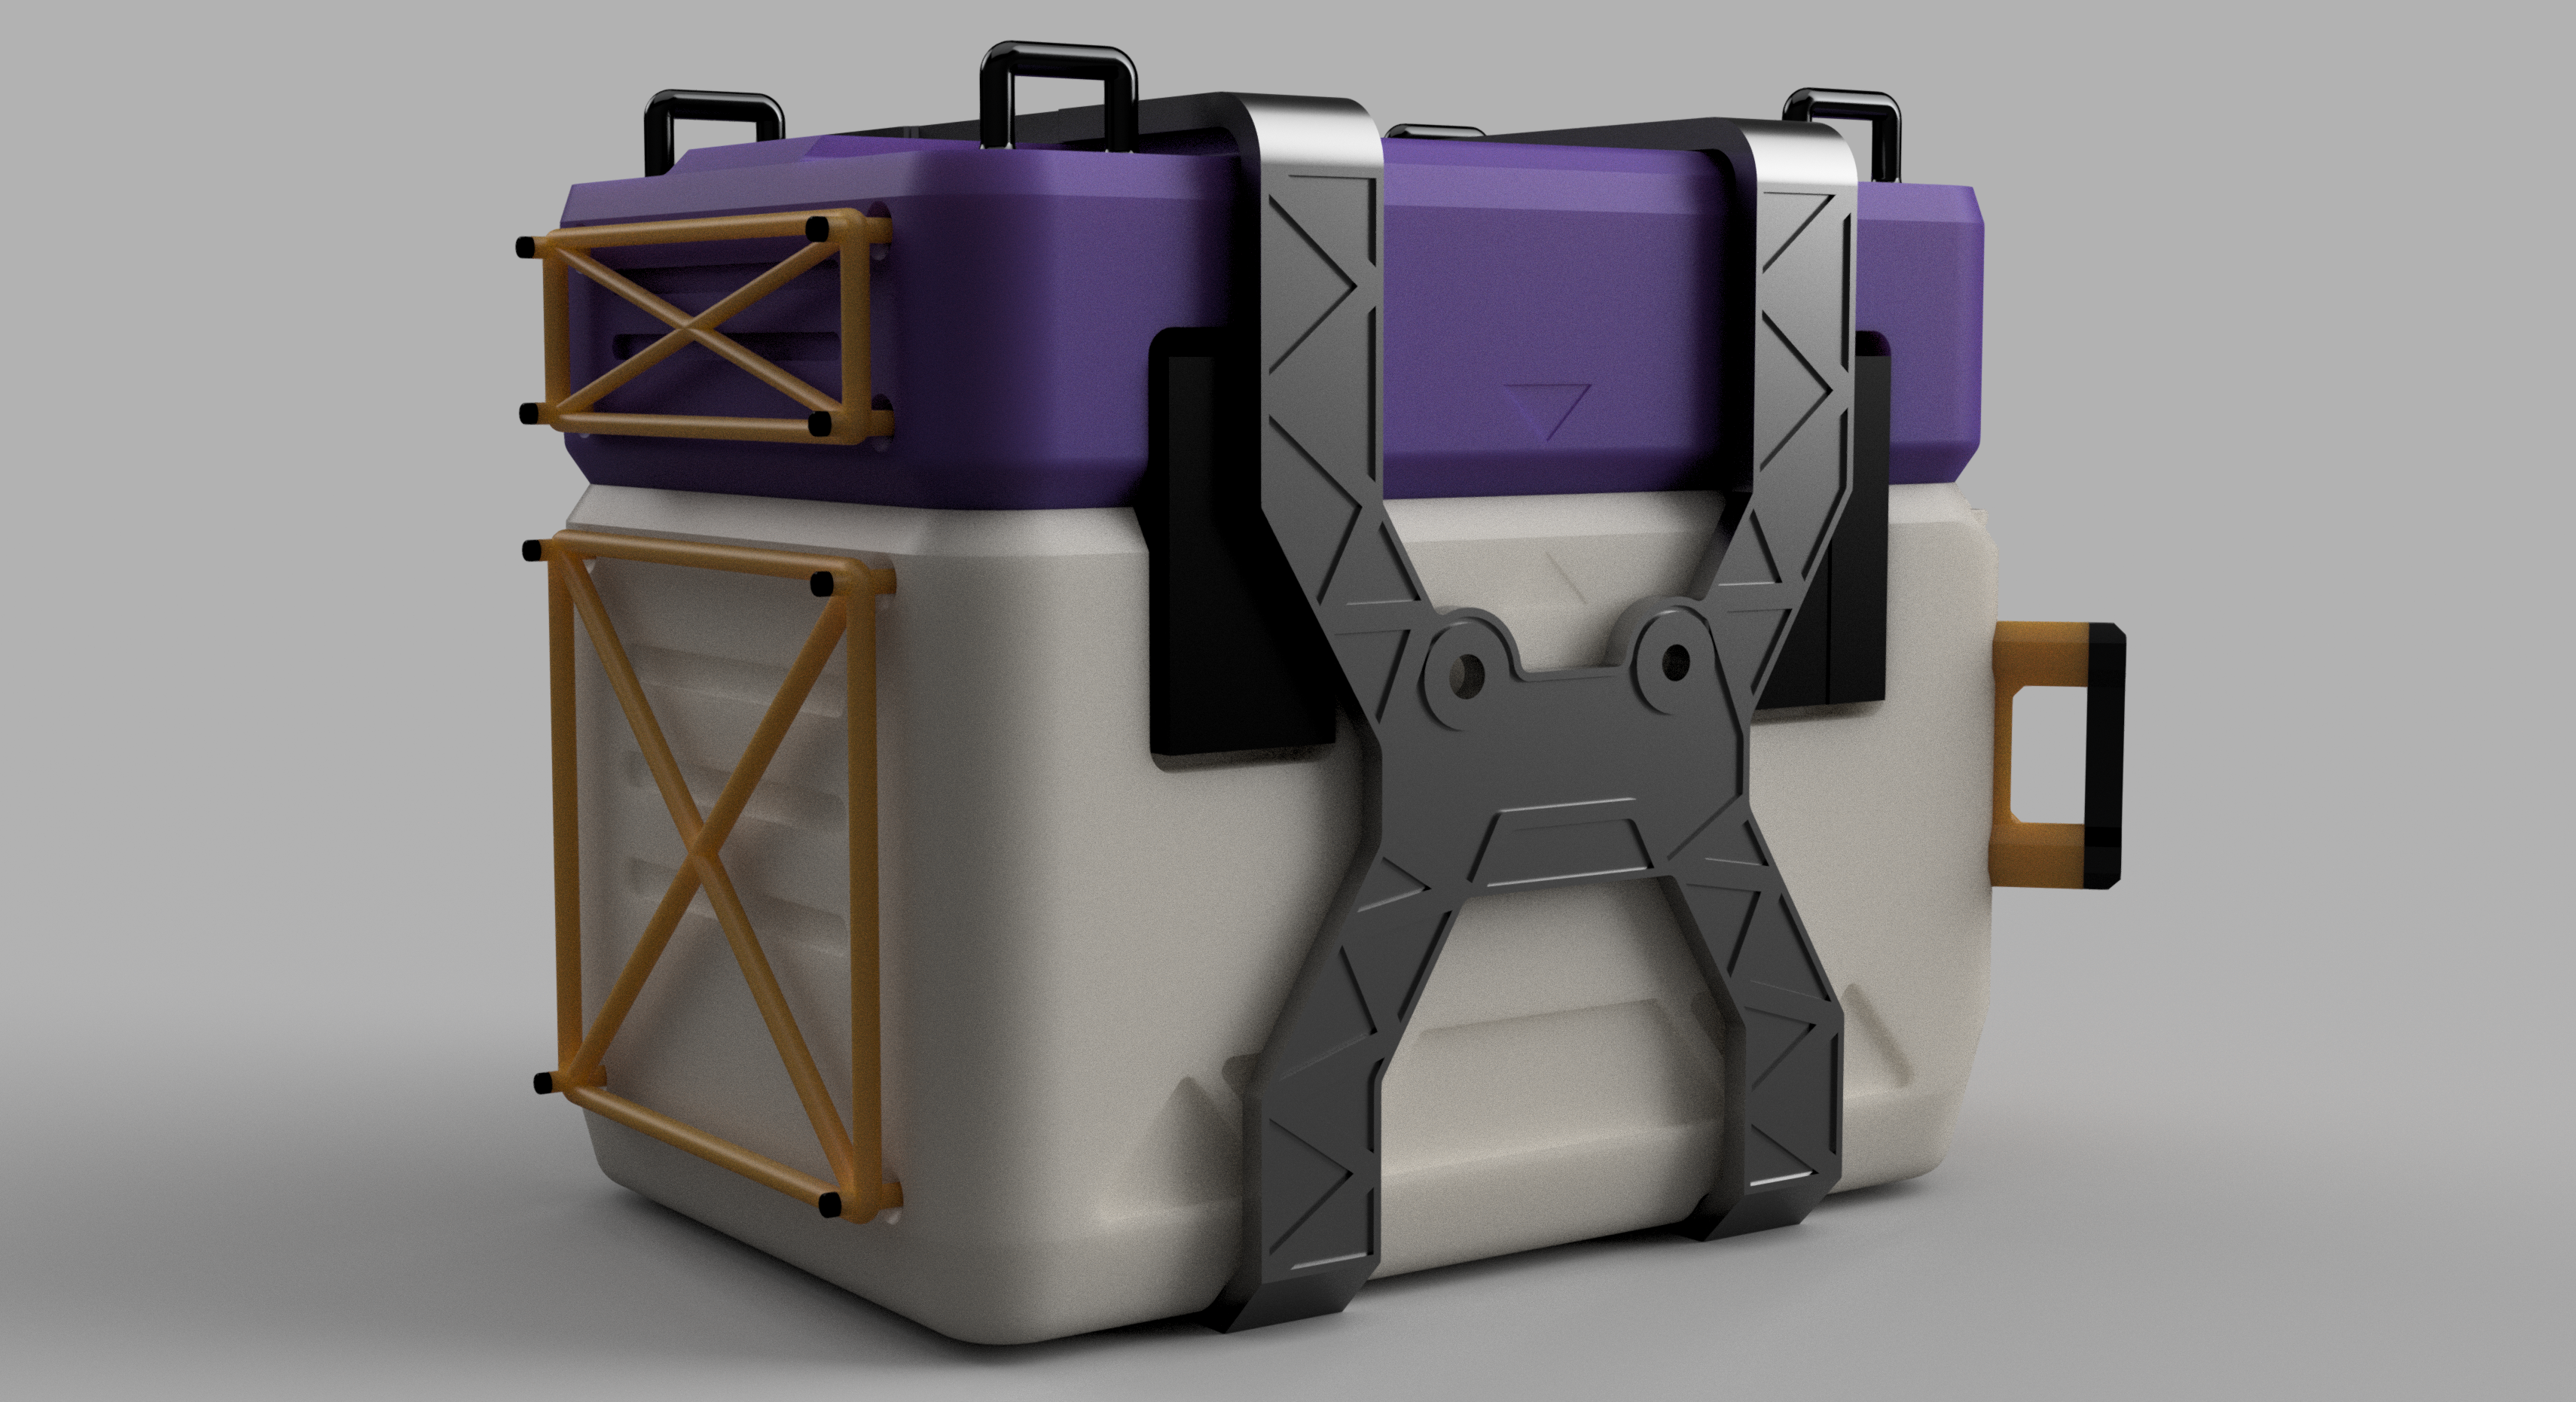
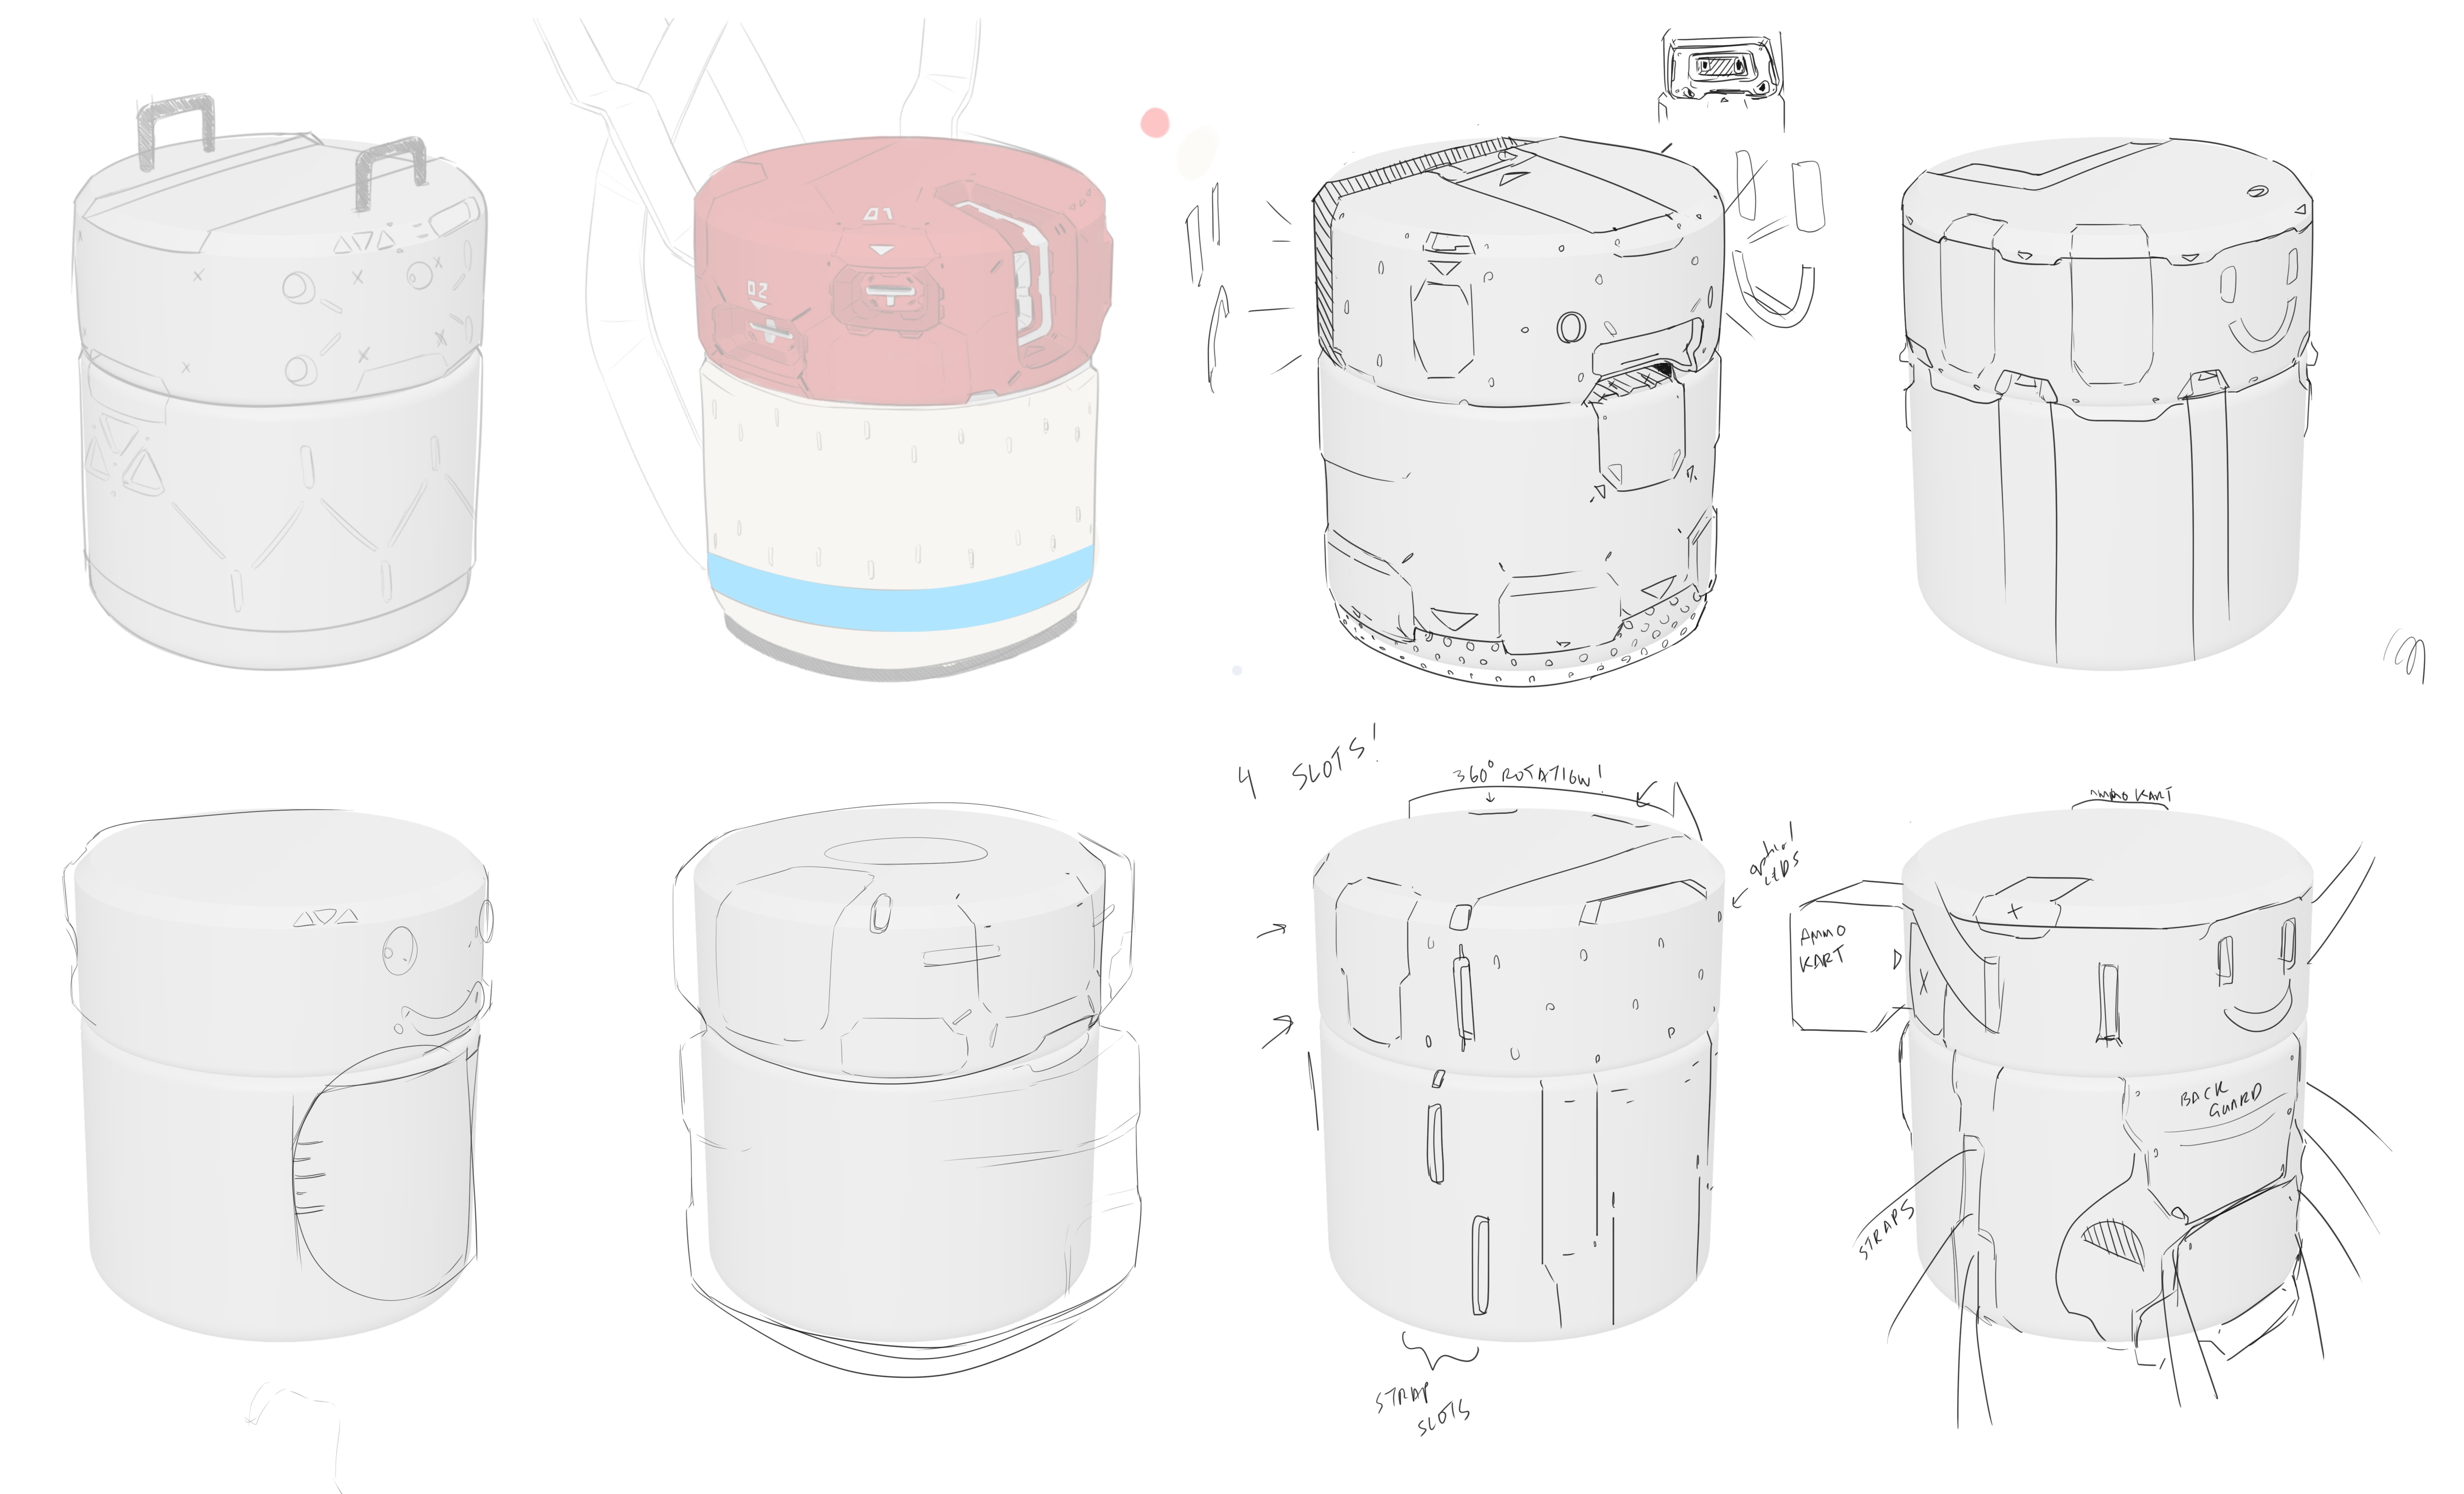
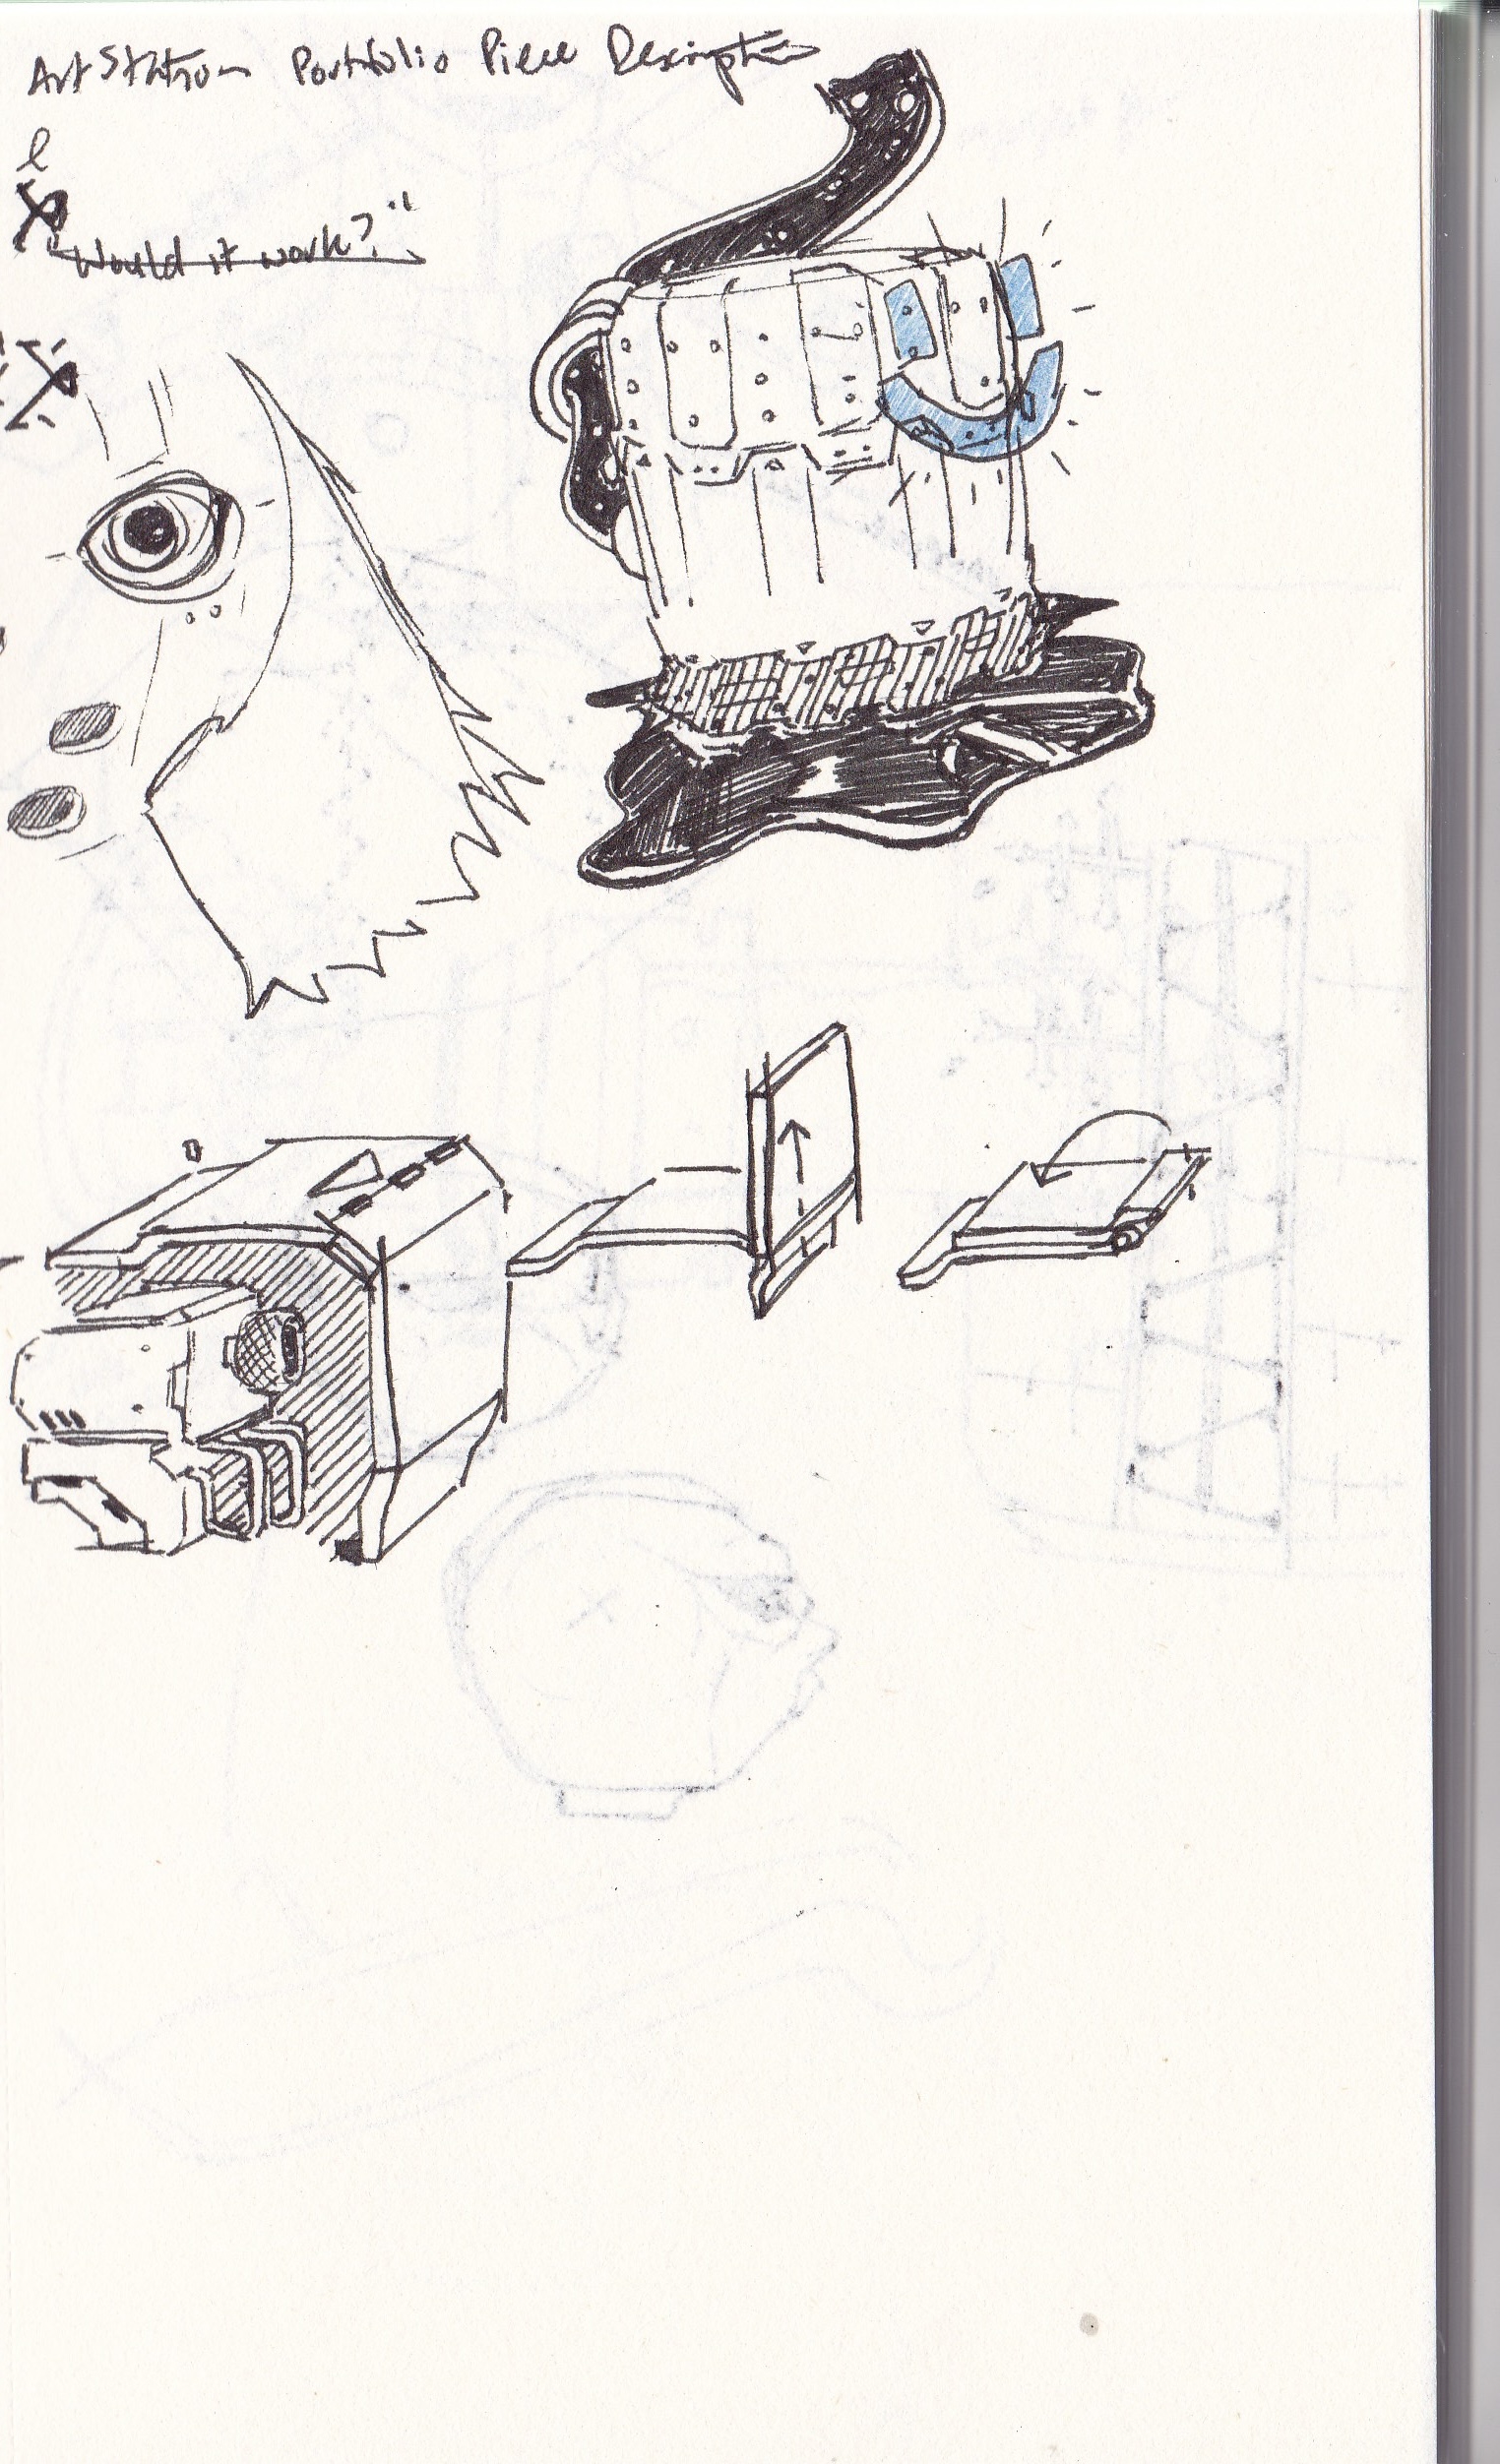
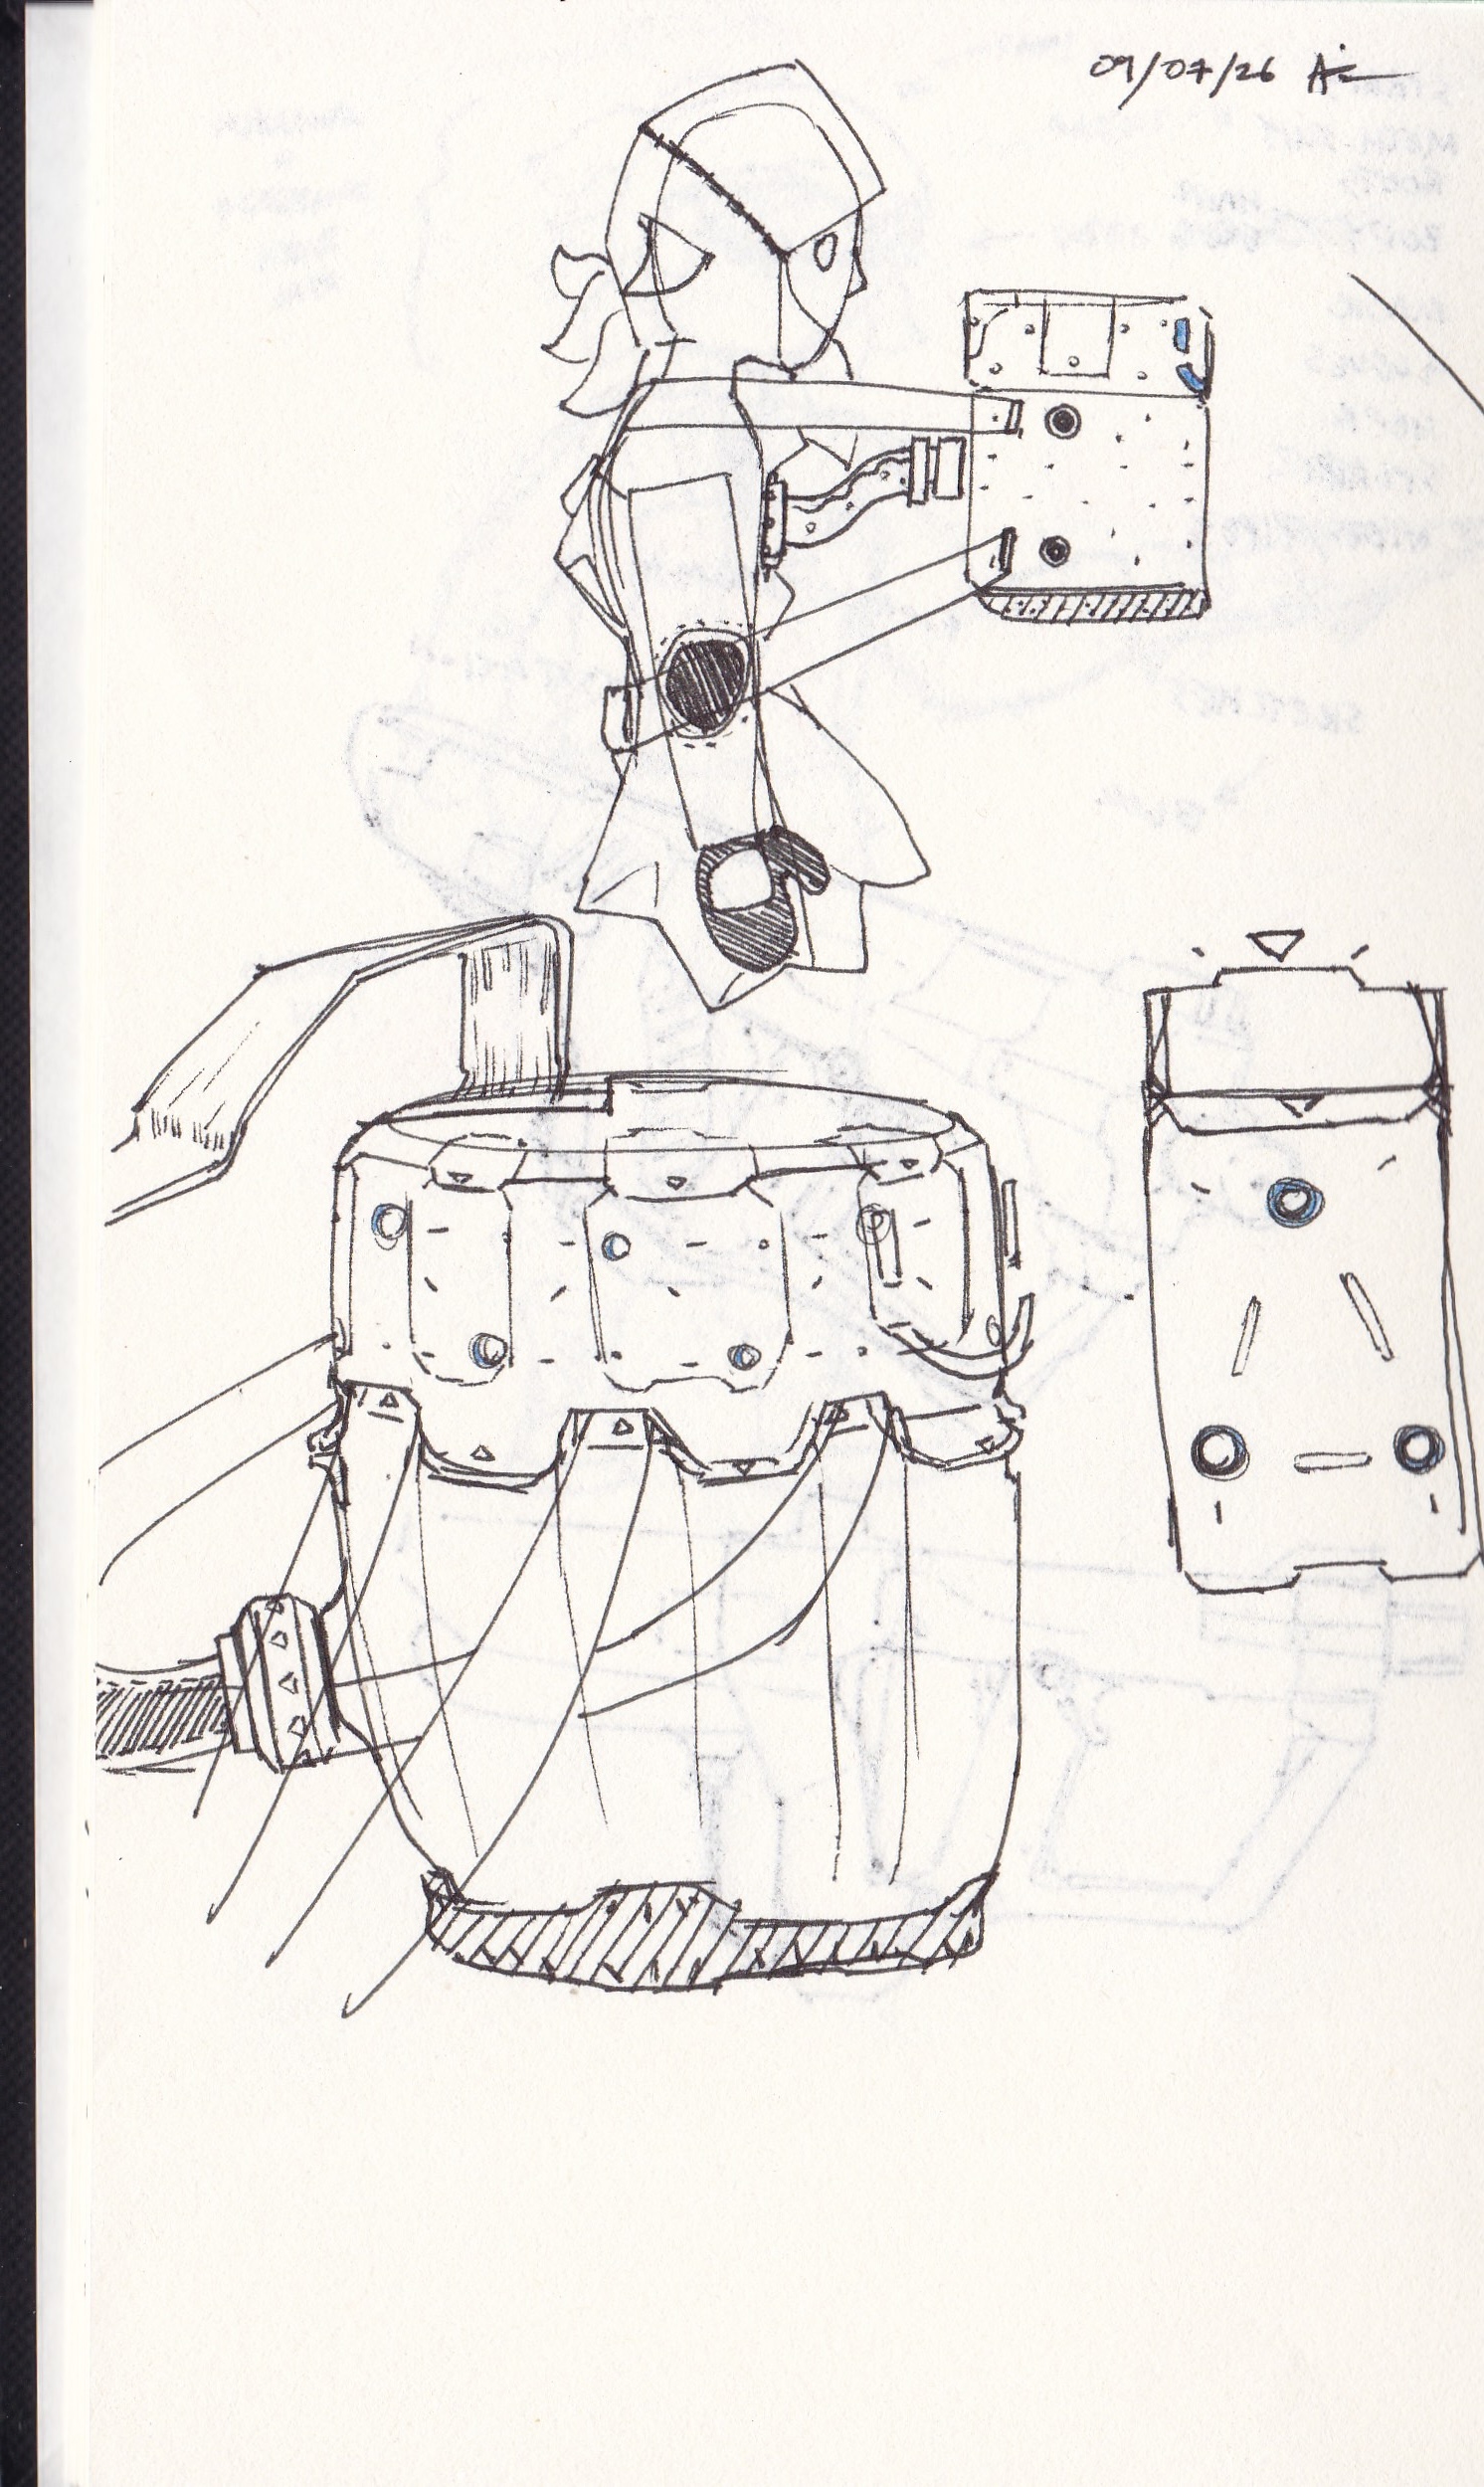
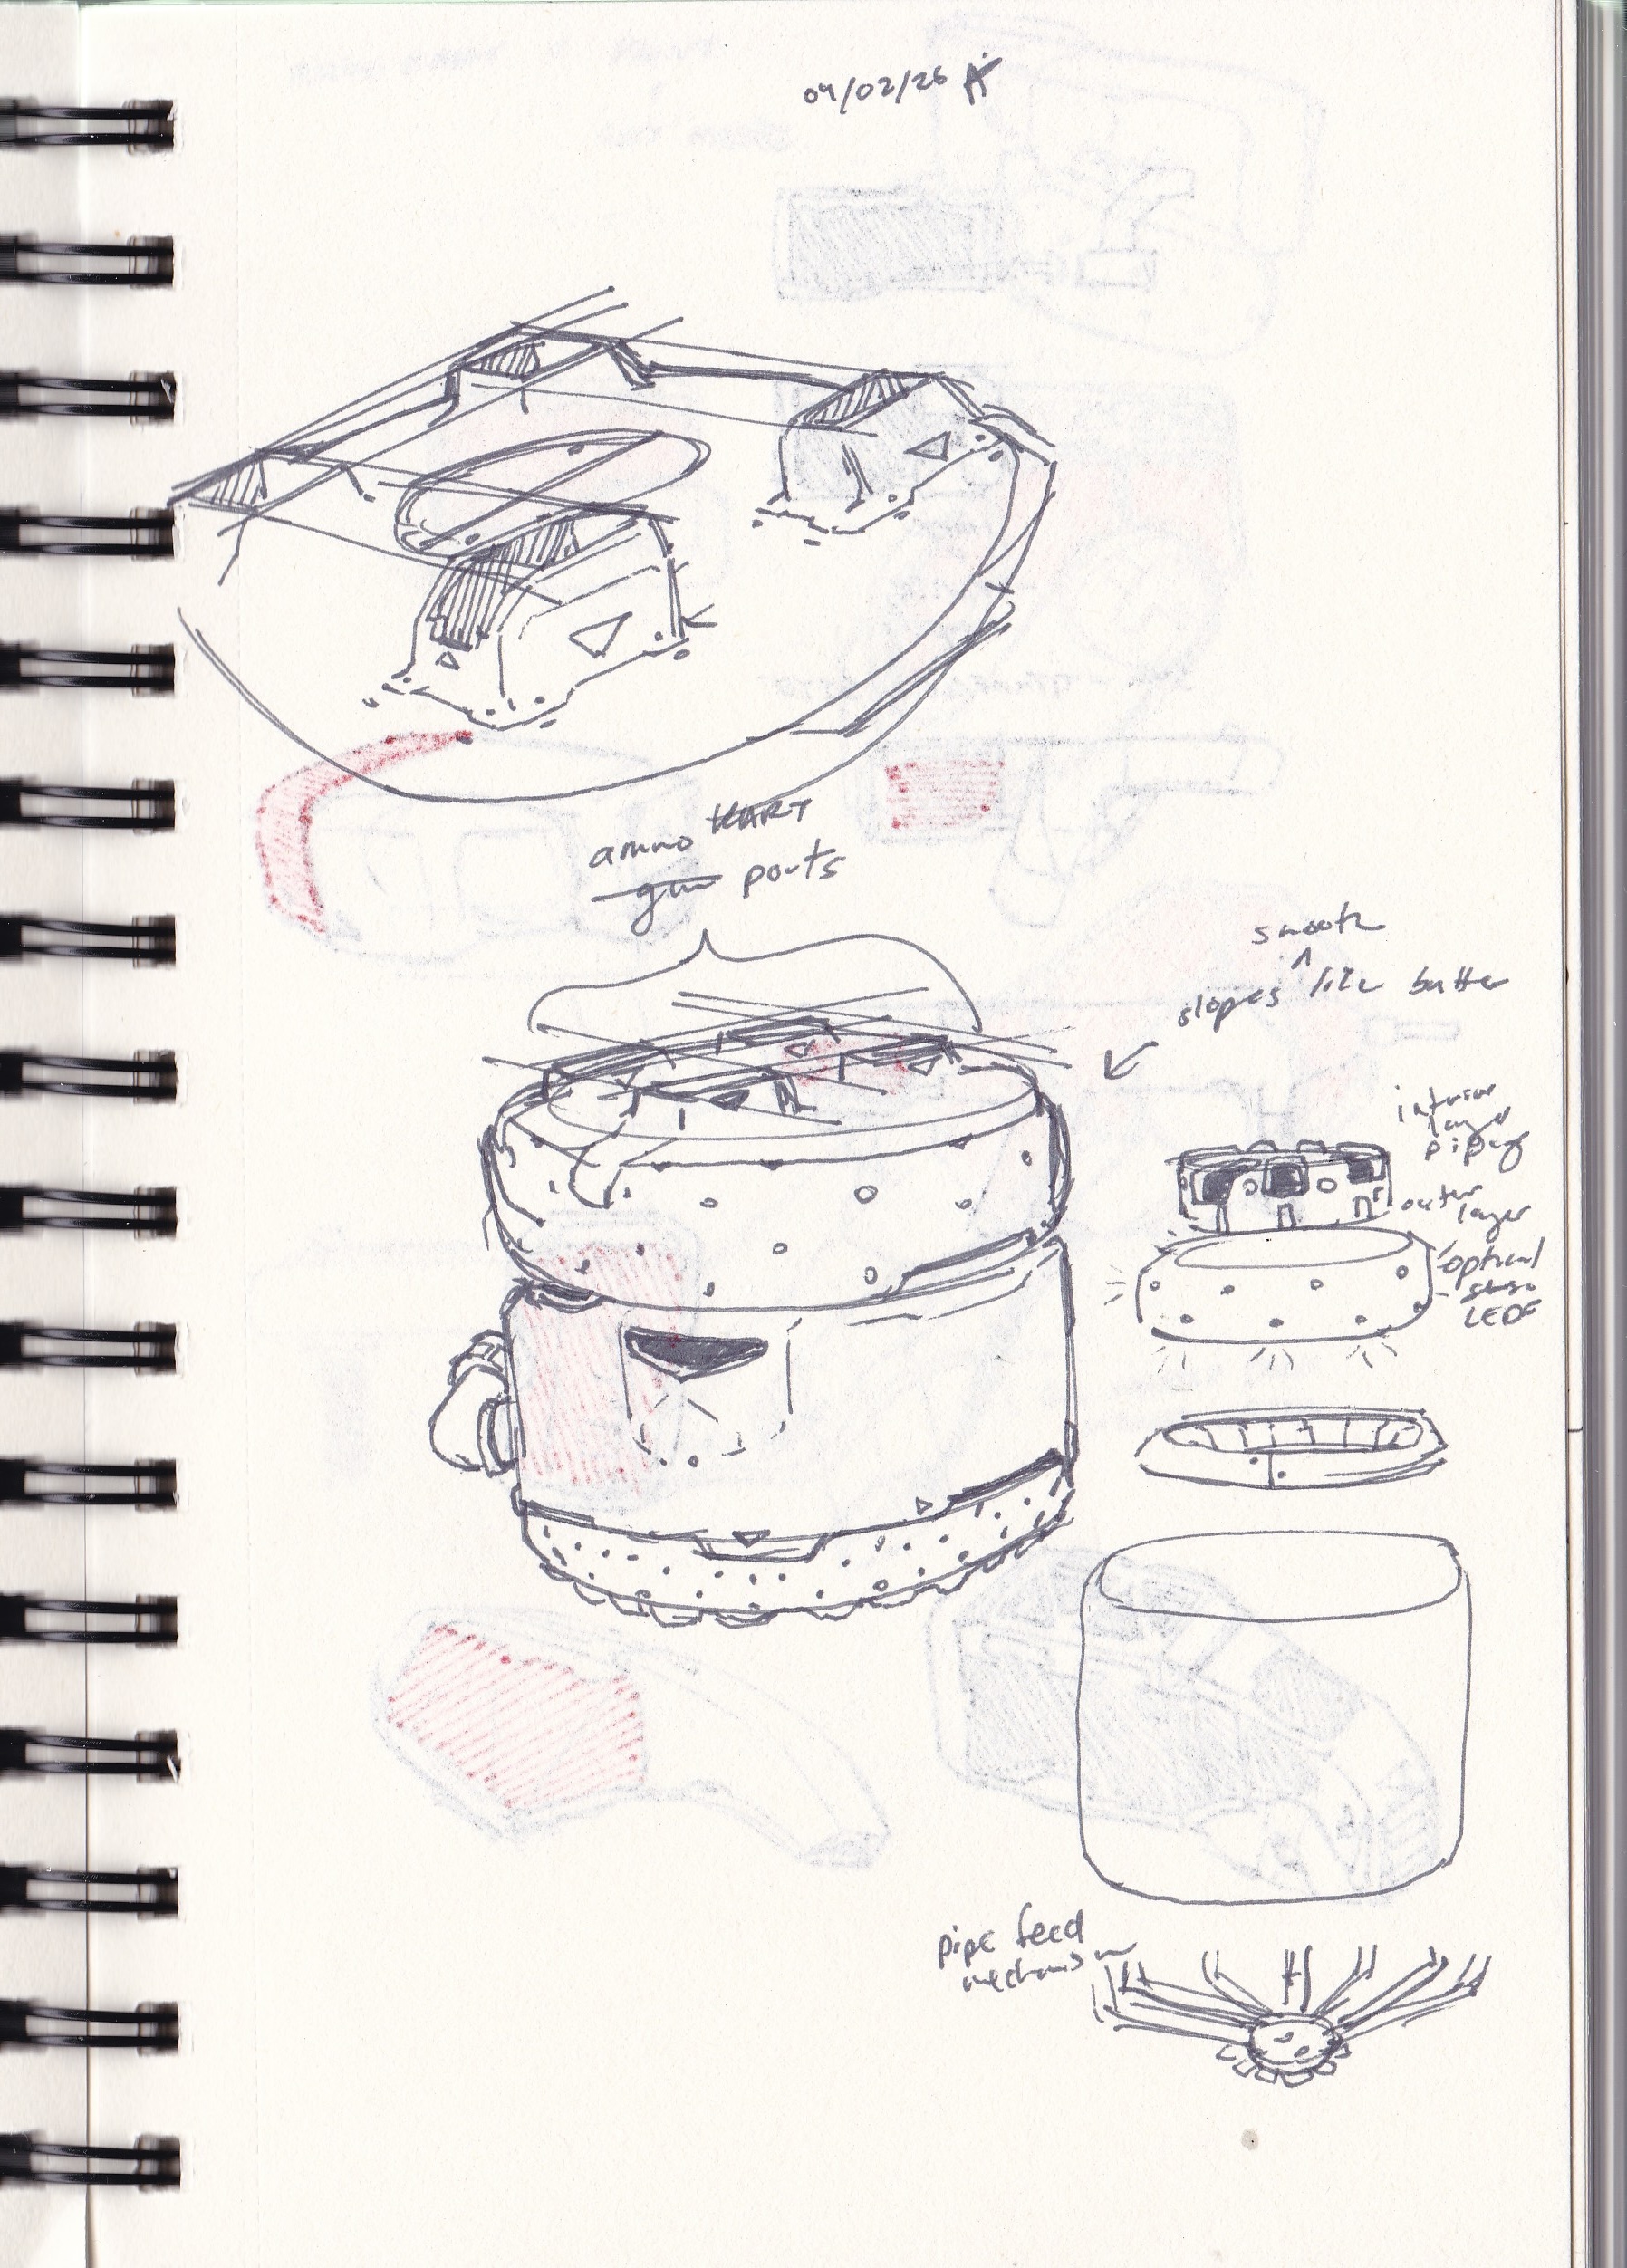
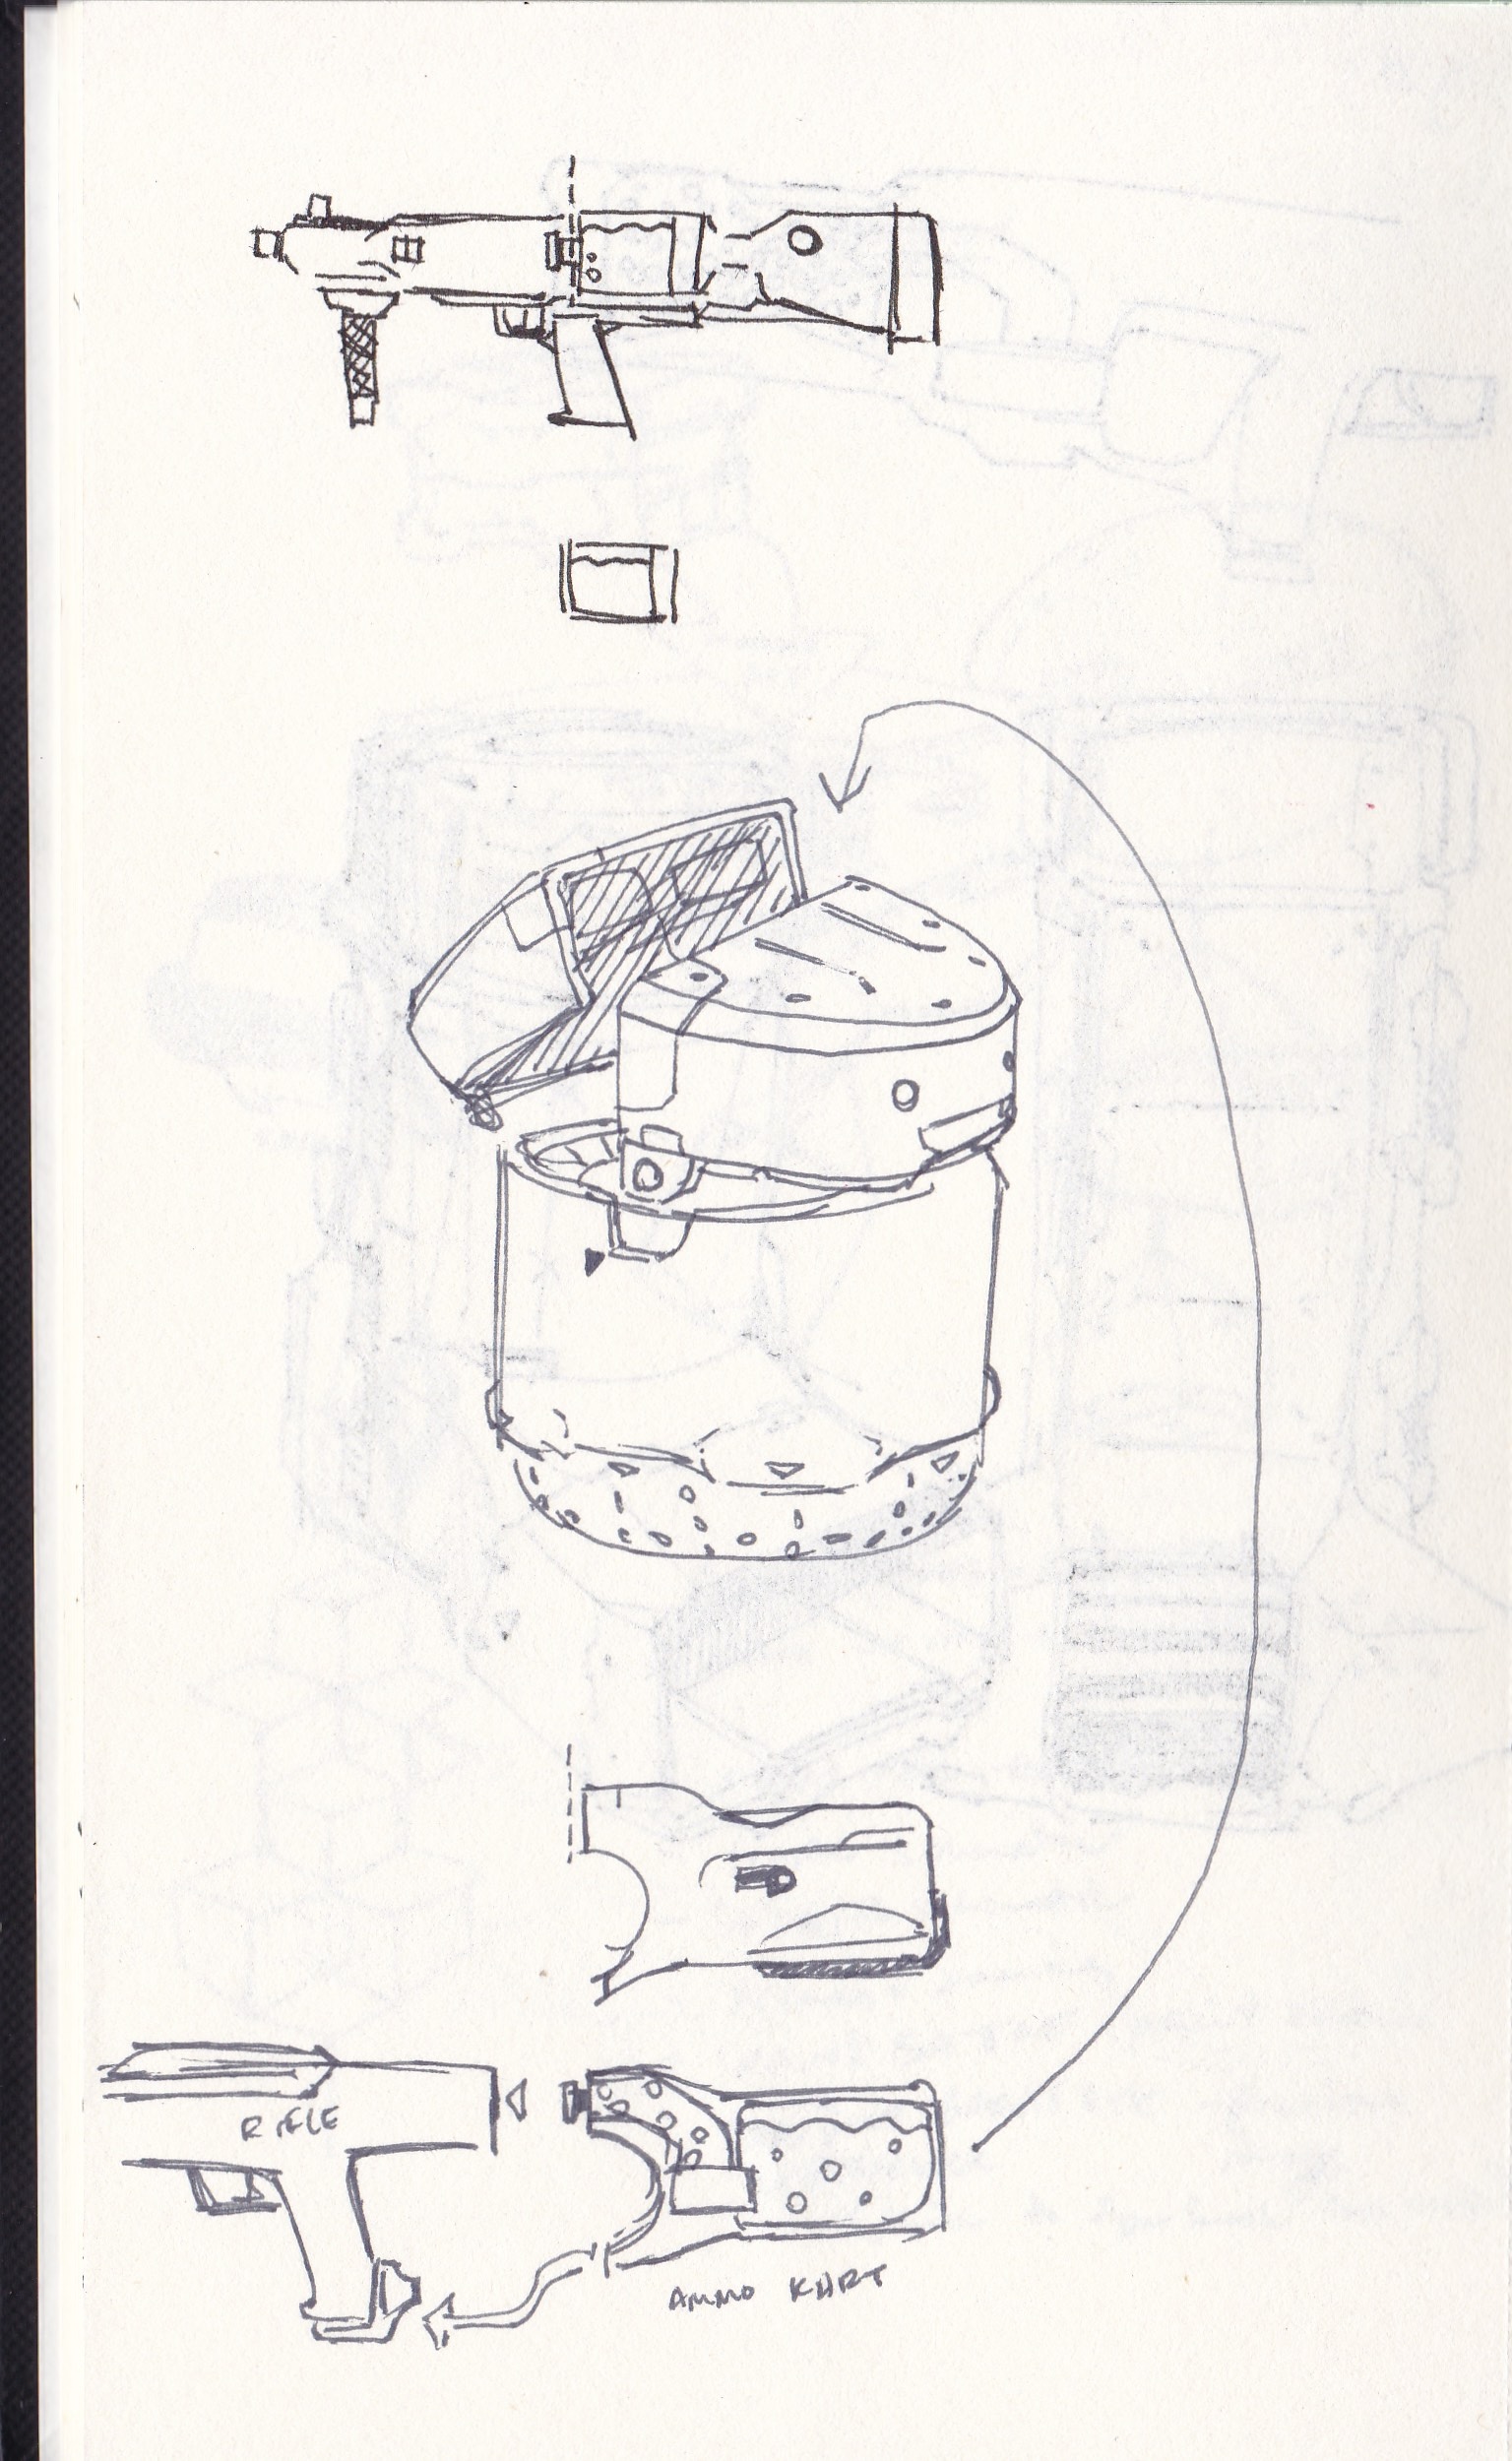
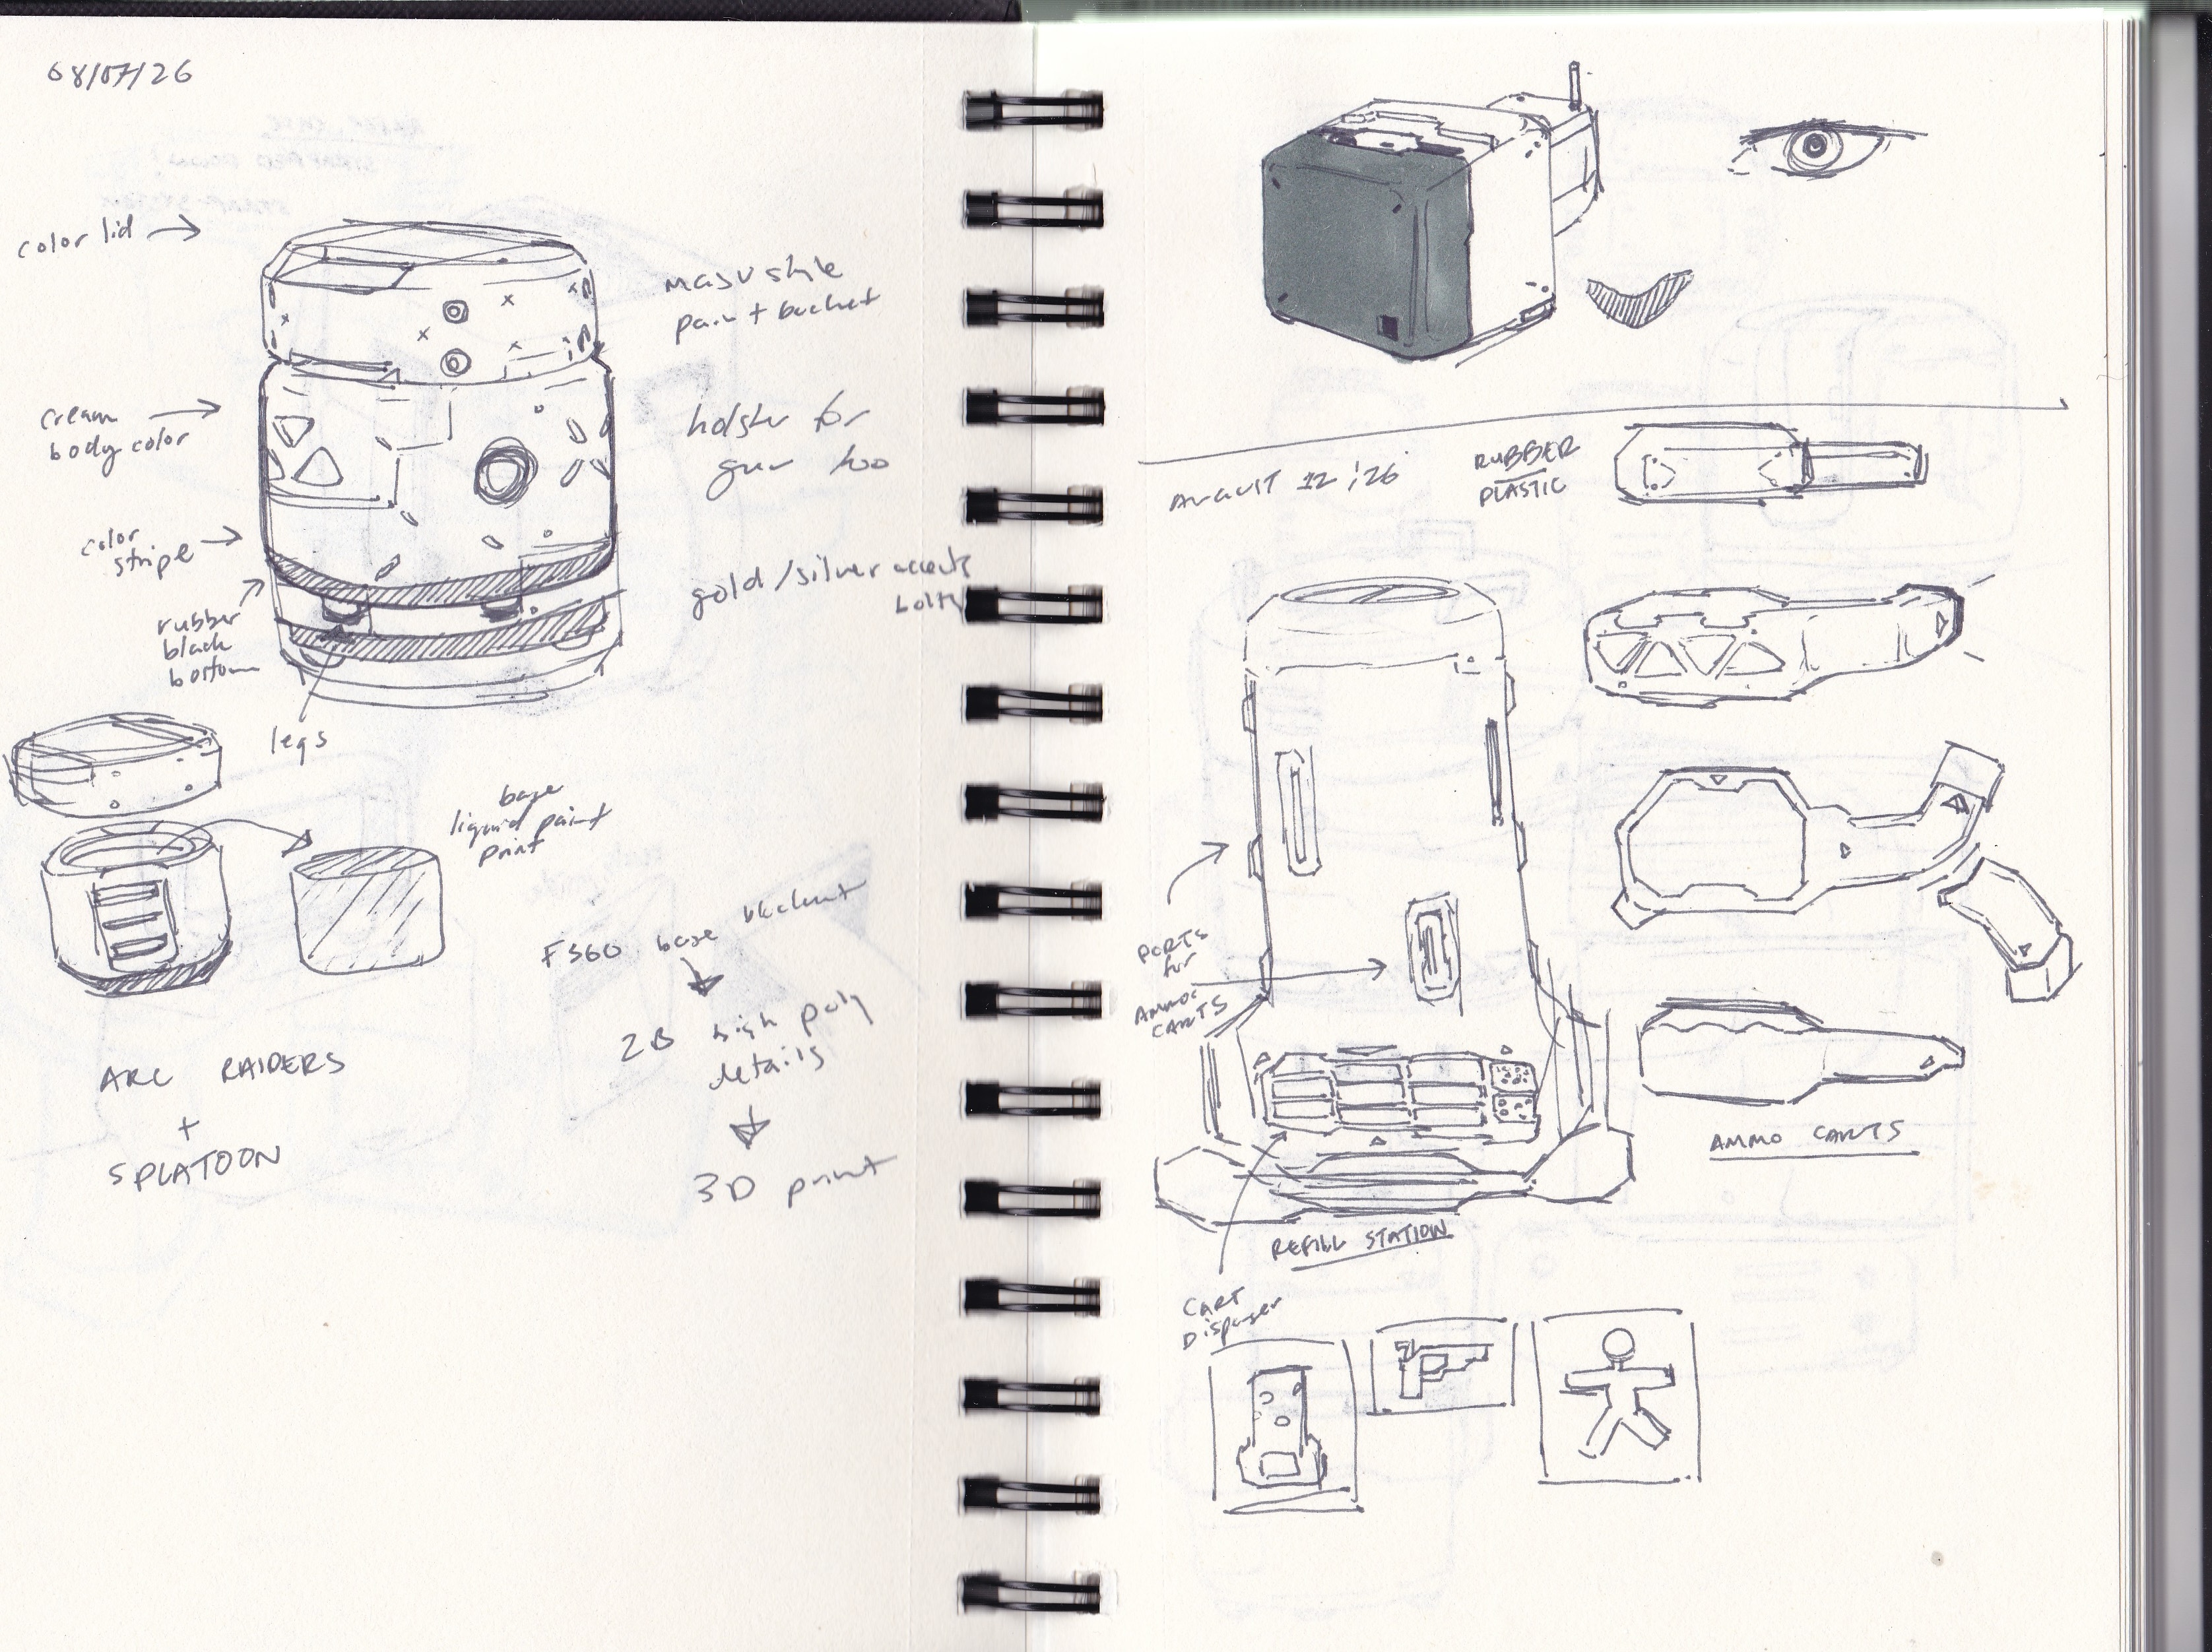
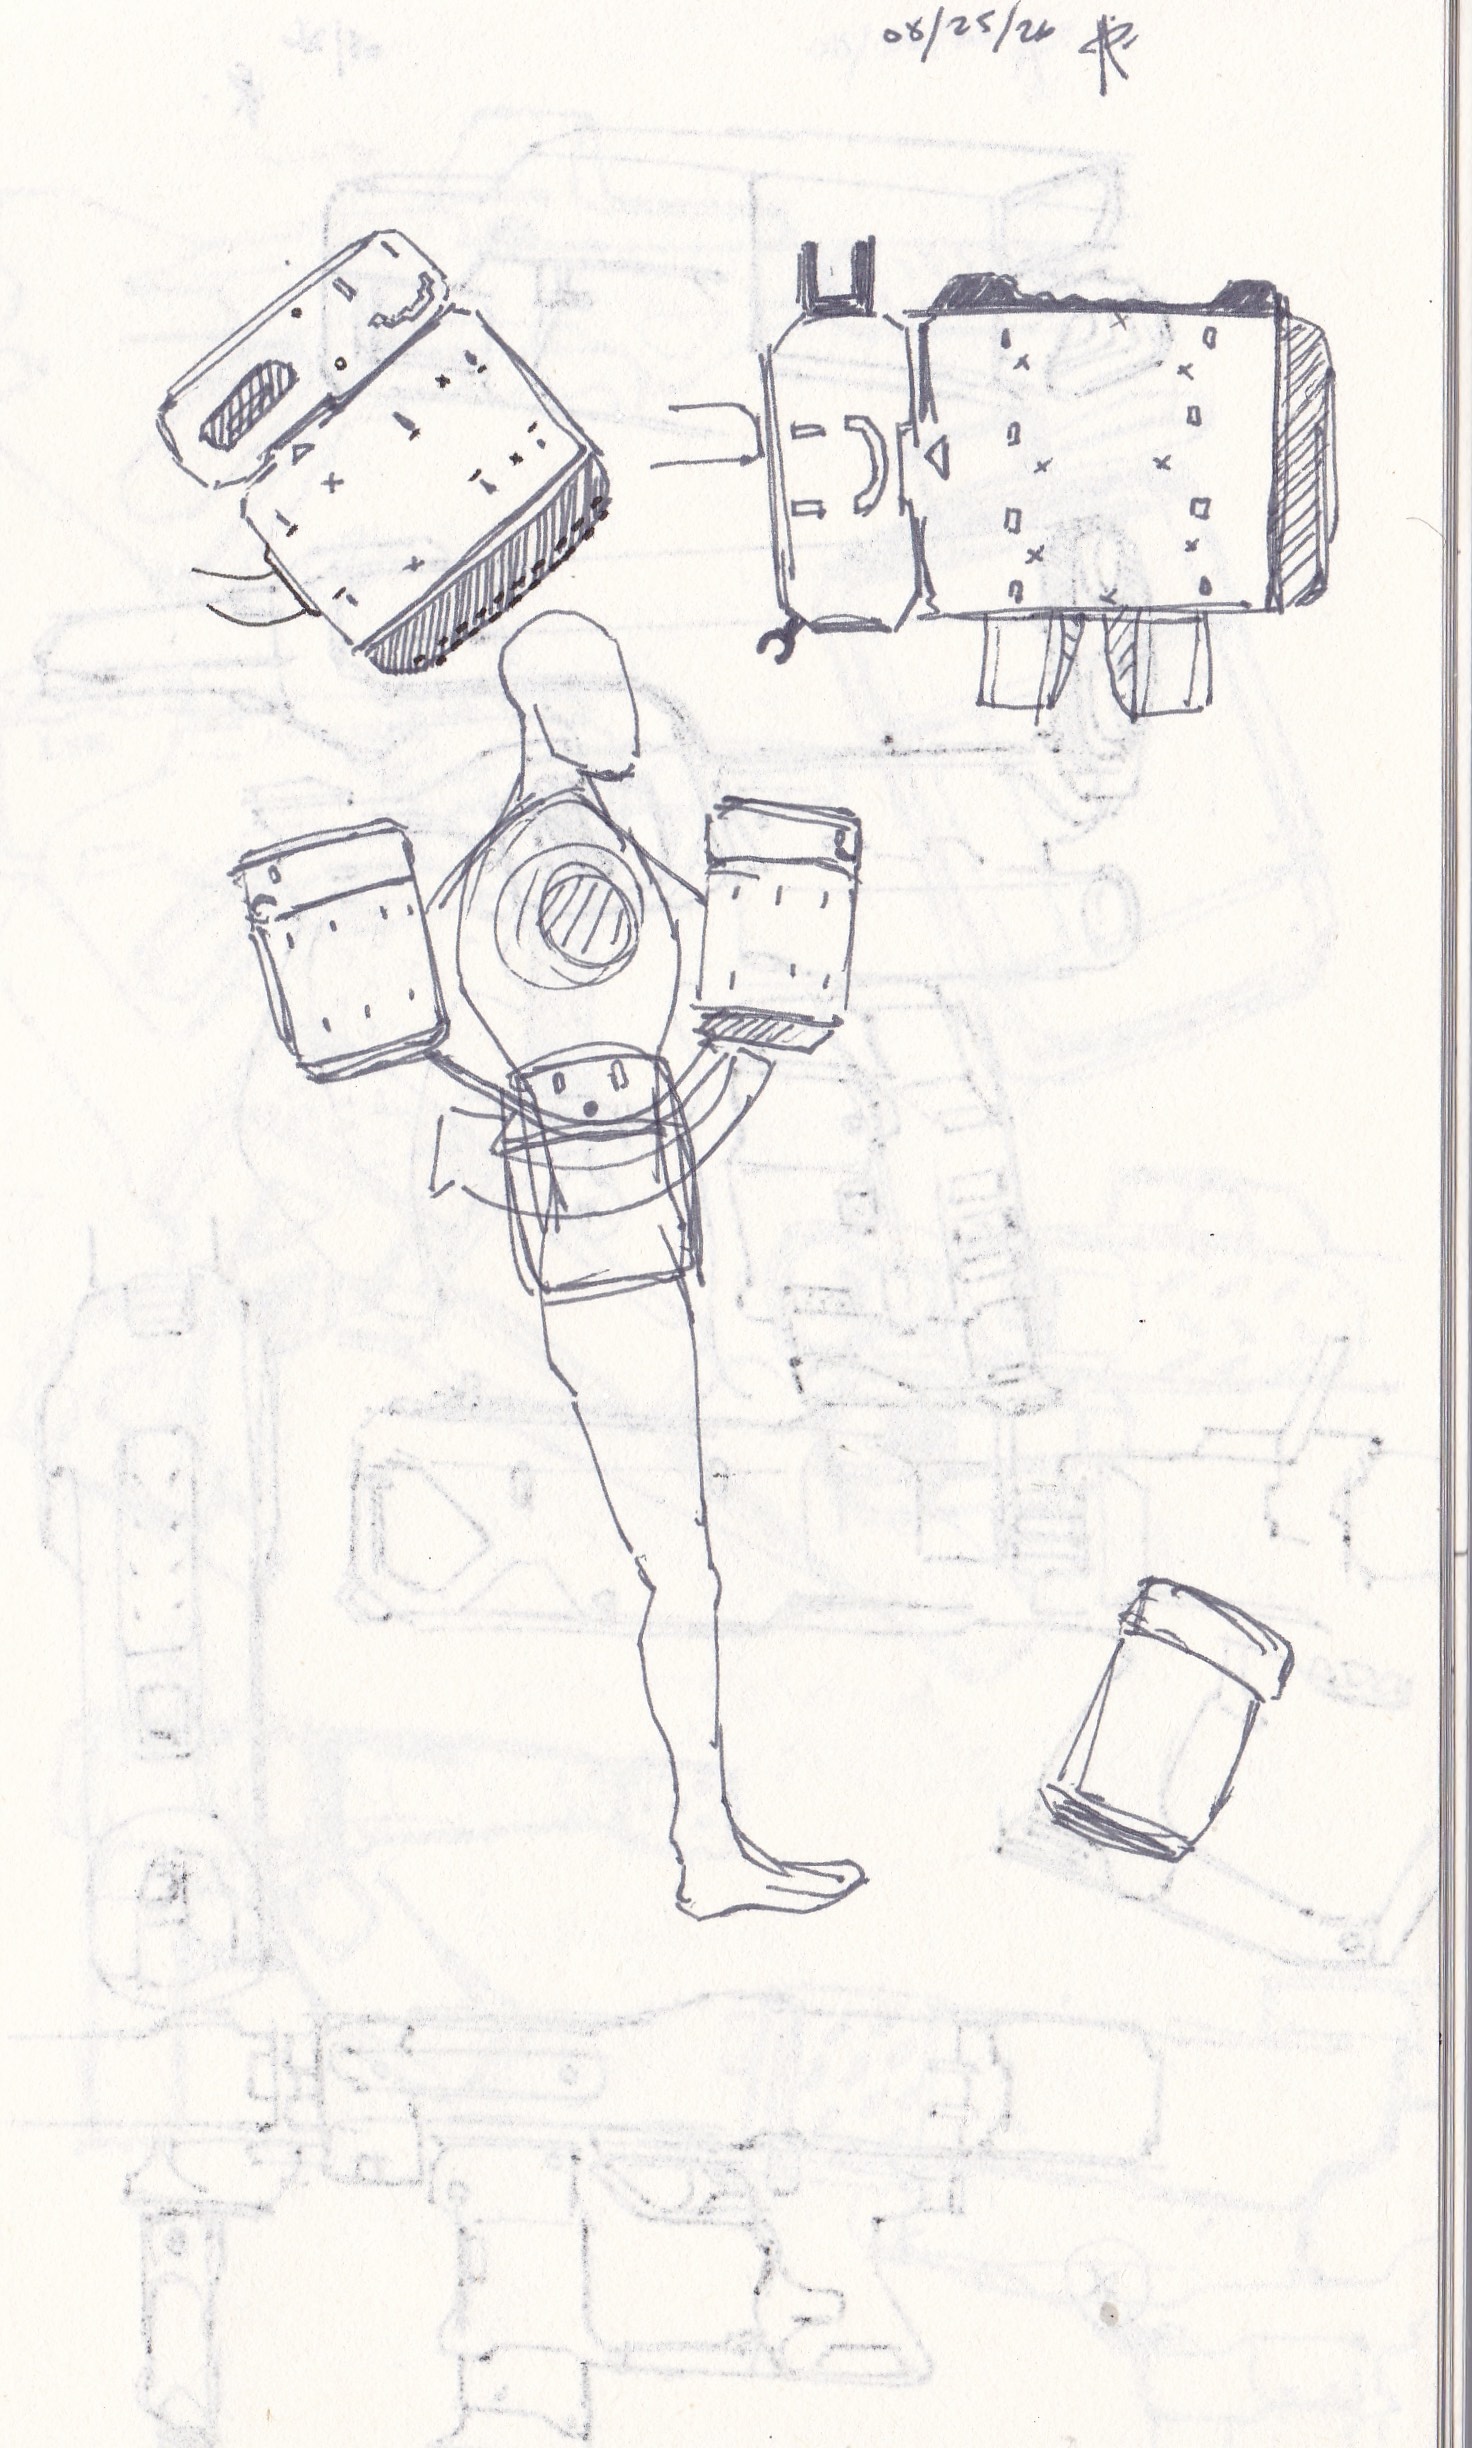
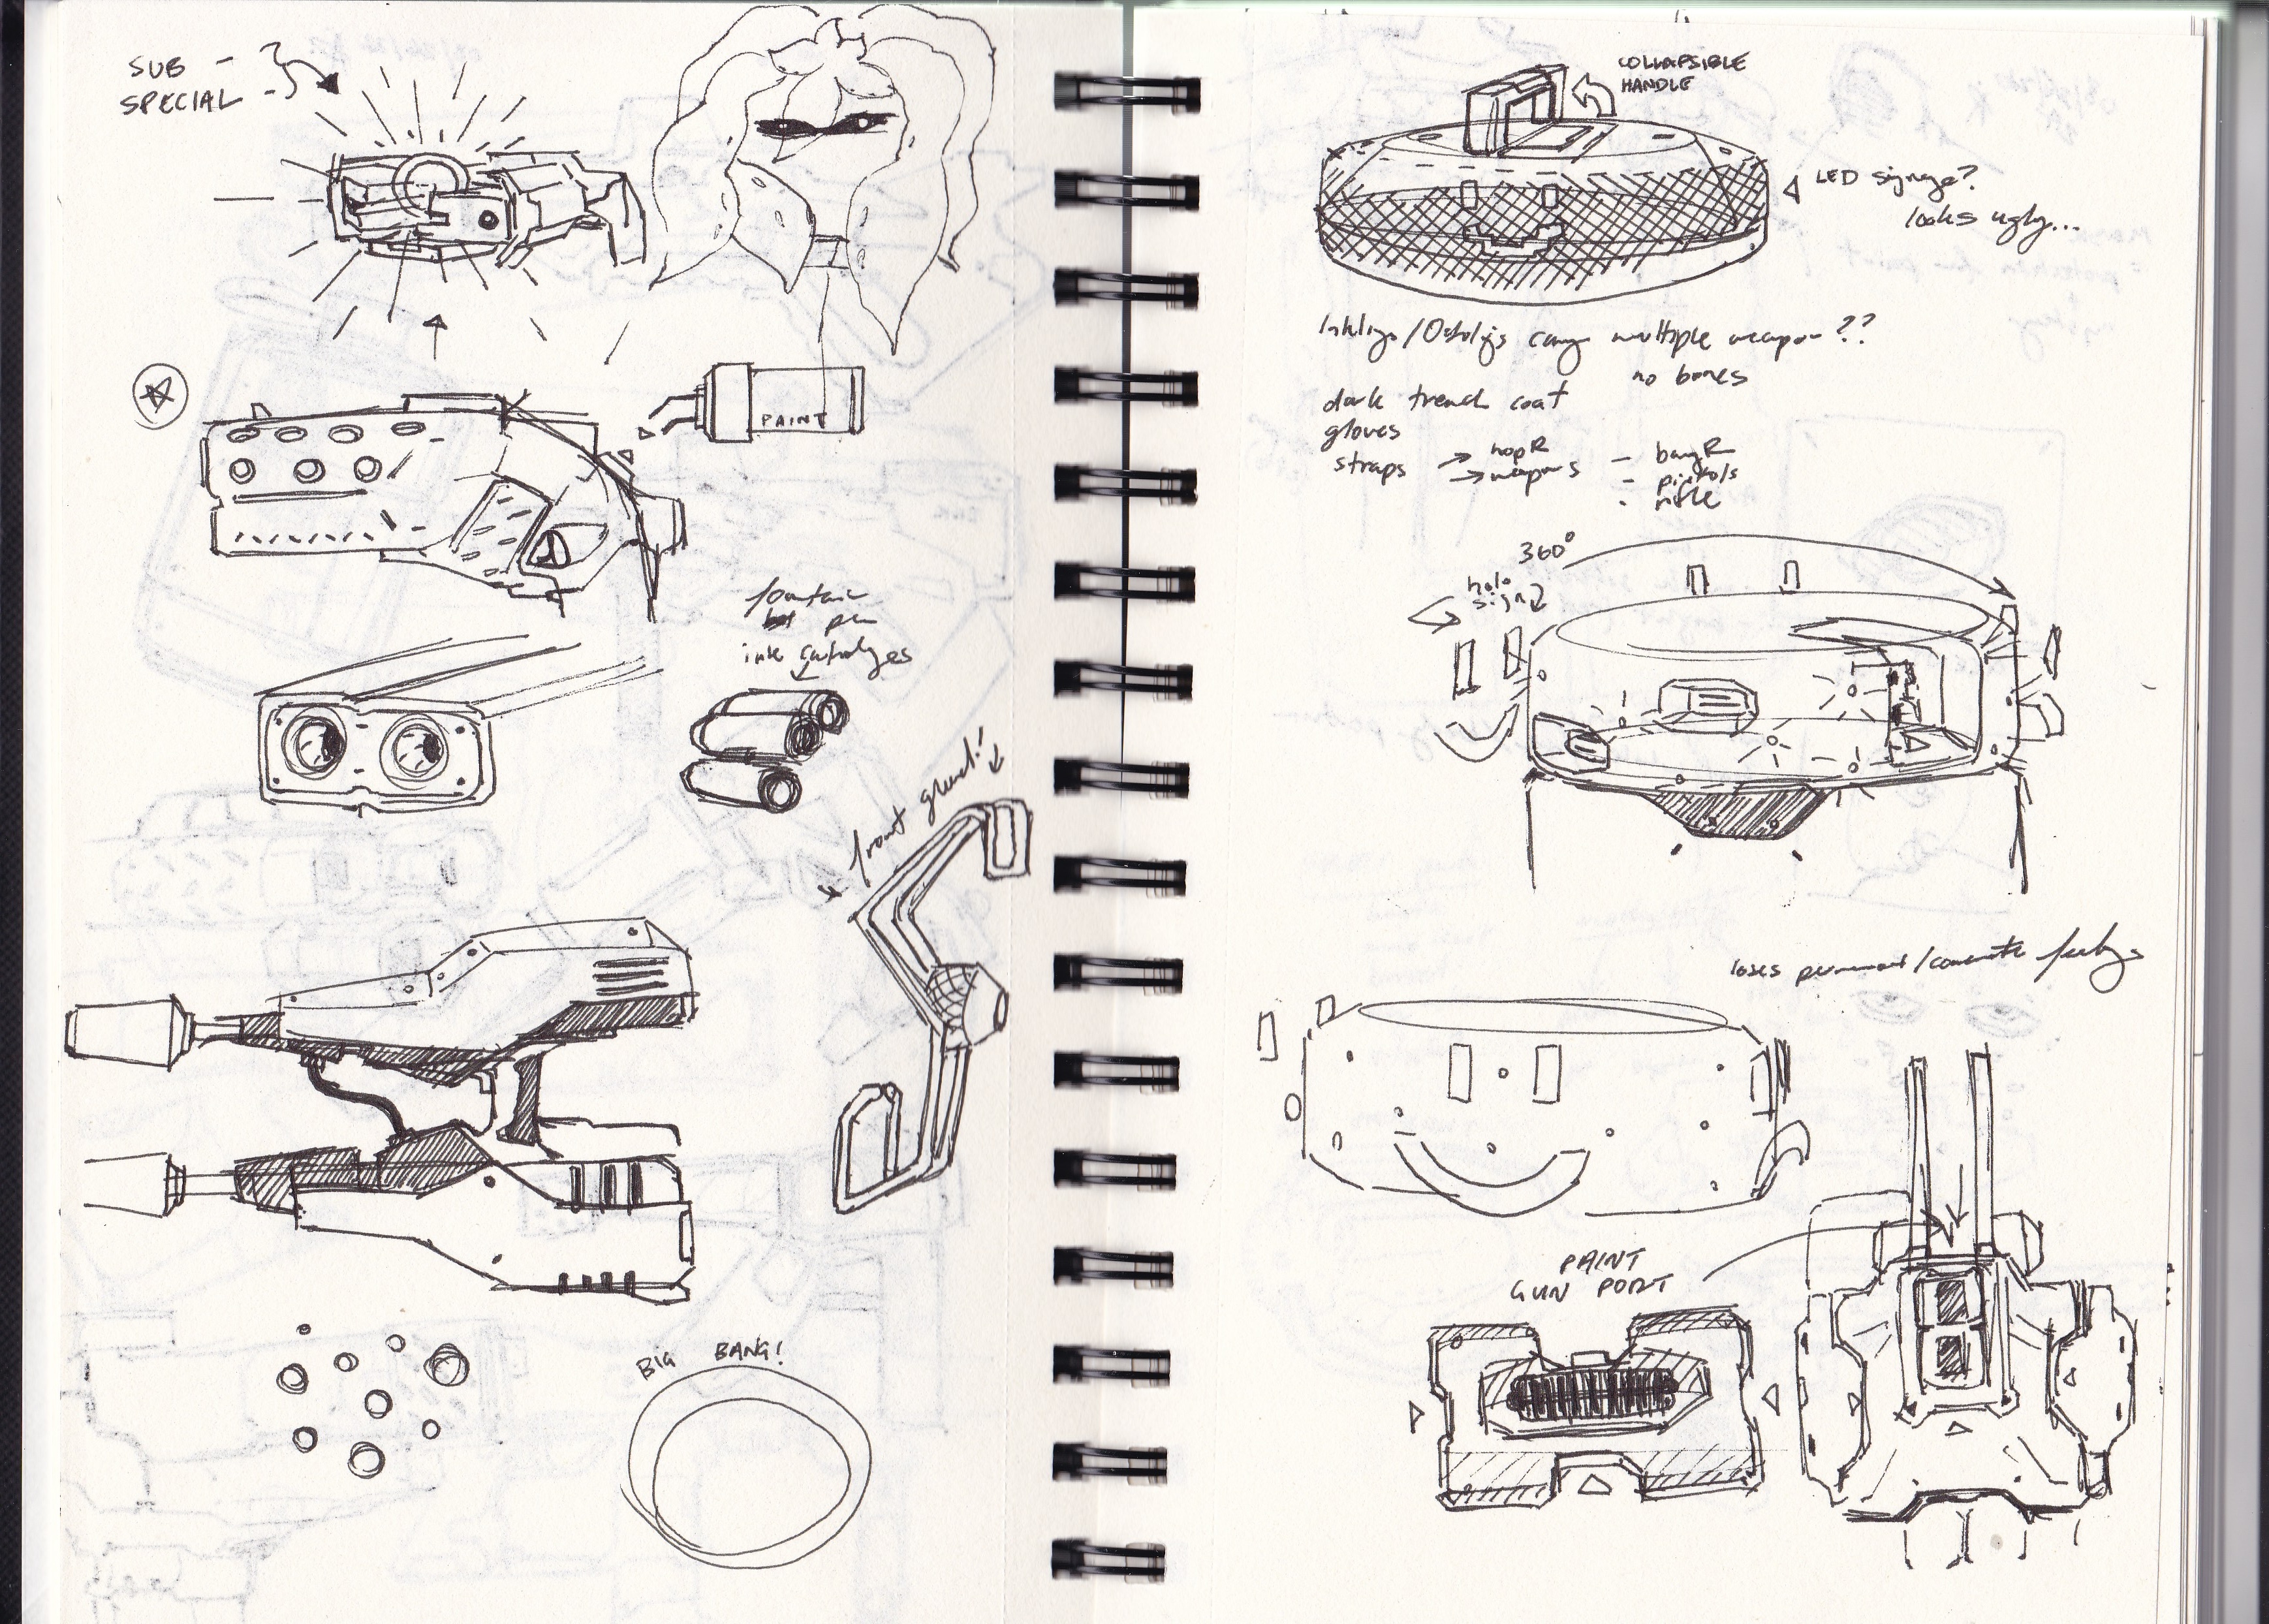
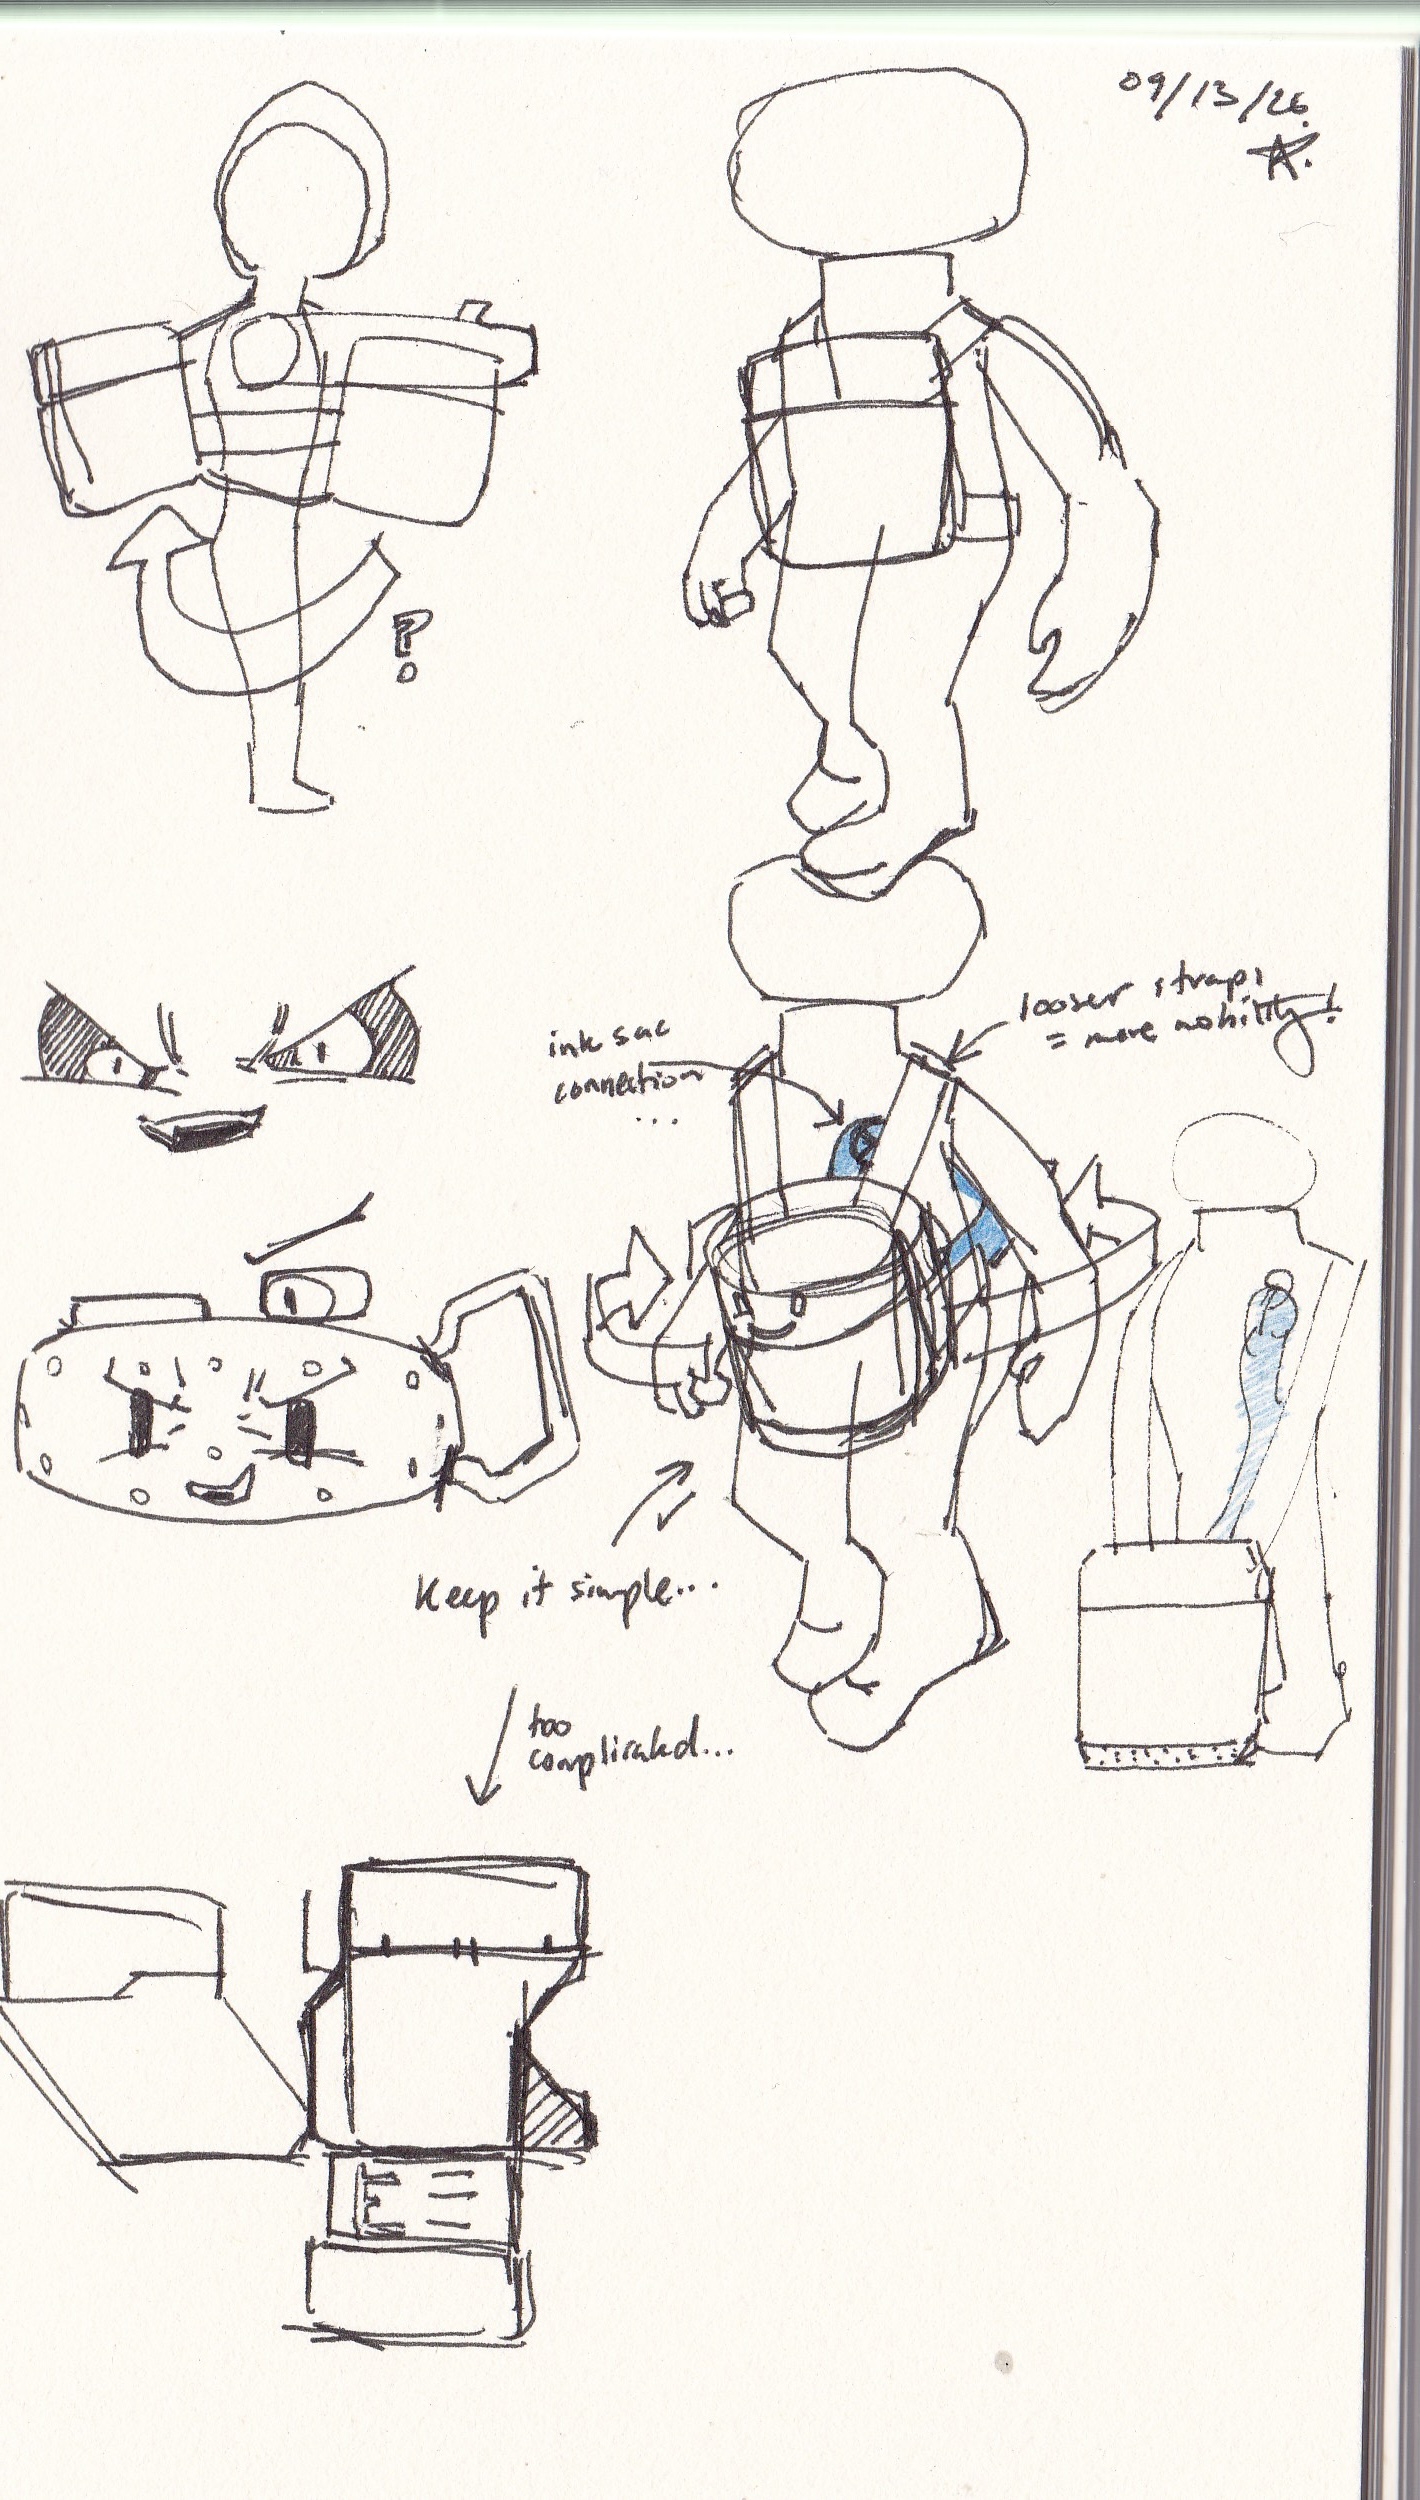
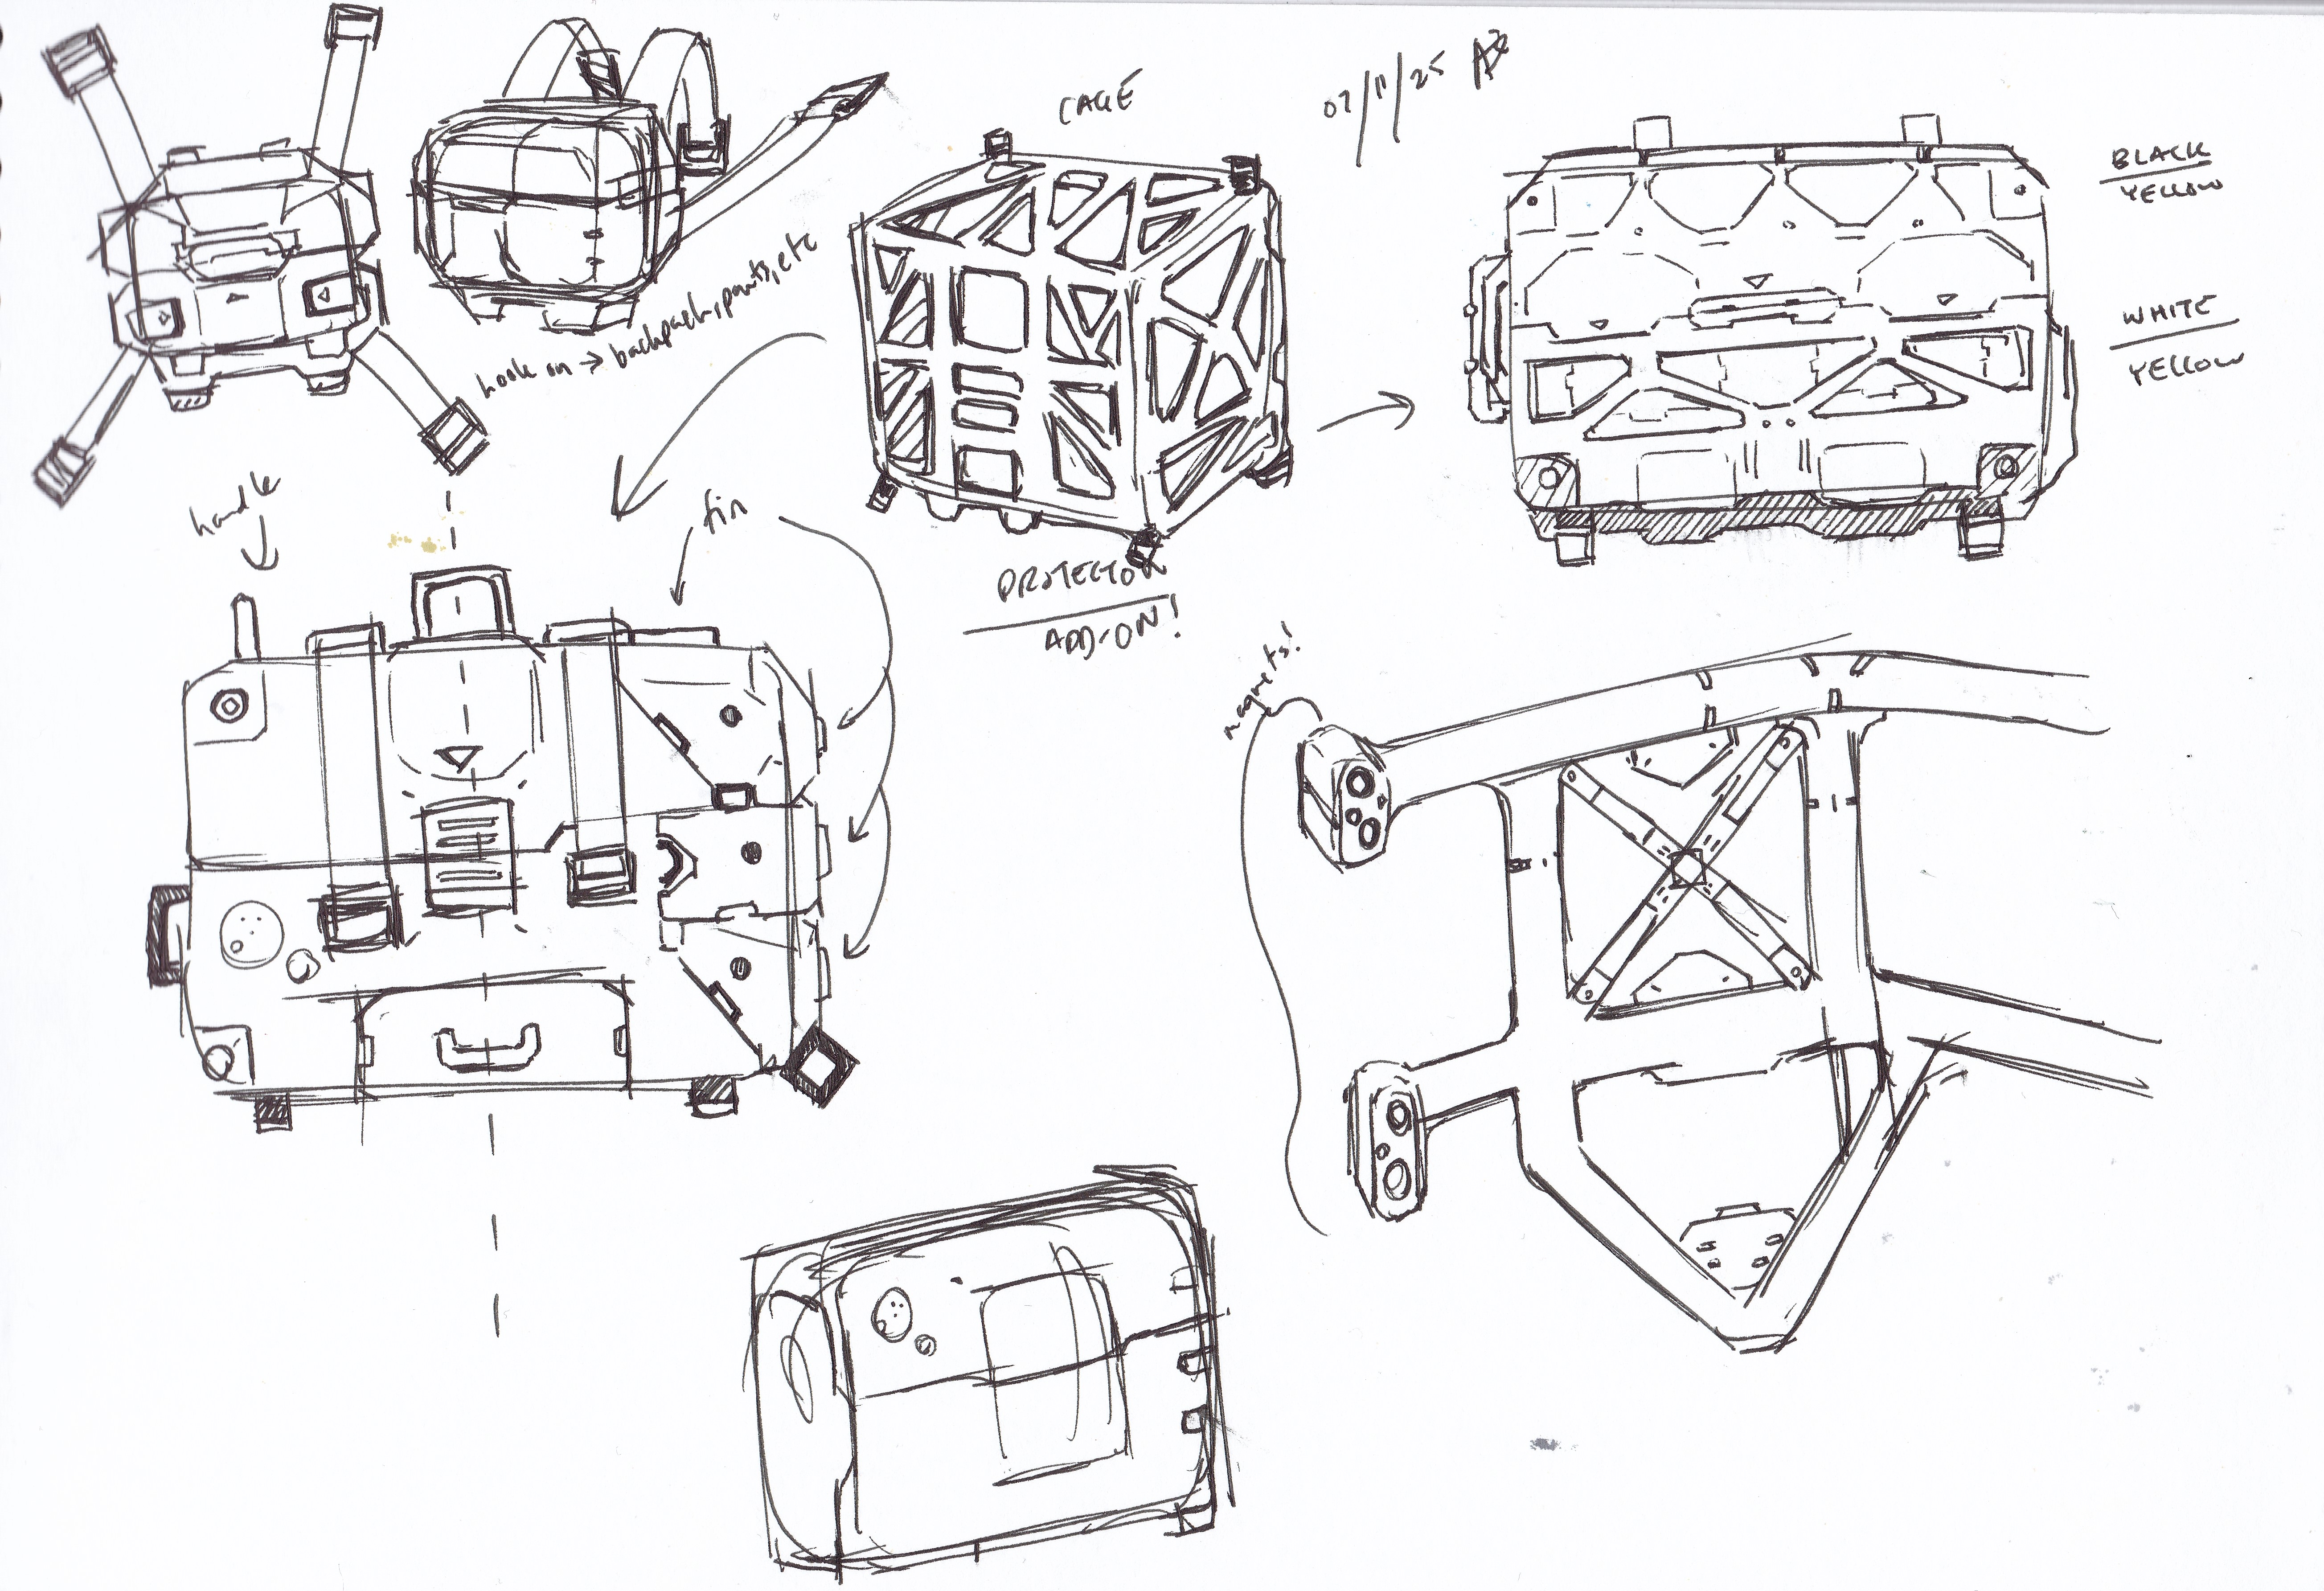
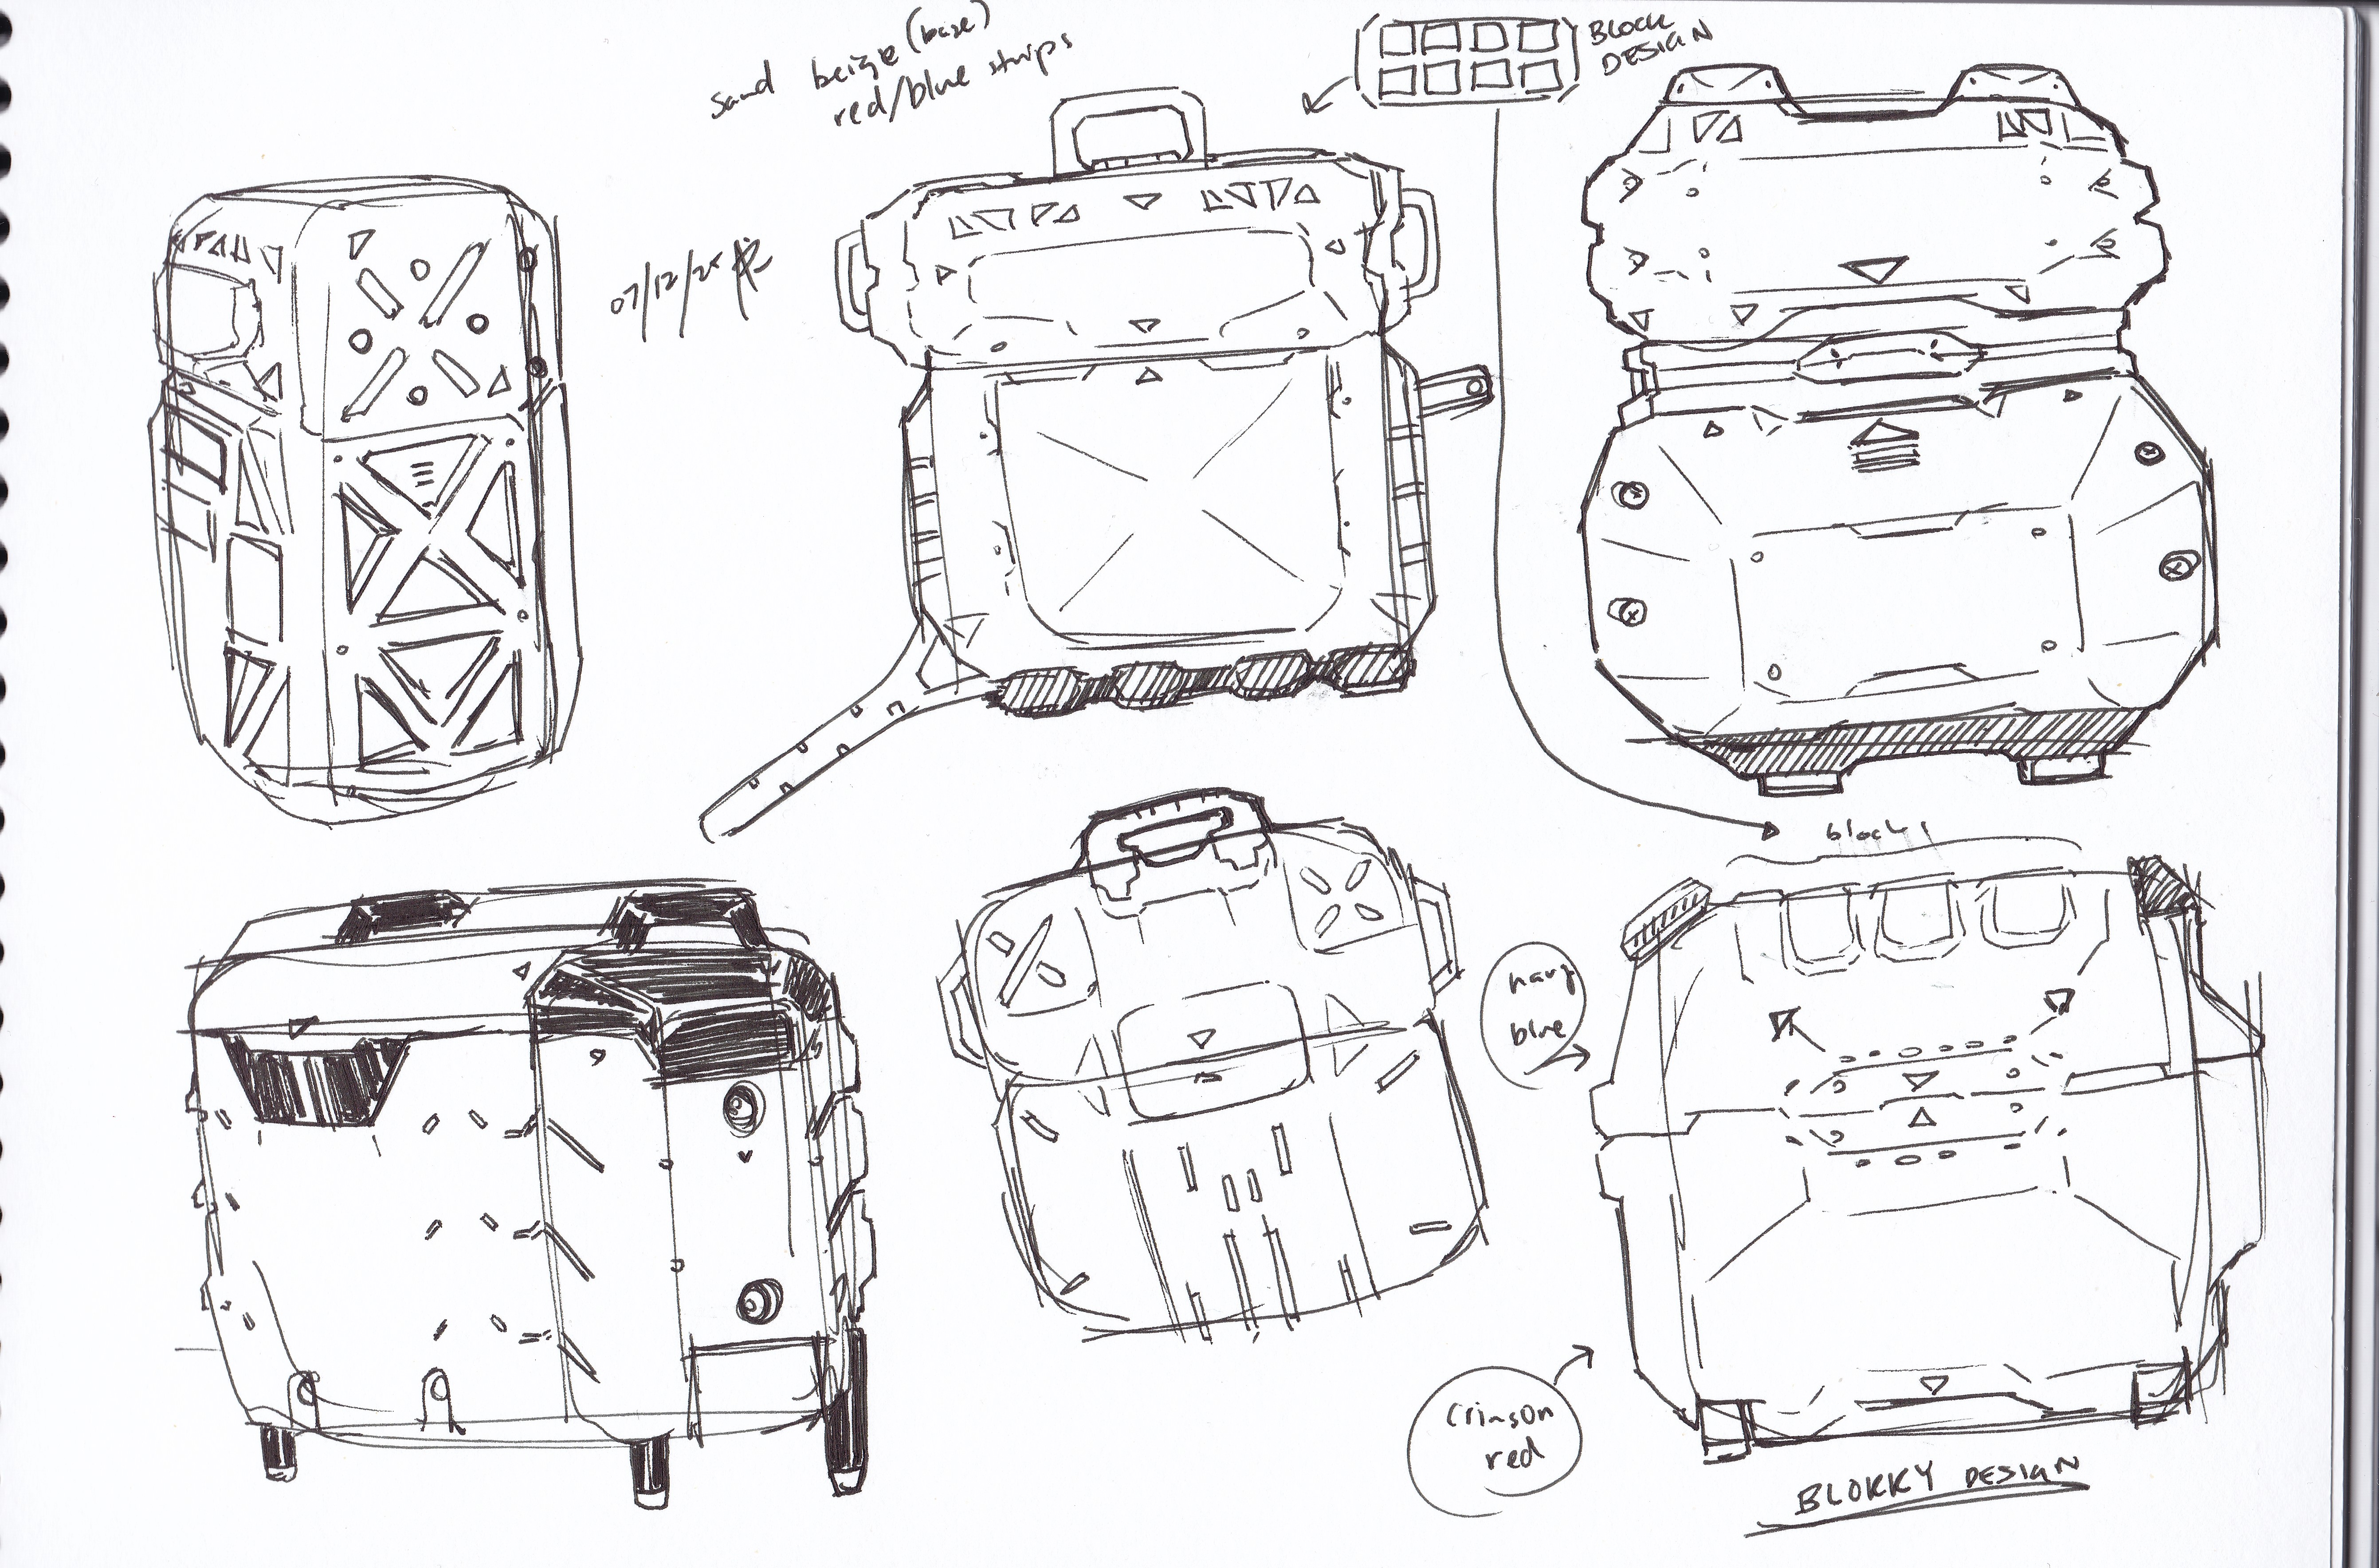
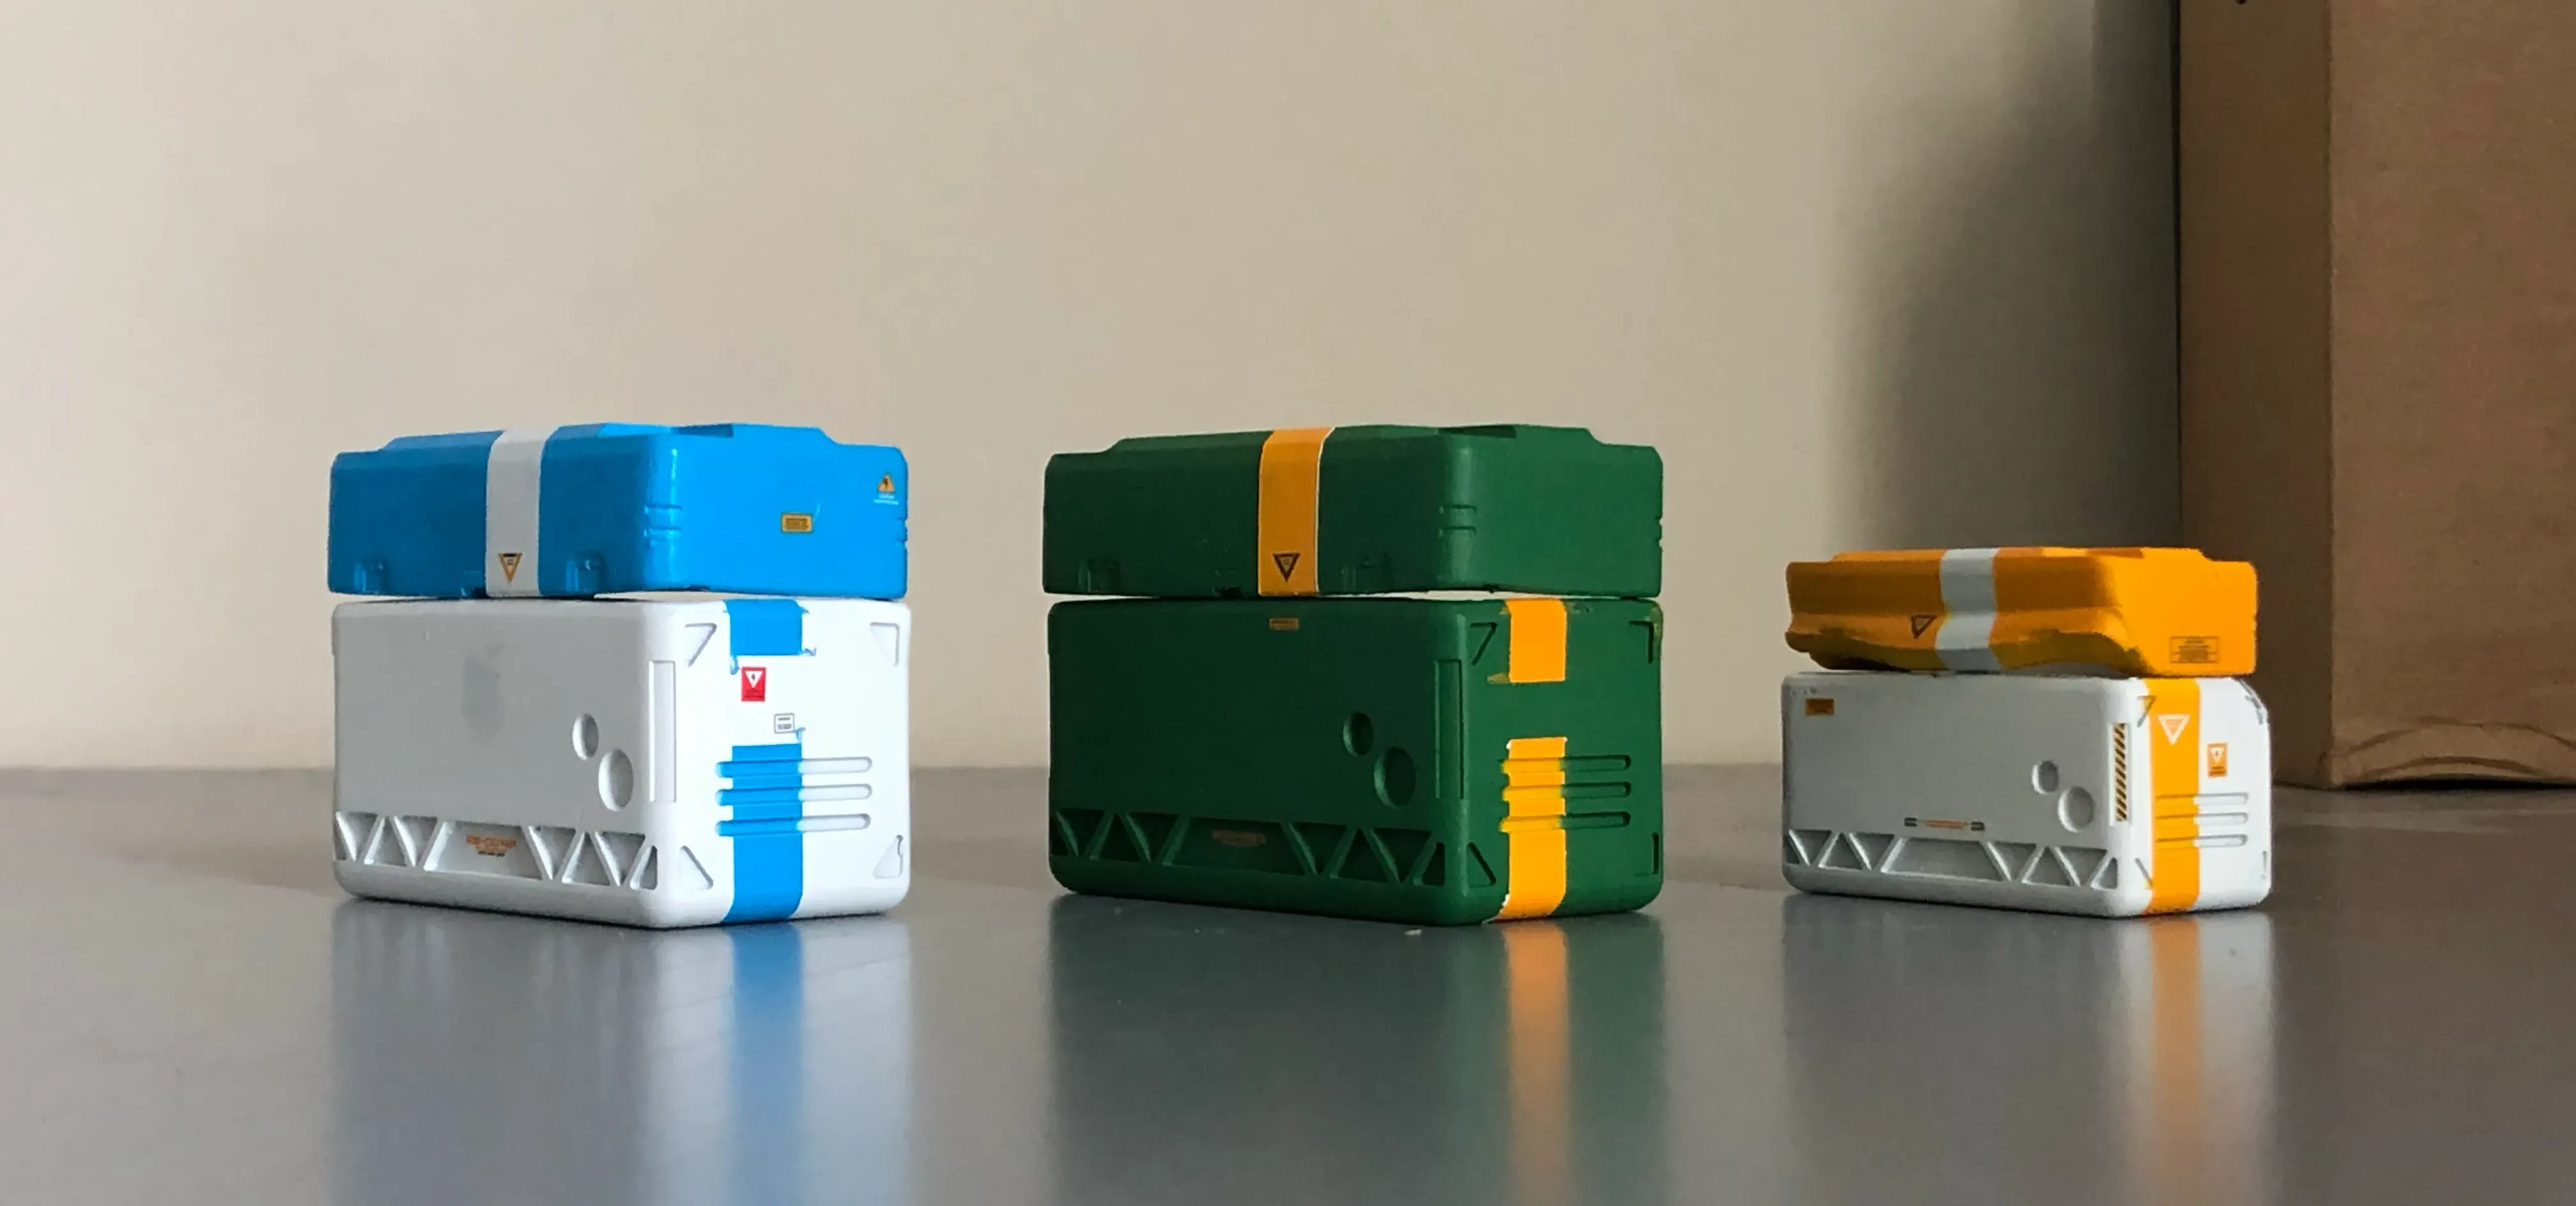
Progress is progress. Continuing to have fun with different design iterations of the container I showed off last week. I also had a sketch of a more outlandish design seen here:
And started modeling it in hopes to 3D print it alongside the other container unit.
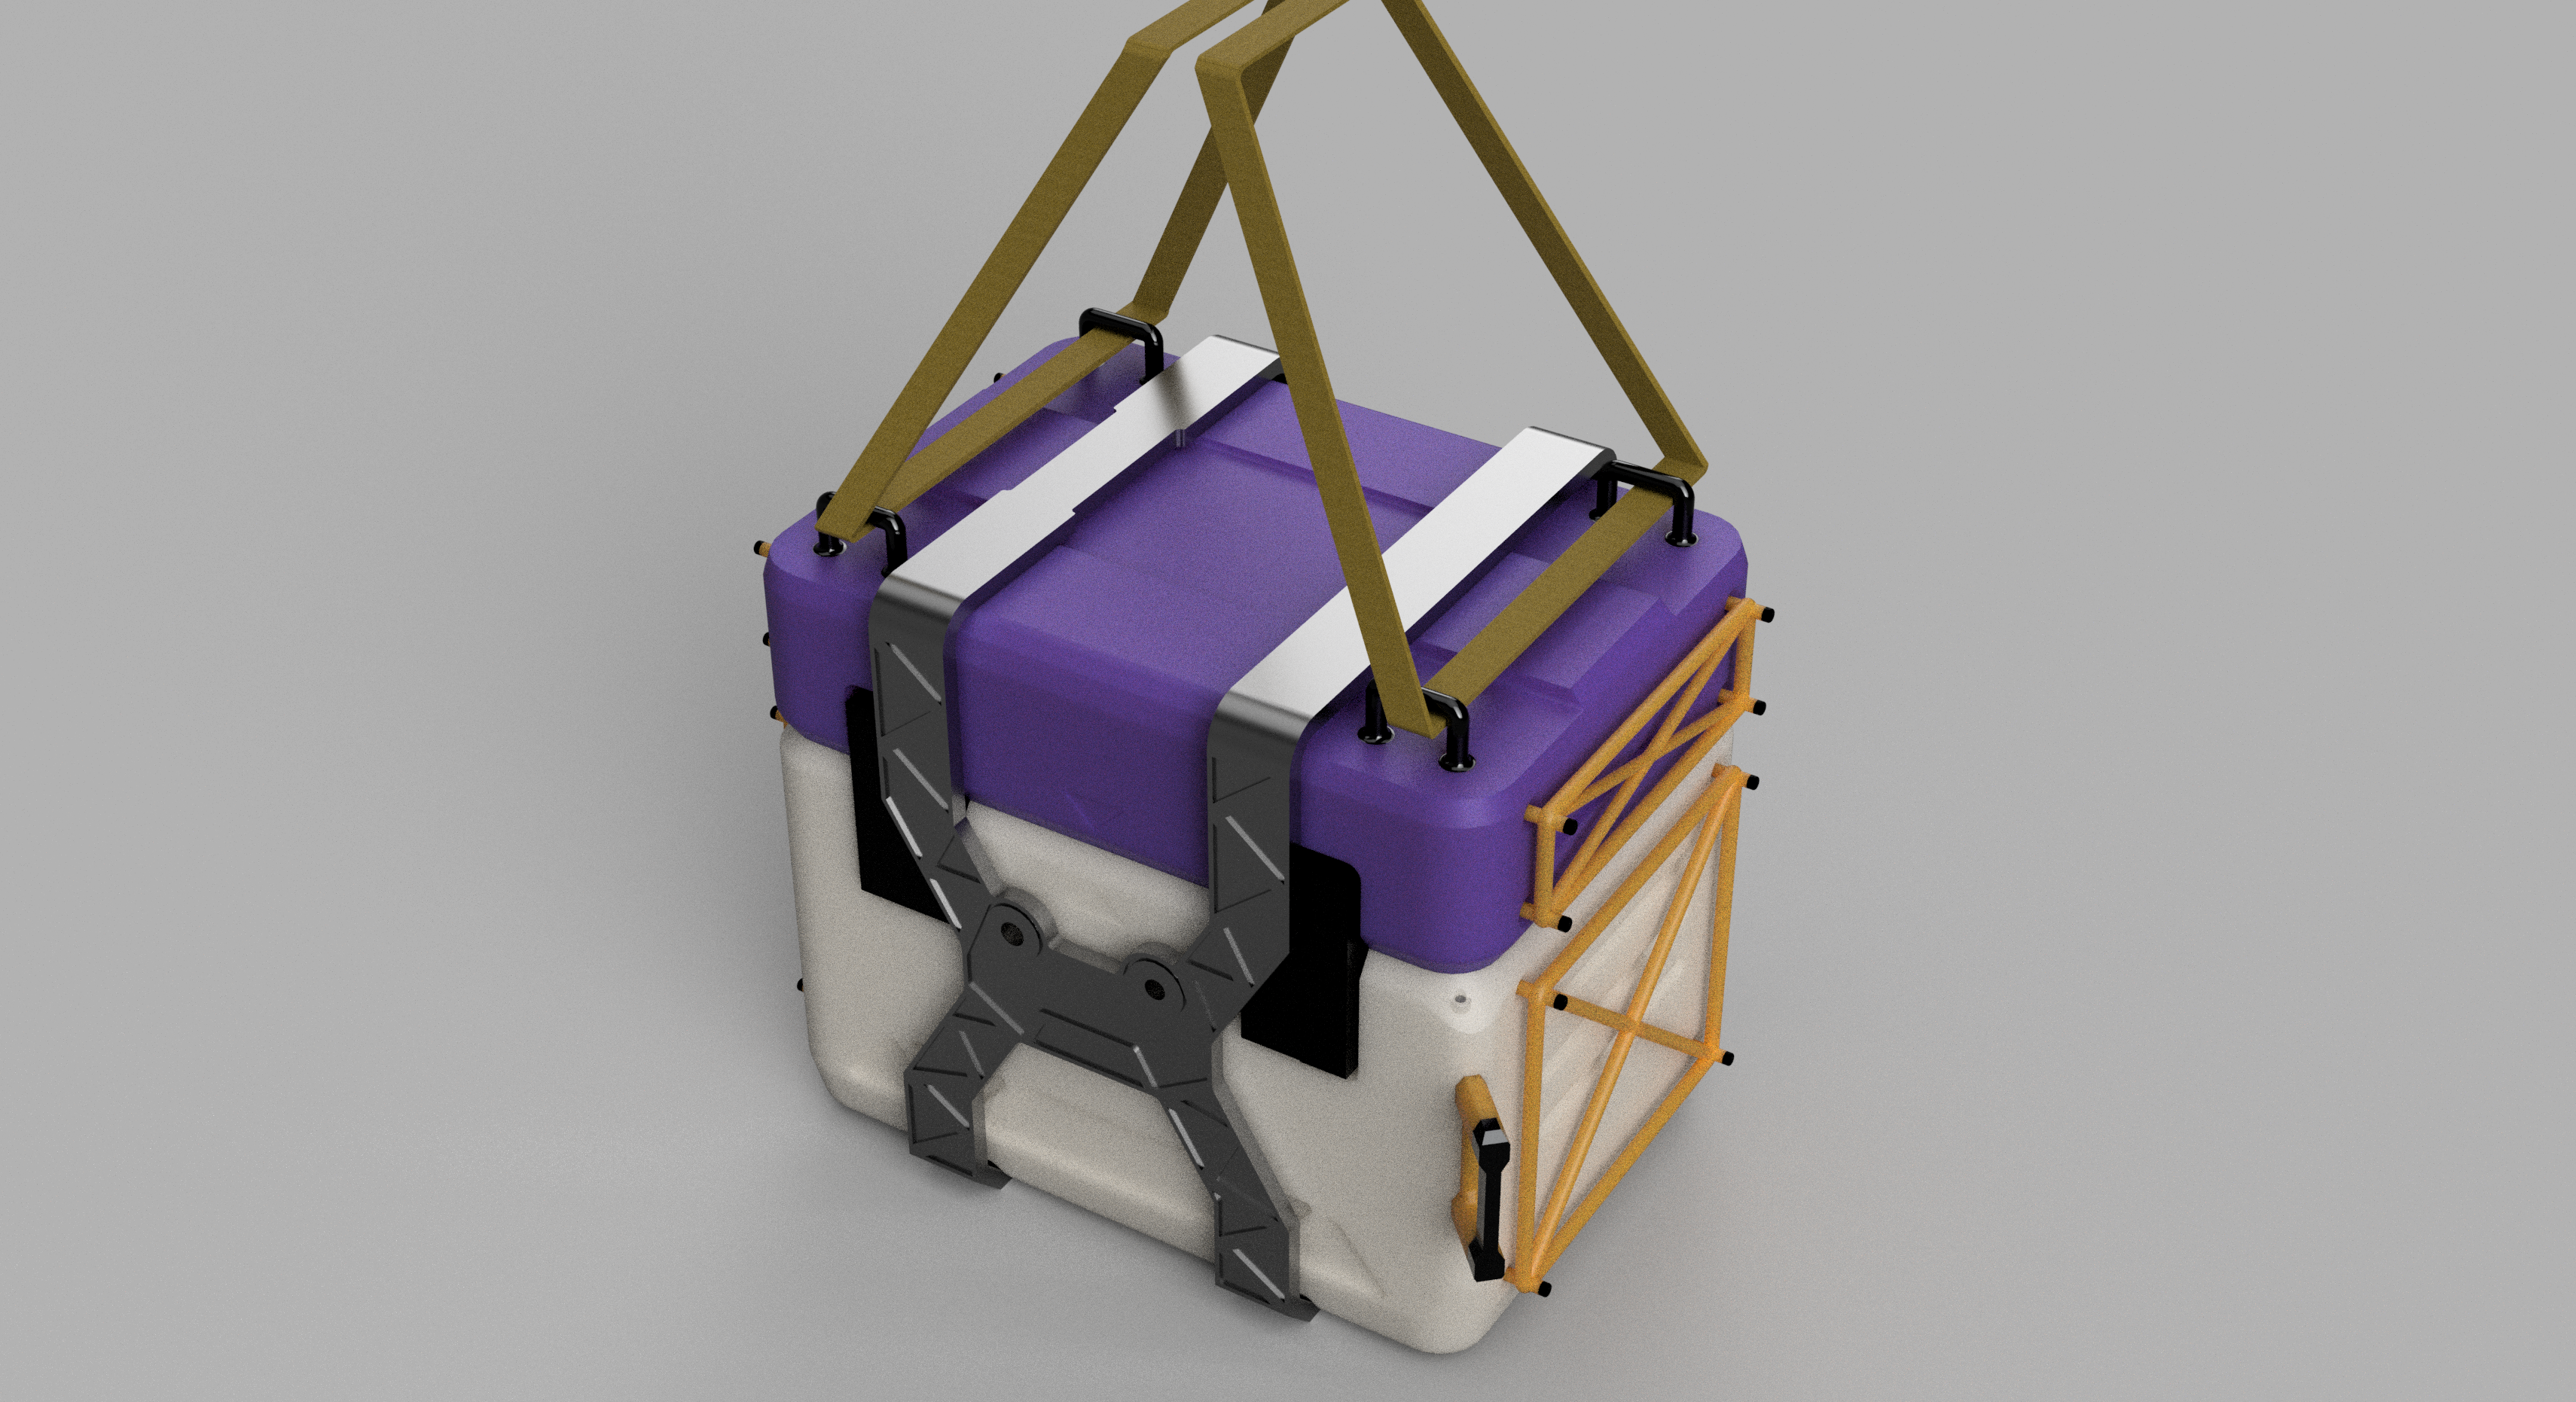
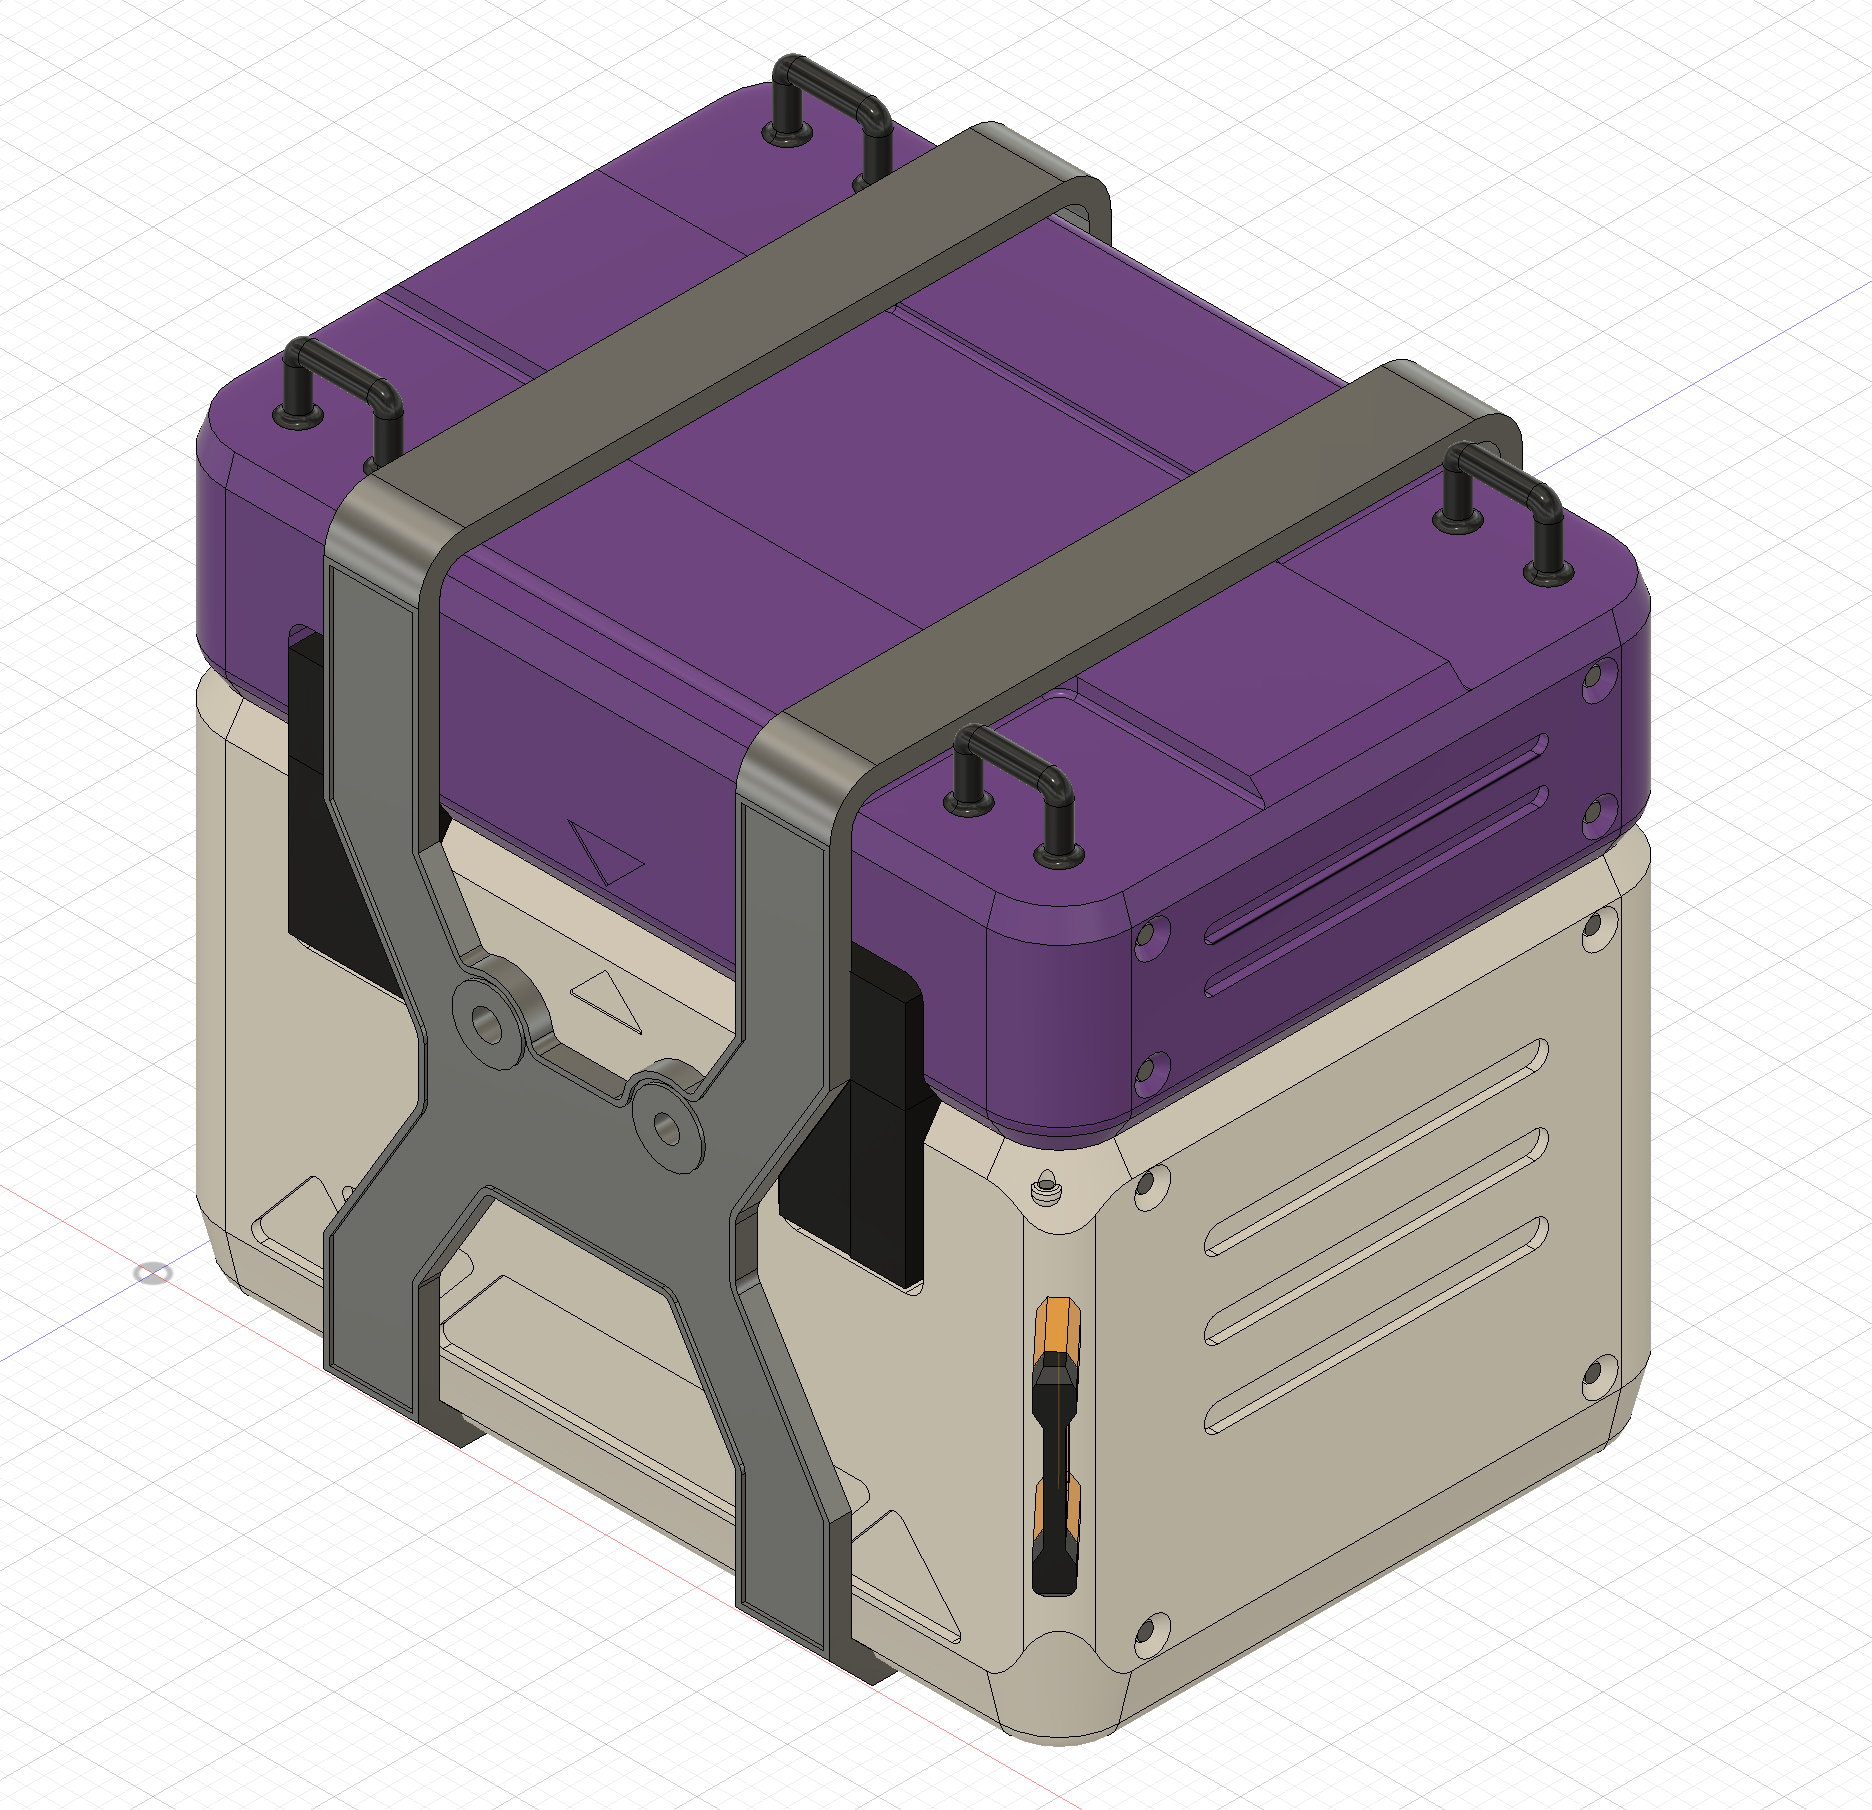
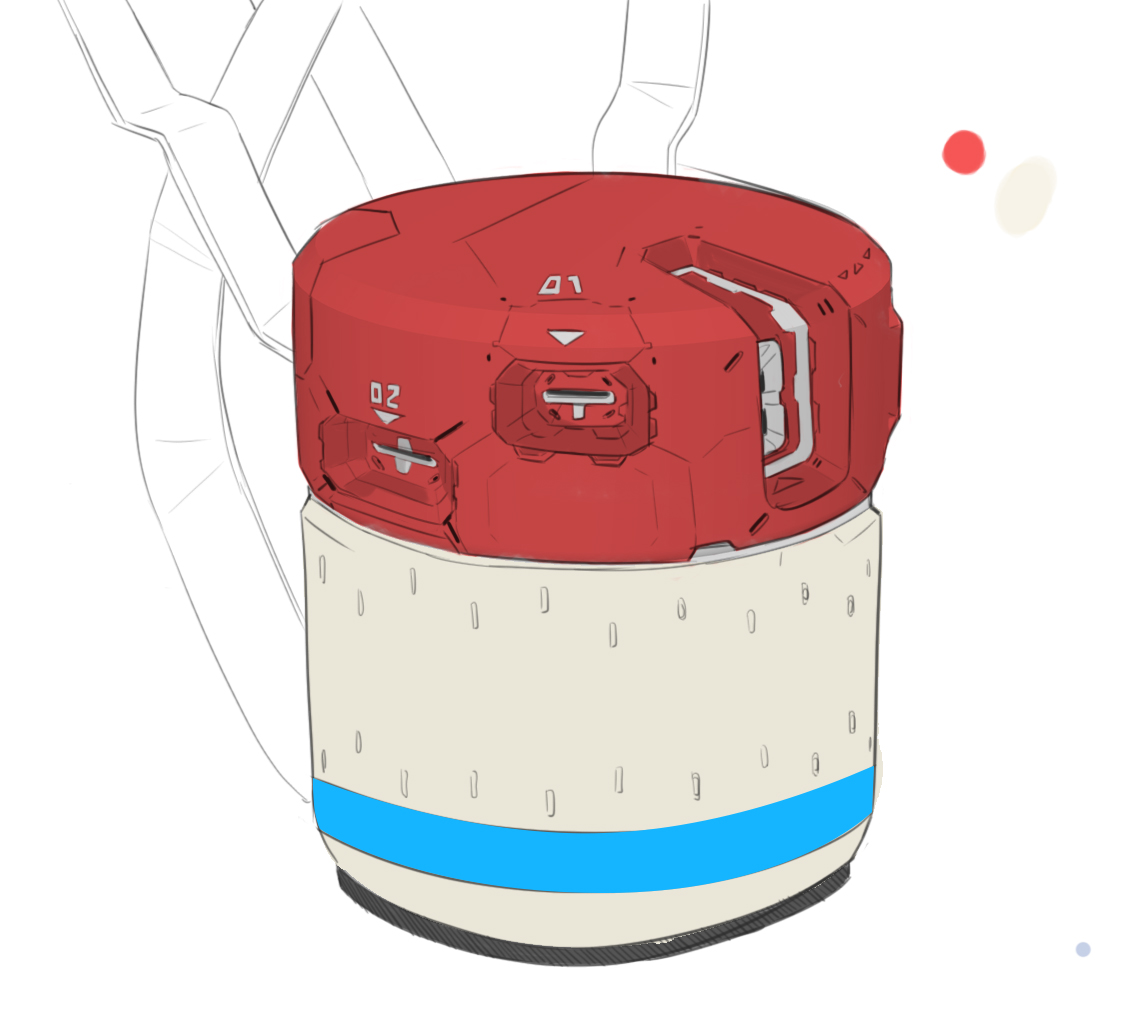
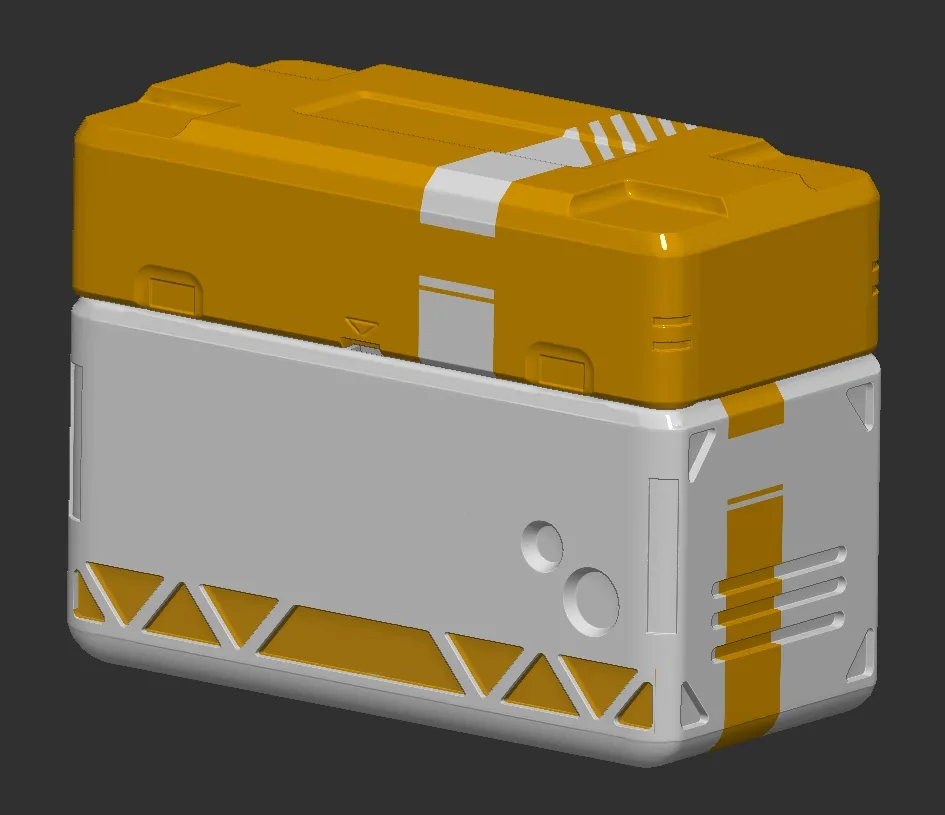
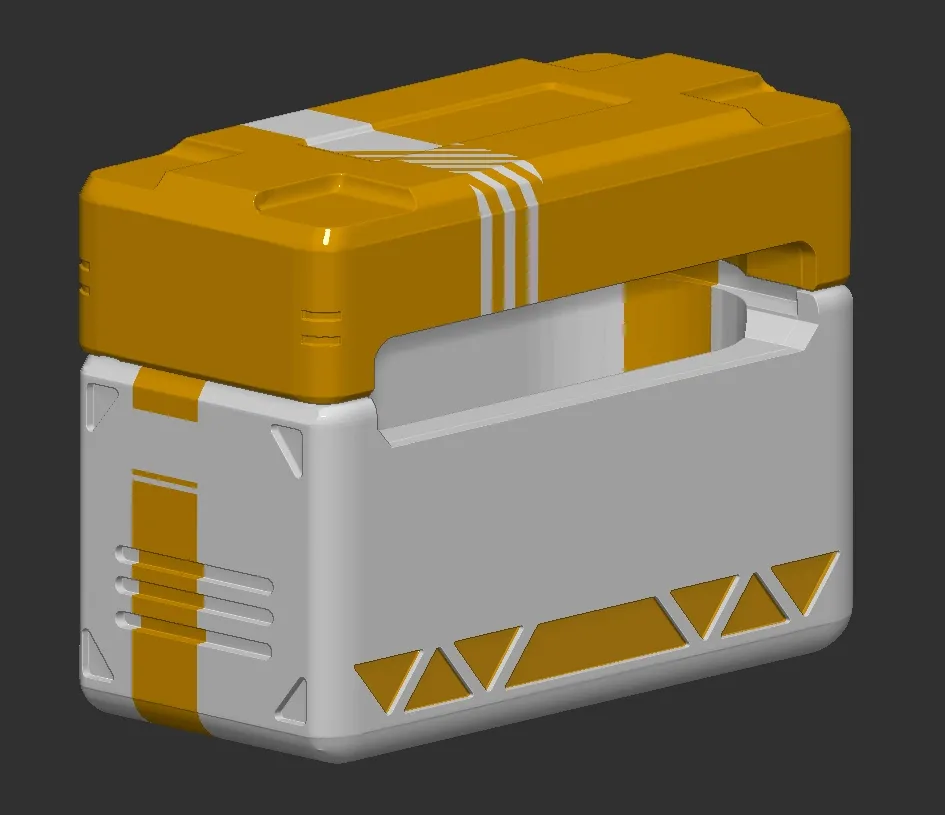
Some quick renders to get a feel of the first unit. Want to see how far I can go but also trying to feel what looks right, especially after the print. Here you can see straps coming off the top, making for a cool backpack keychain/charm possibly…
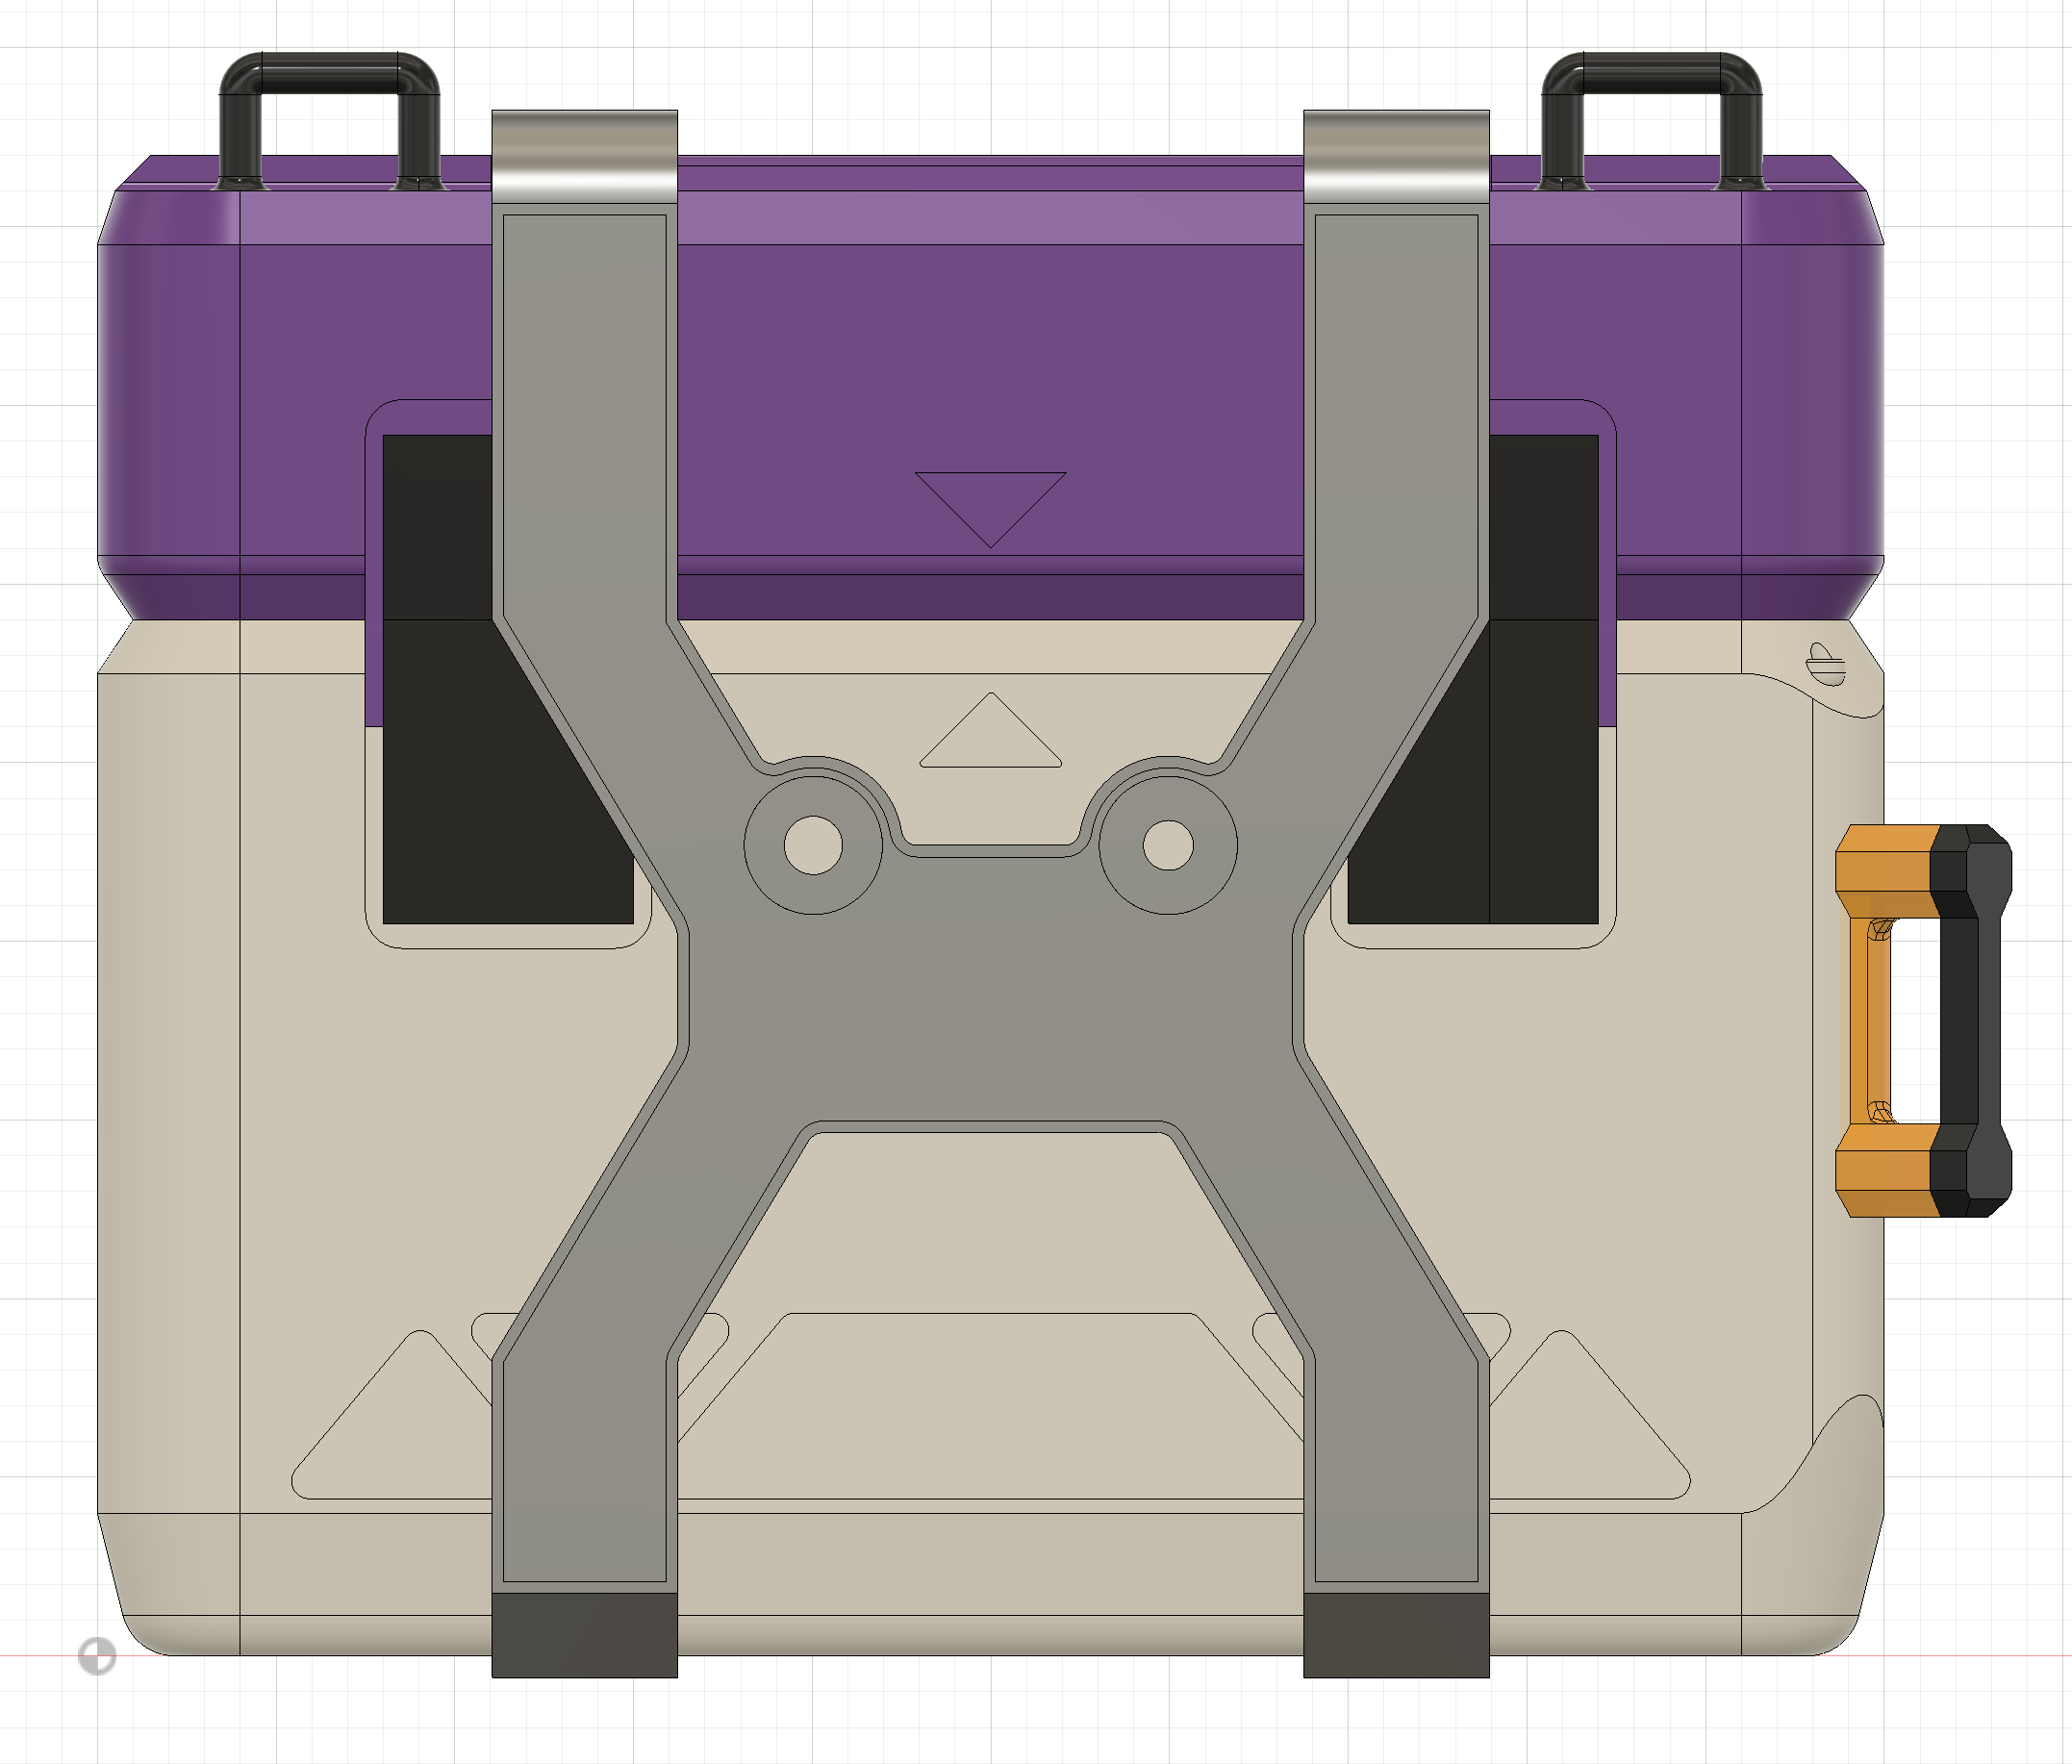
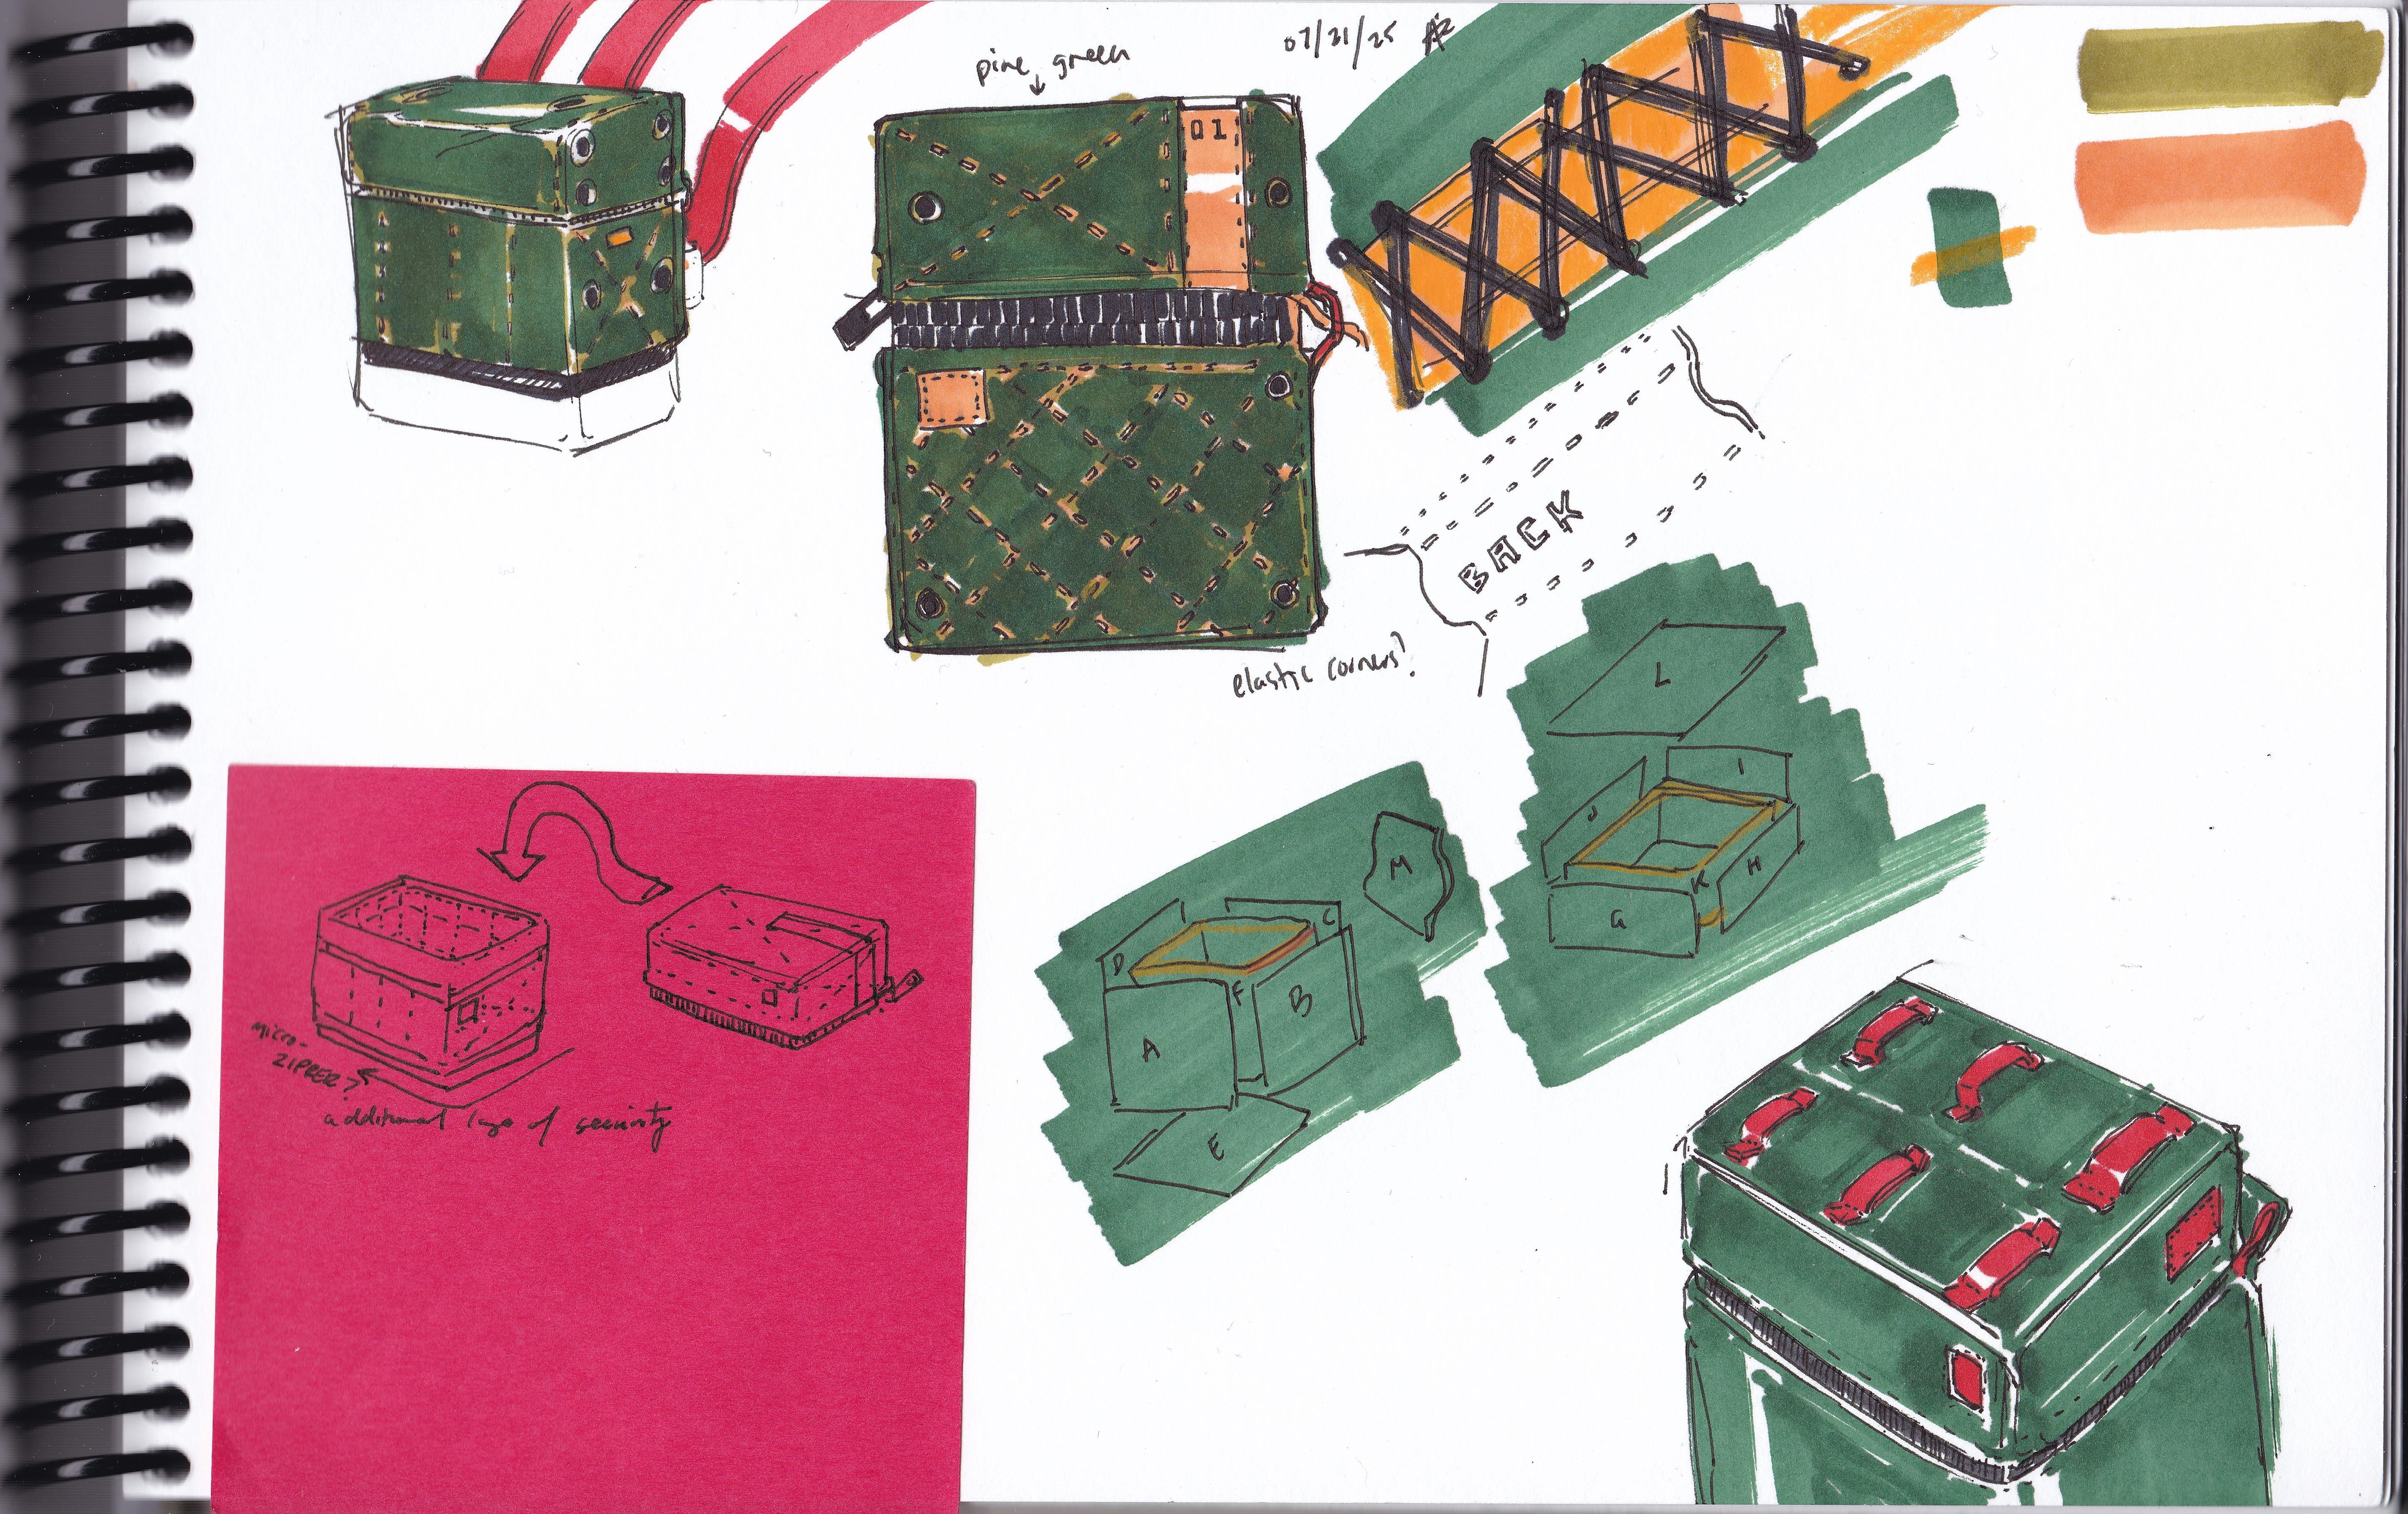
So I lied. I promised to show some work for HOPr, but I took a break from the splatPak project as I was ideating/iterating on the design and story each day, I started to feel that it got boring and I wanted to take a stab at other ideas I had and pivoted to paintCube. This is basically the containers I built for the airpod case project but version 2.0 and not entirely for the Air Pods, but something nice to put on my desk. This may look very similar to the past project design but I just had a interest to do a do-over in this and that’s where there’s a lot of fun too. To try a old design again with newly gained skills.
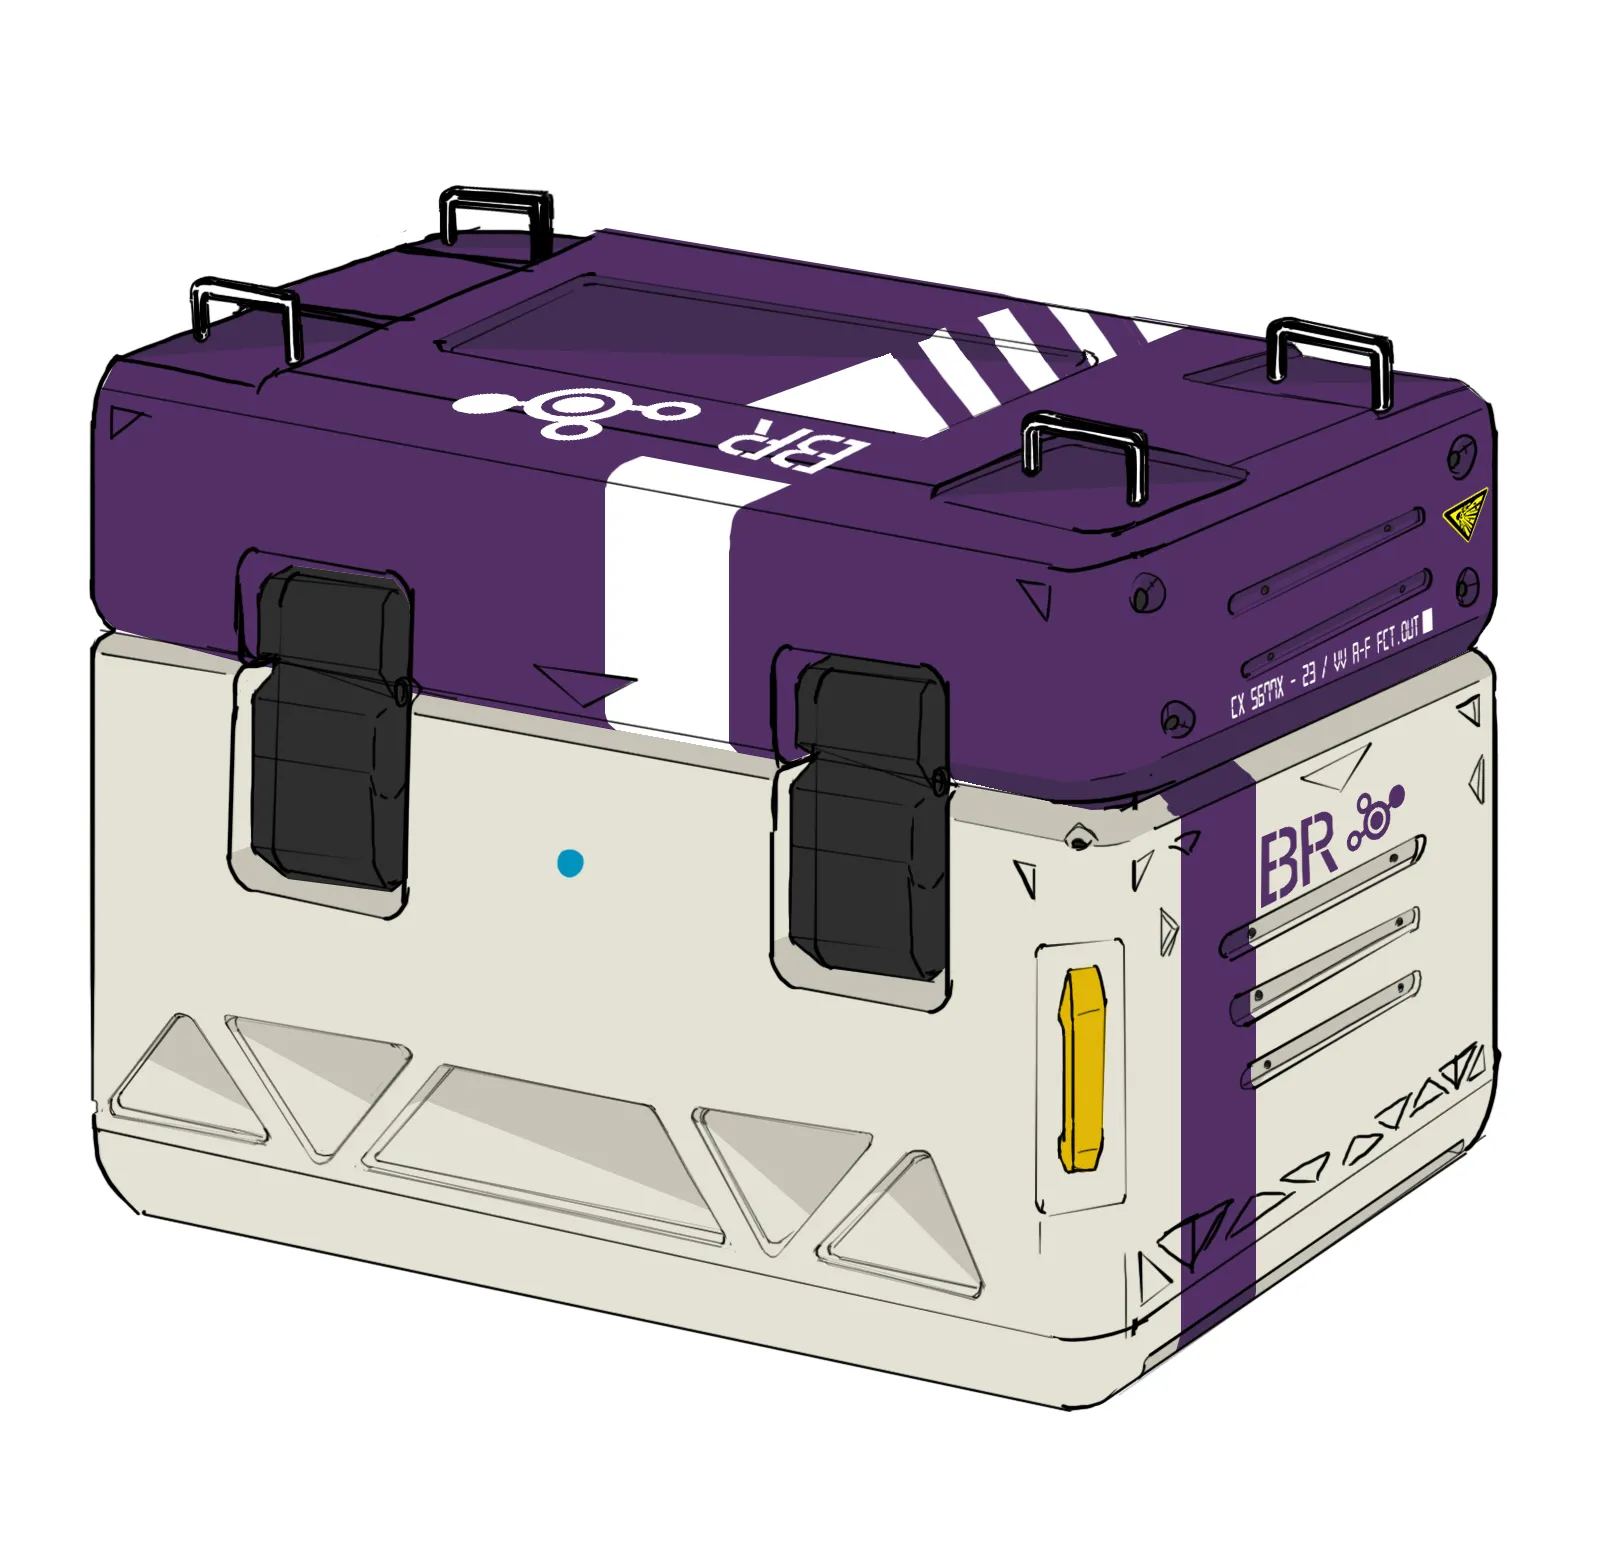
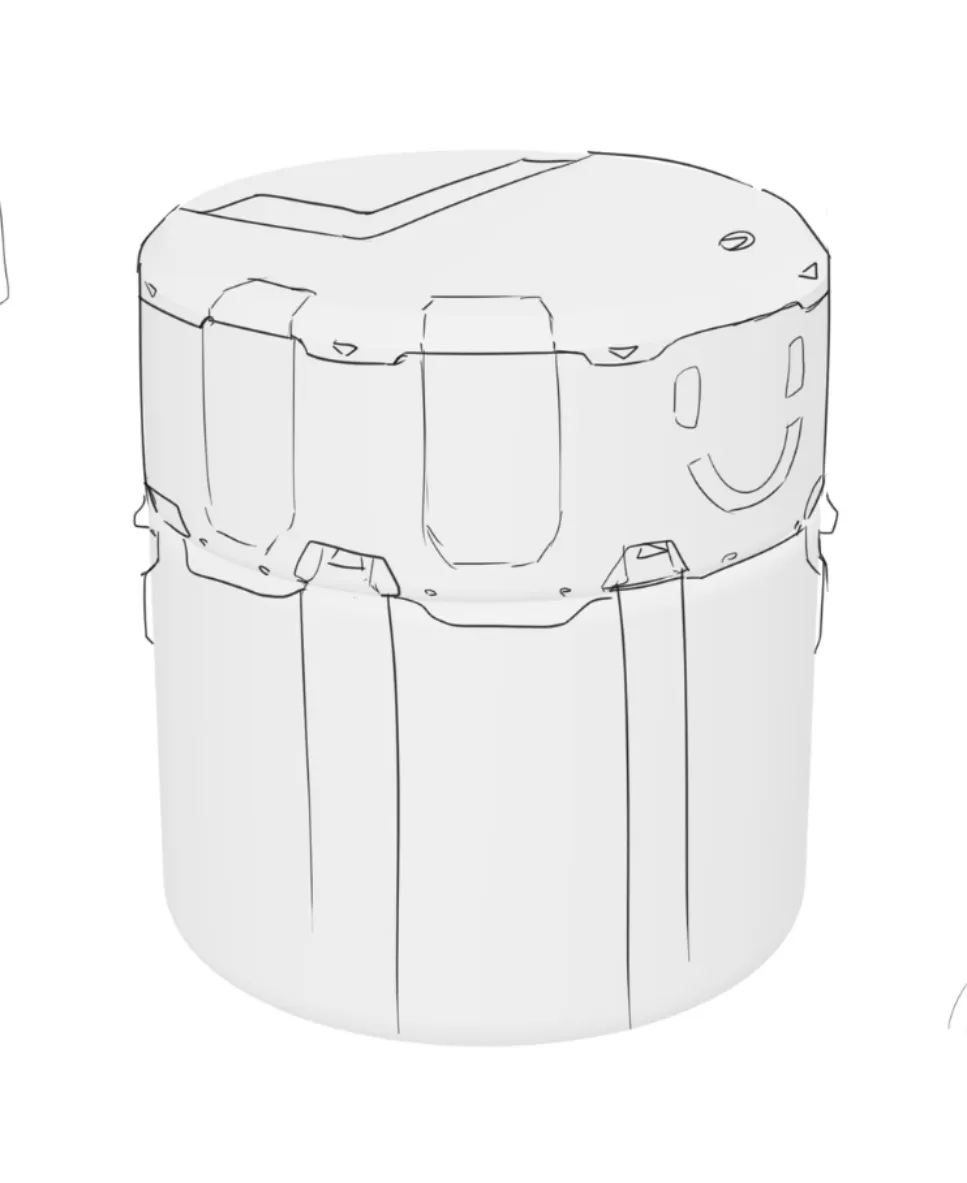
You might have seen this sketch I had made earlier for my previous project
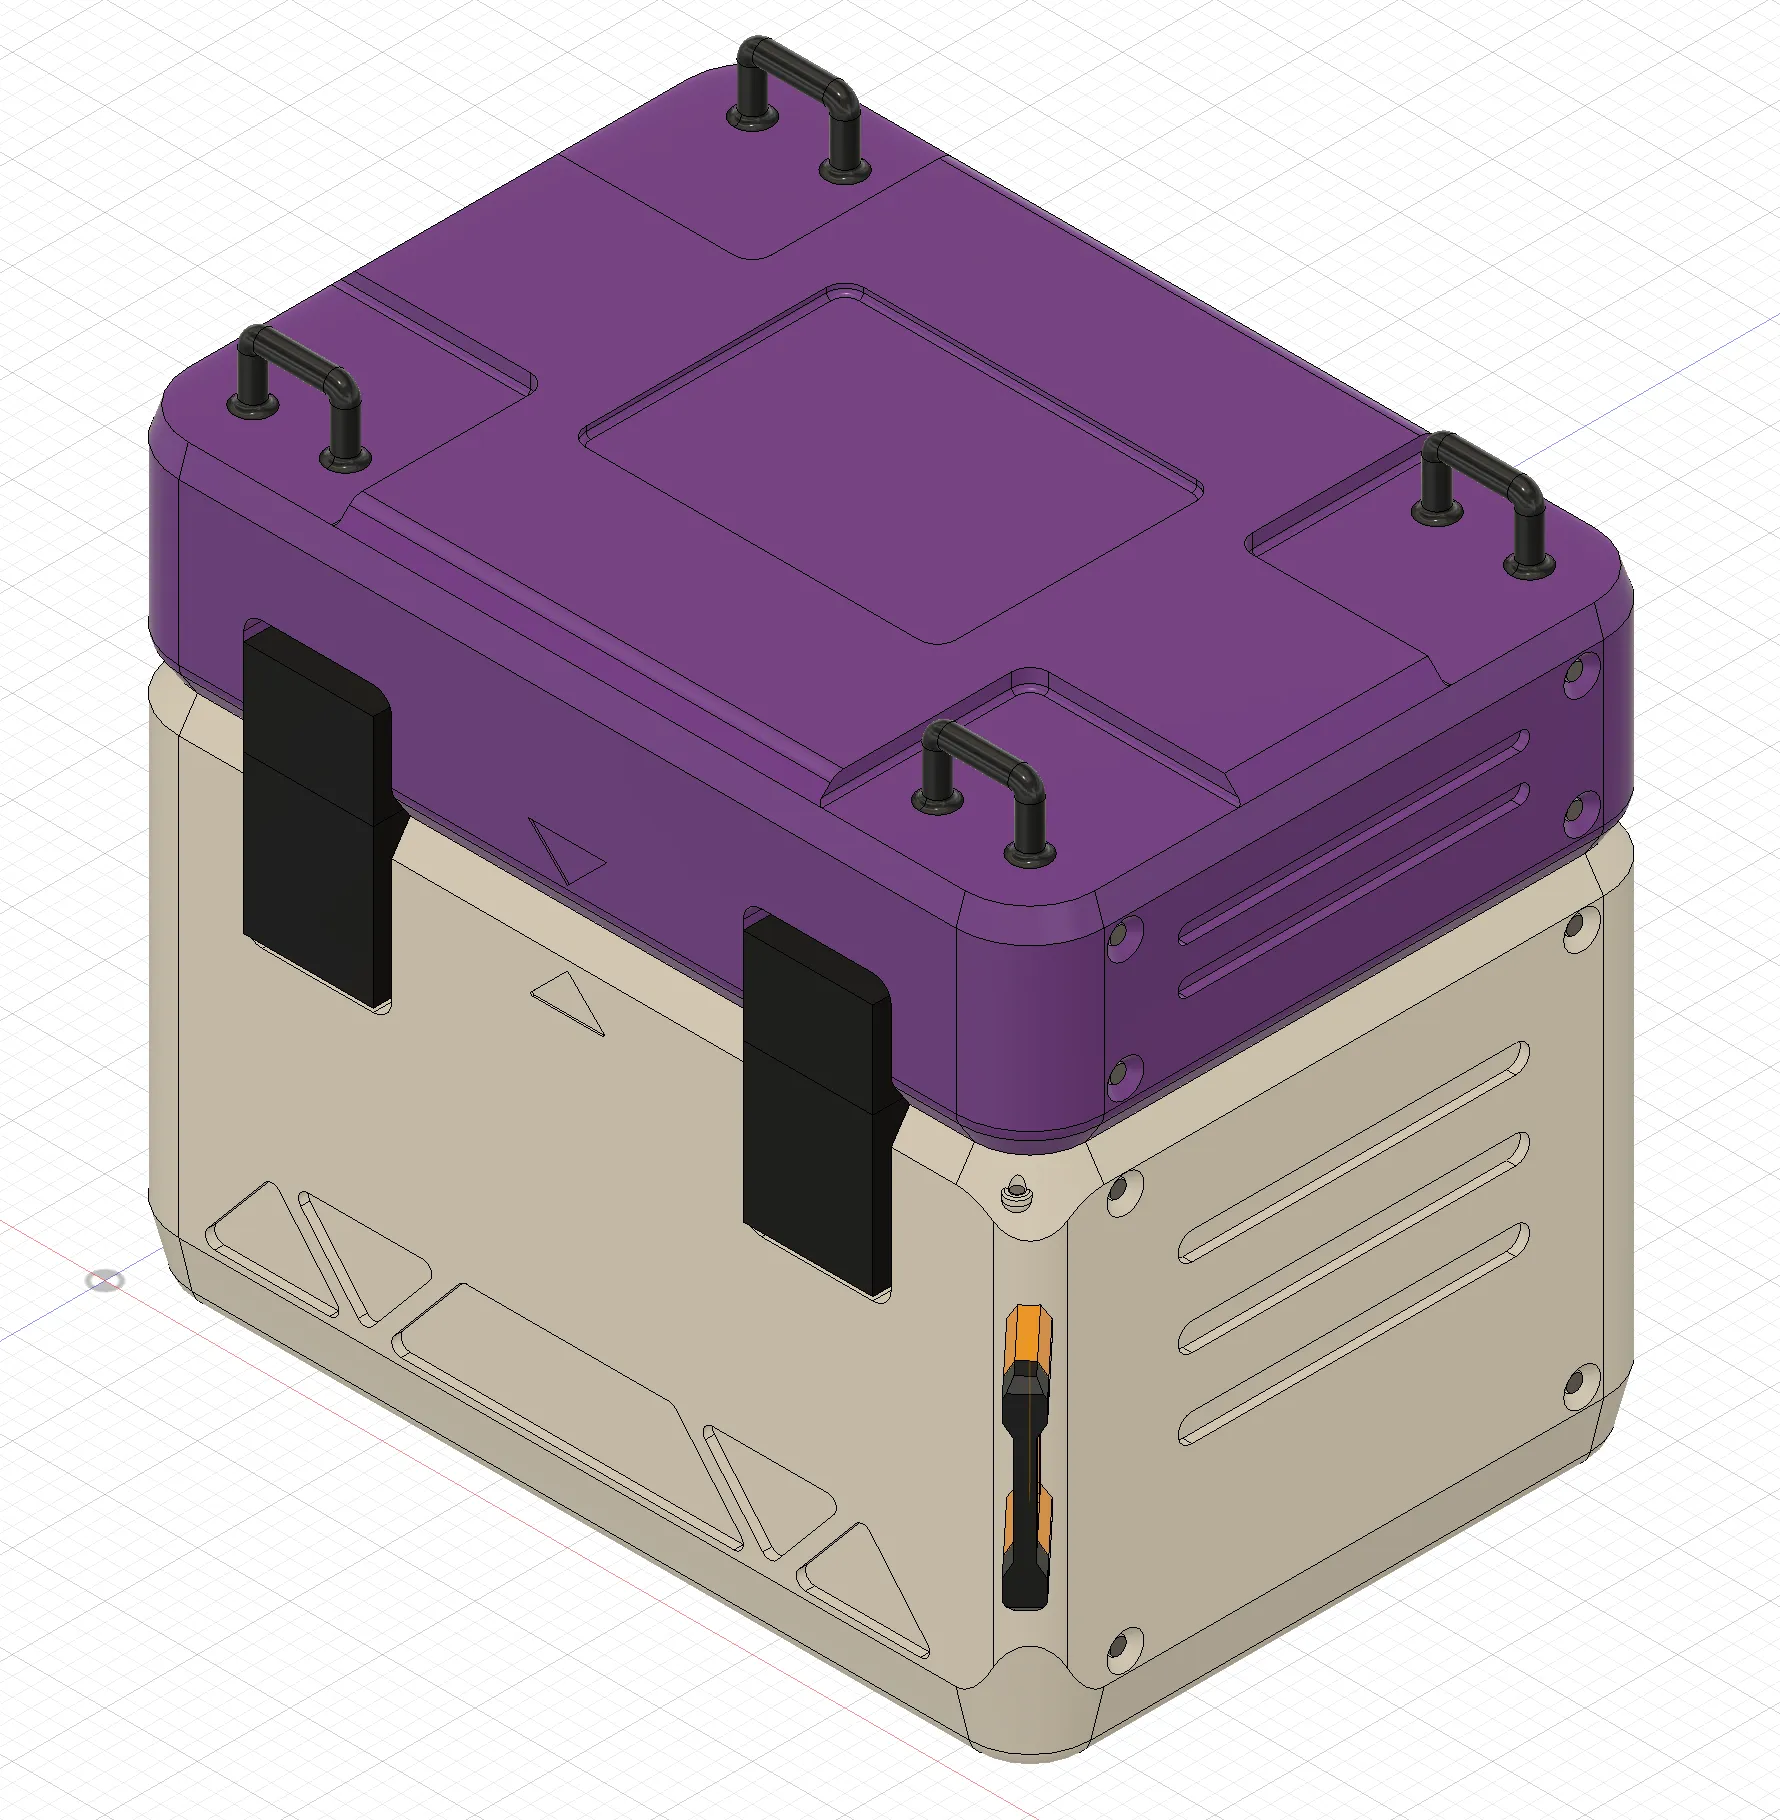
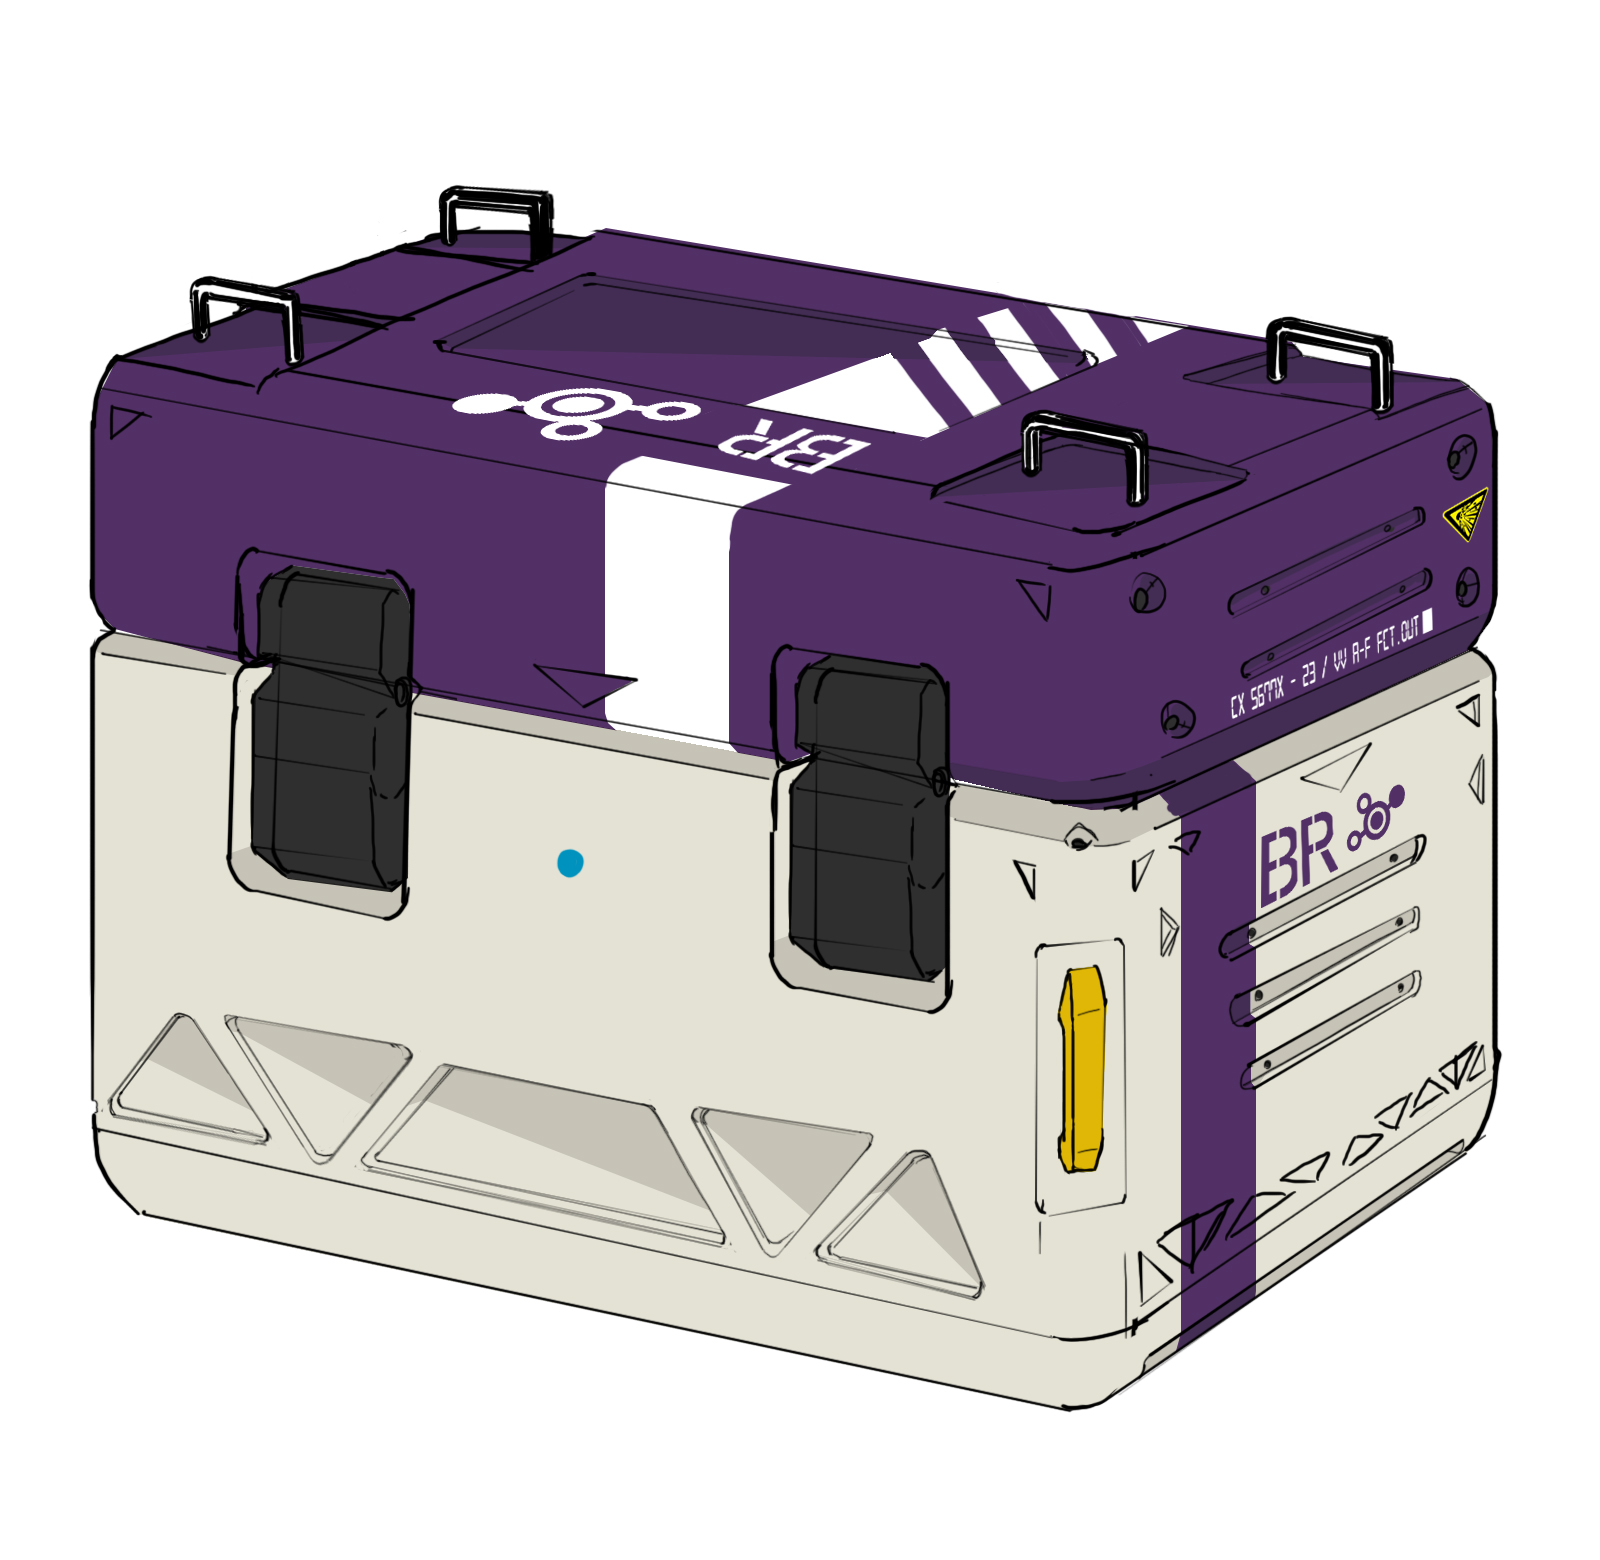
Based on this sketch, this has been the design so far:
This was a lot of fun to whip up in a couple days, I’m going to continue with this and thinking of adding a cage for it too
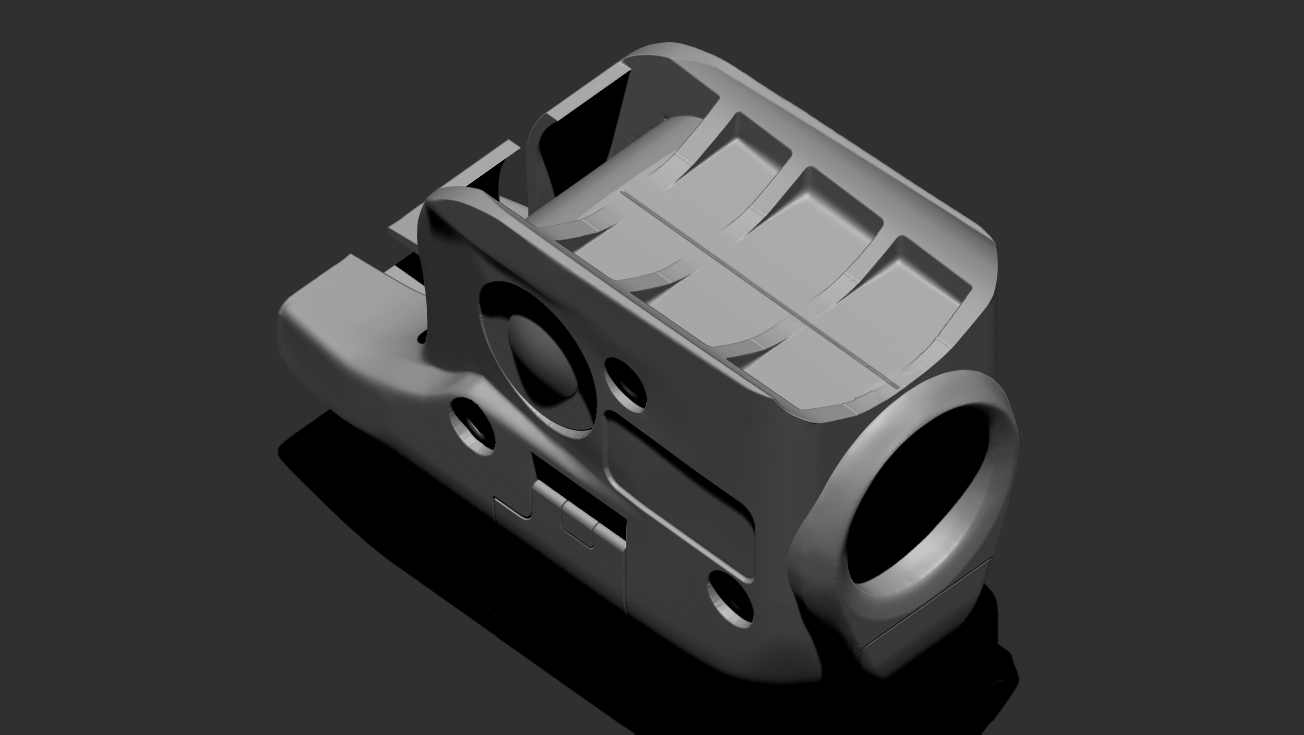
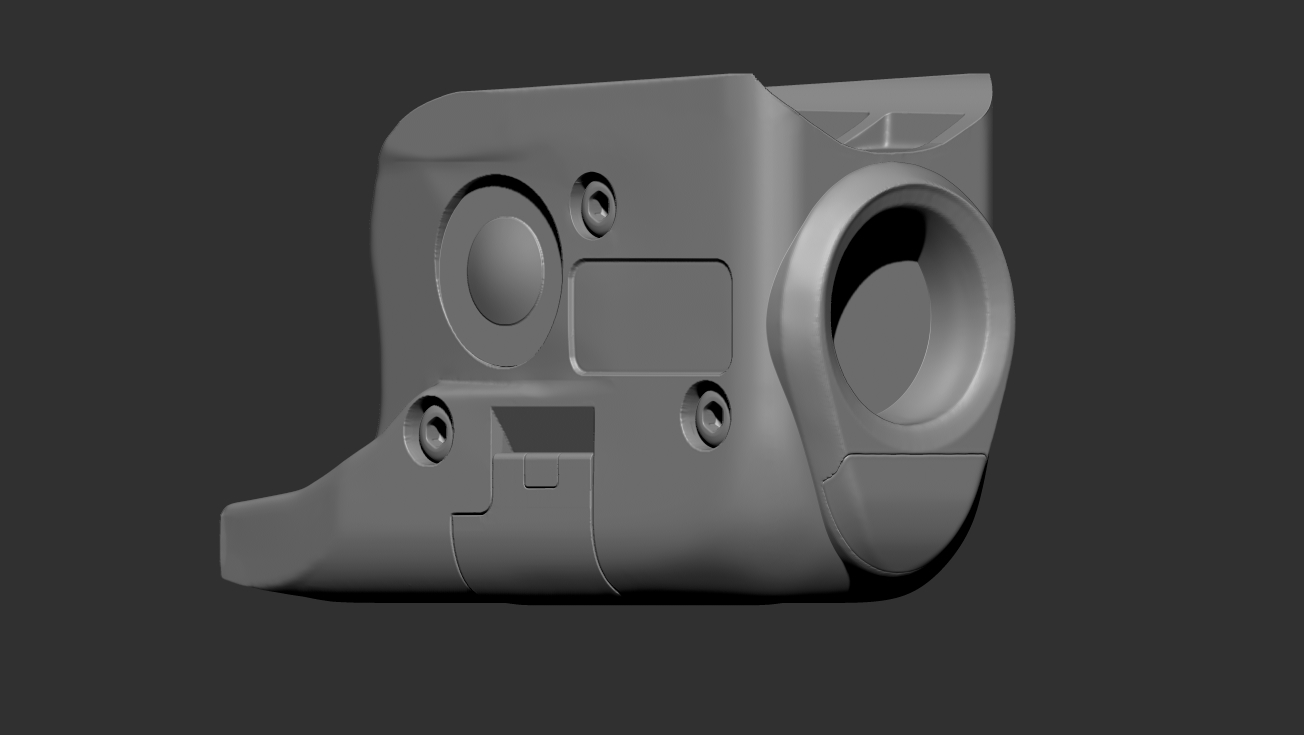
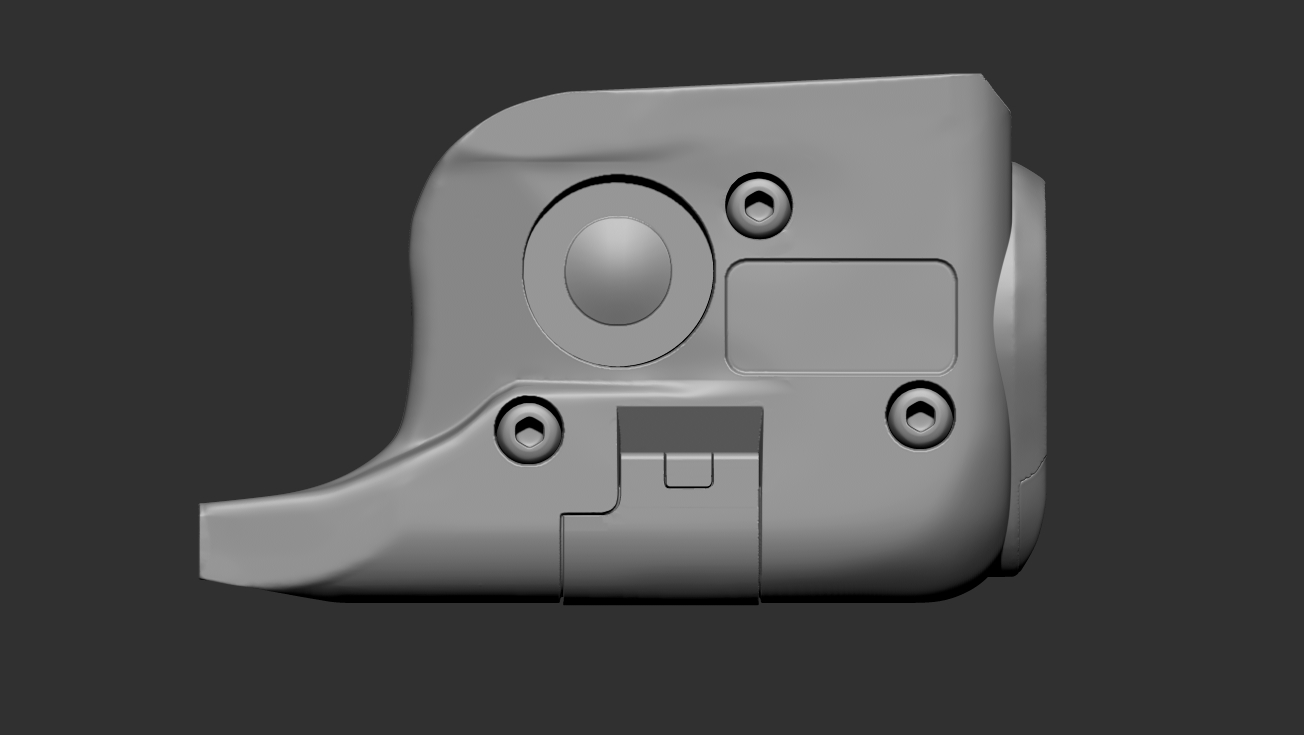
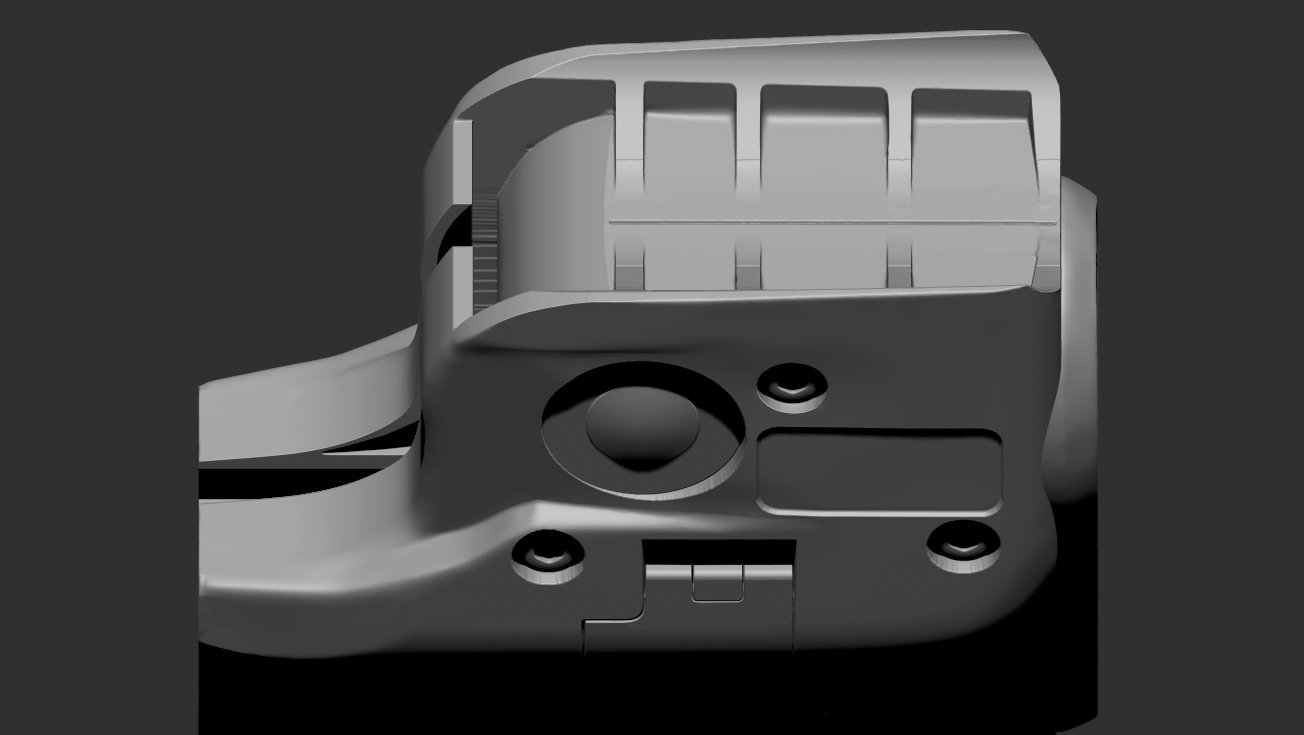
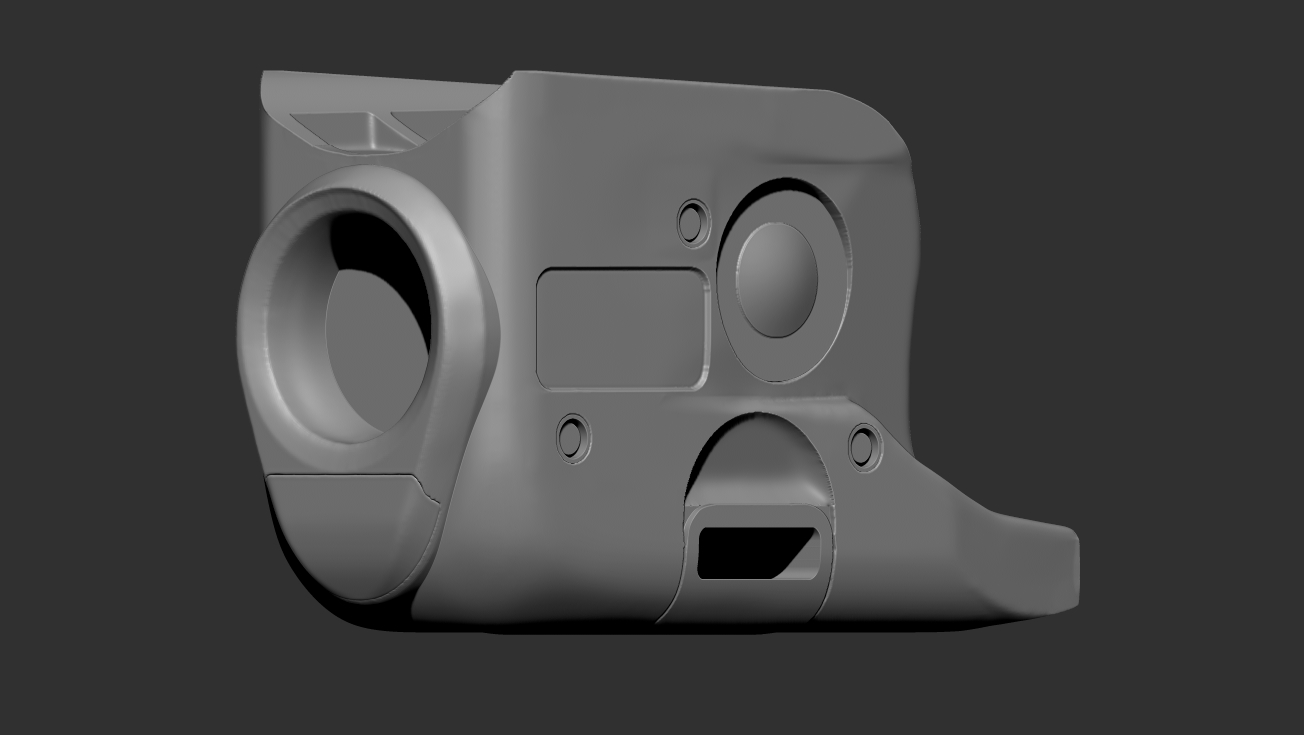
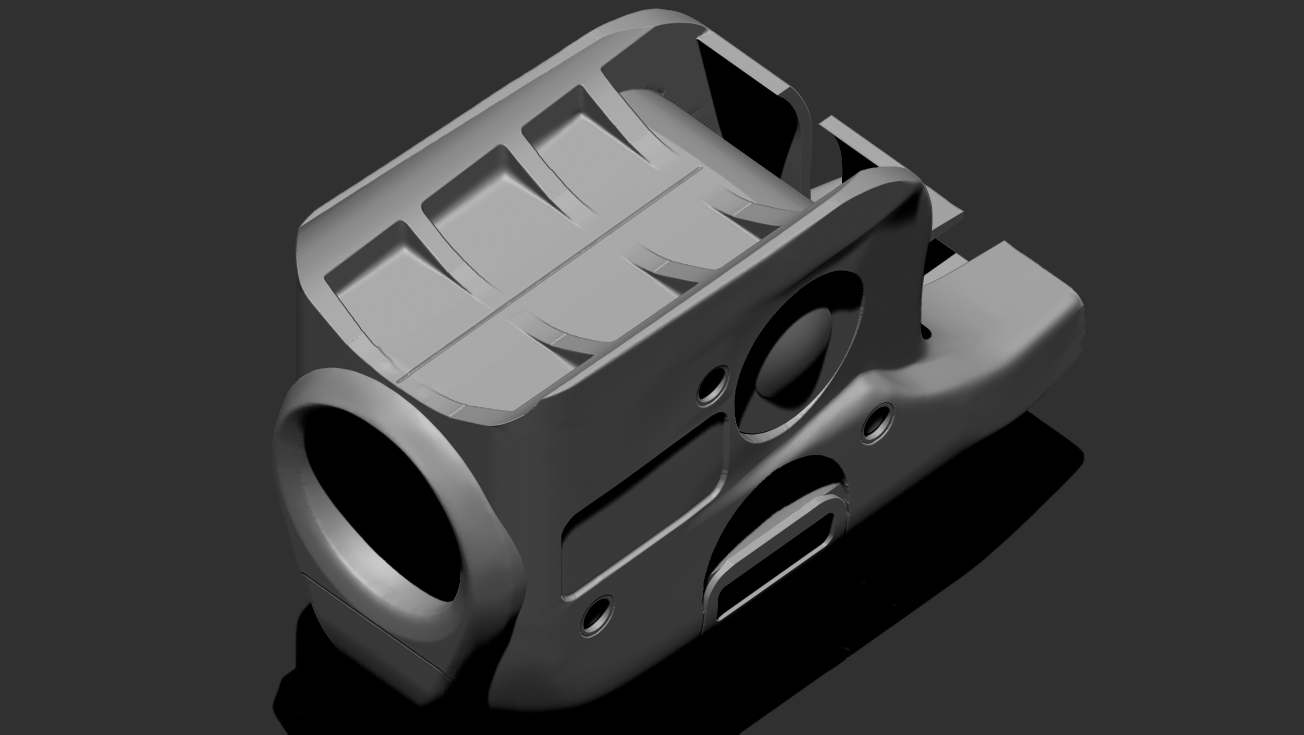
Some ZBrush sculpting practice to get back into it, needs cleaning up but this was my stab at the basic build of this object. Based on the weapon light that Cane sculpts in his ZBrush course. Had to dig for references, this is the actual object: https://www.streamlight.com/products/detail/tlr-6. Next week will be publishing some images on my paint bucket prop HOPr.
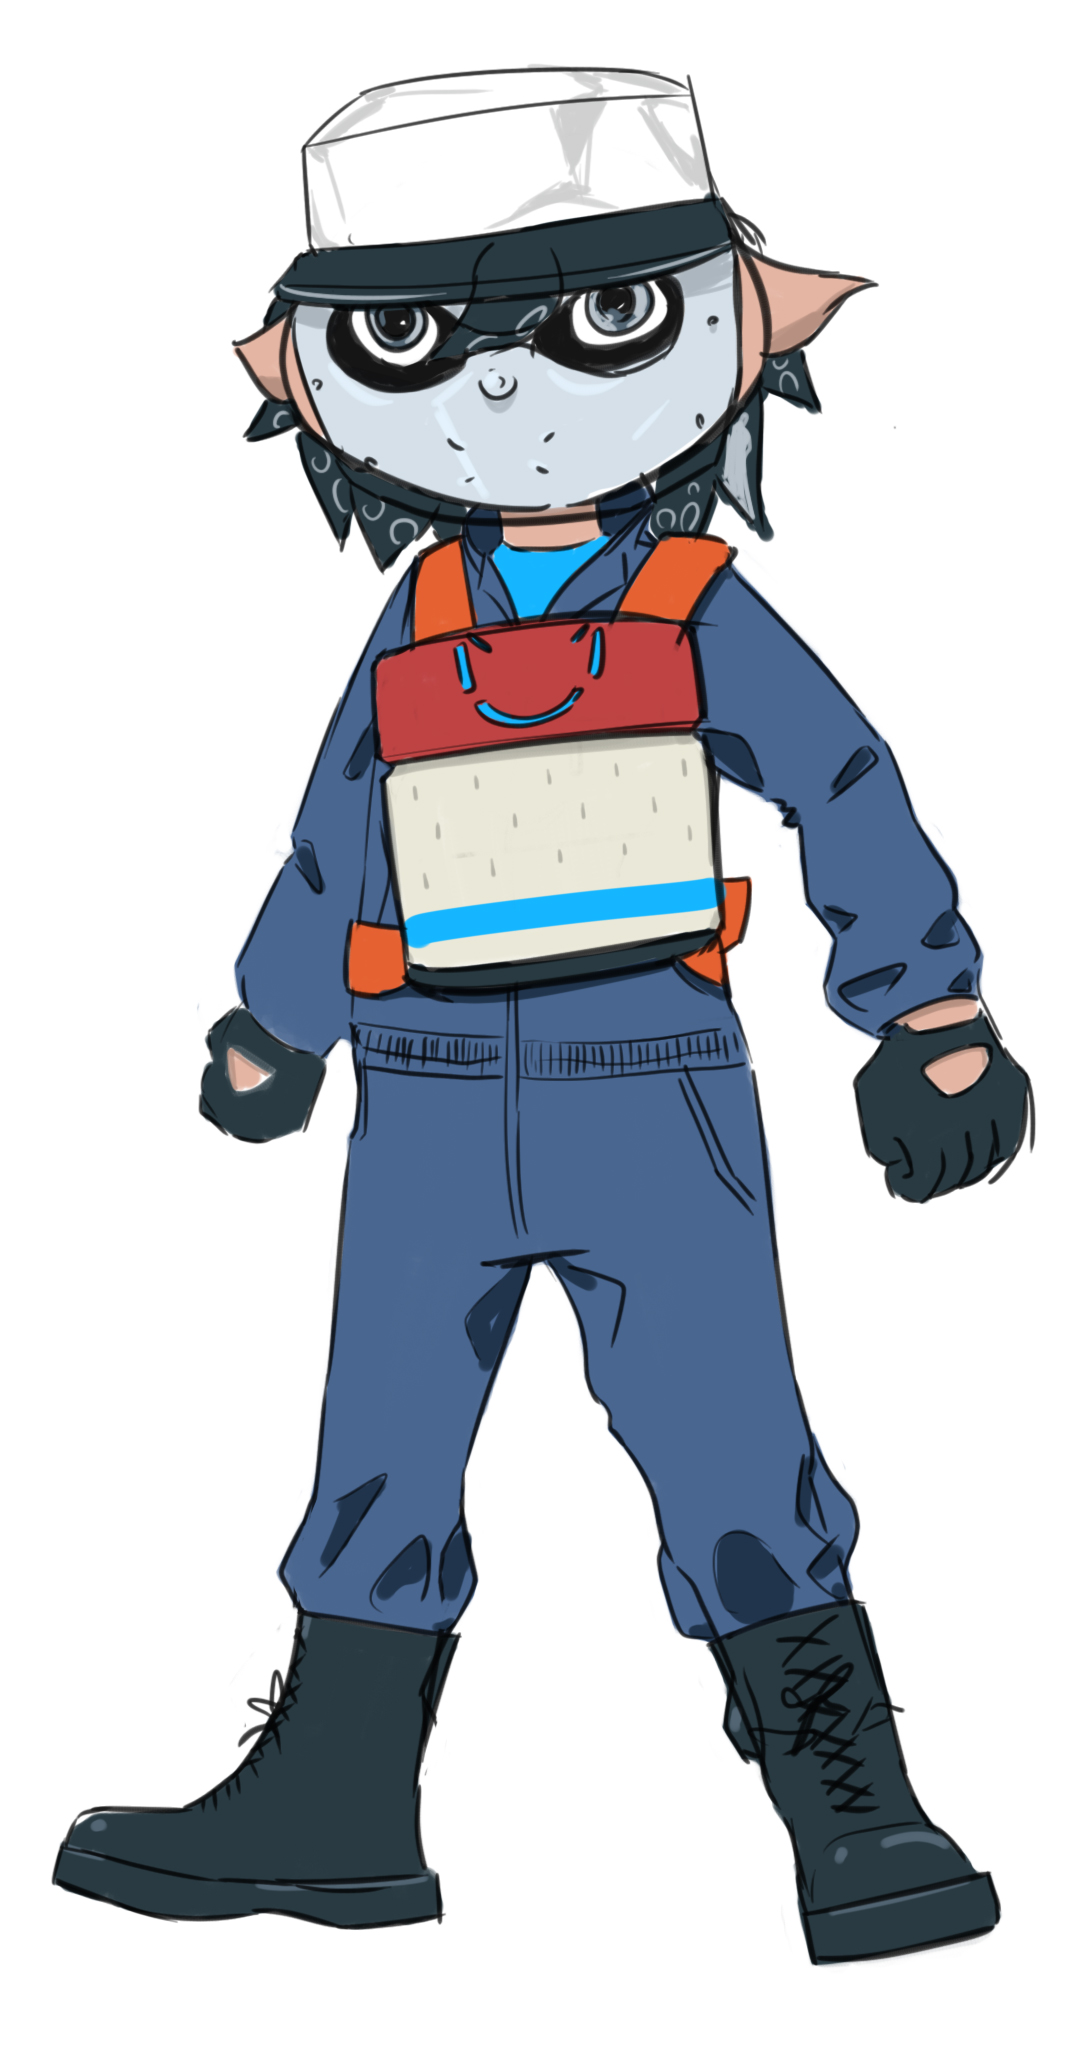
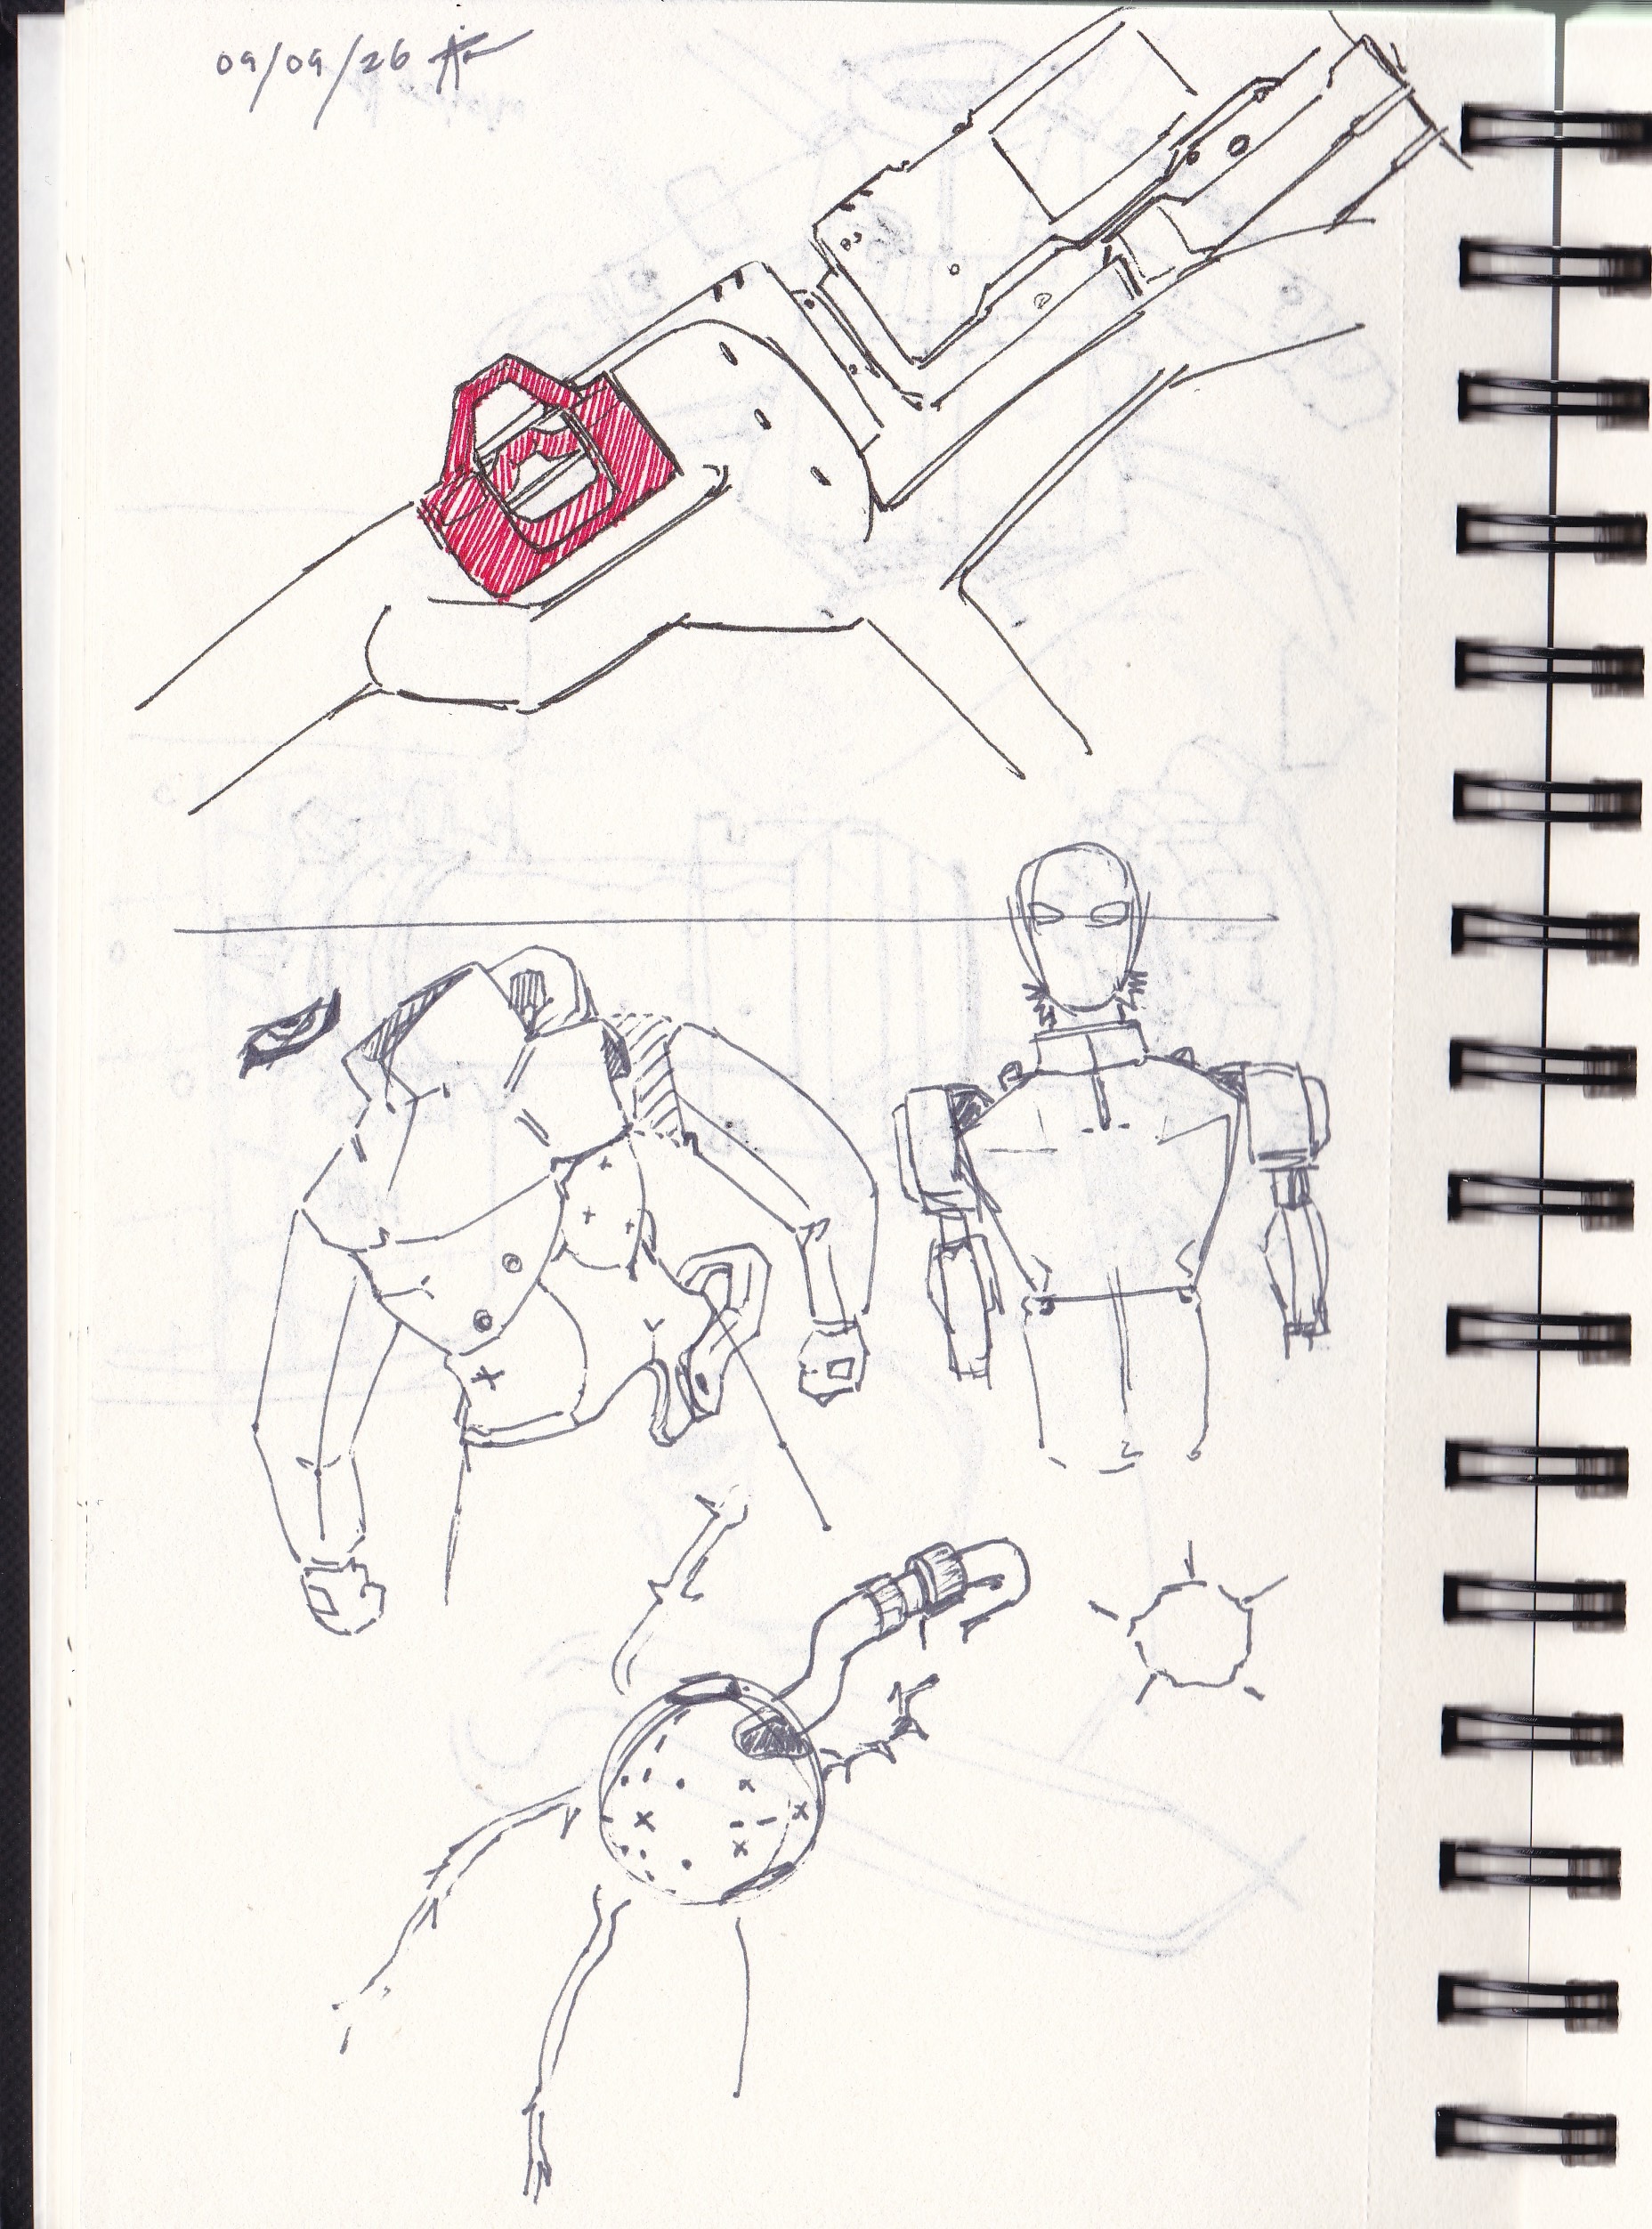
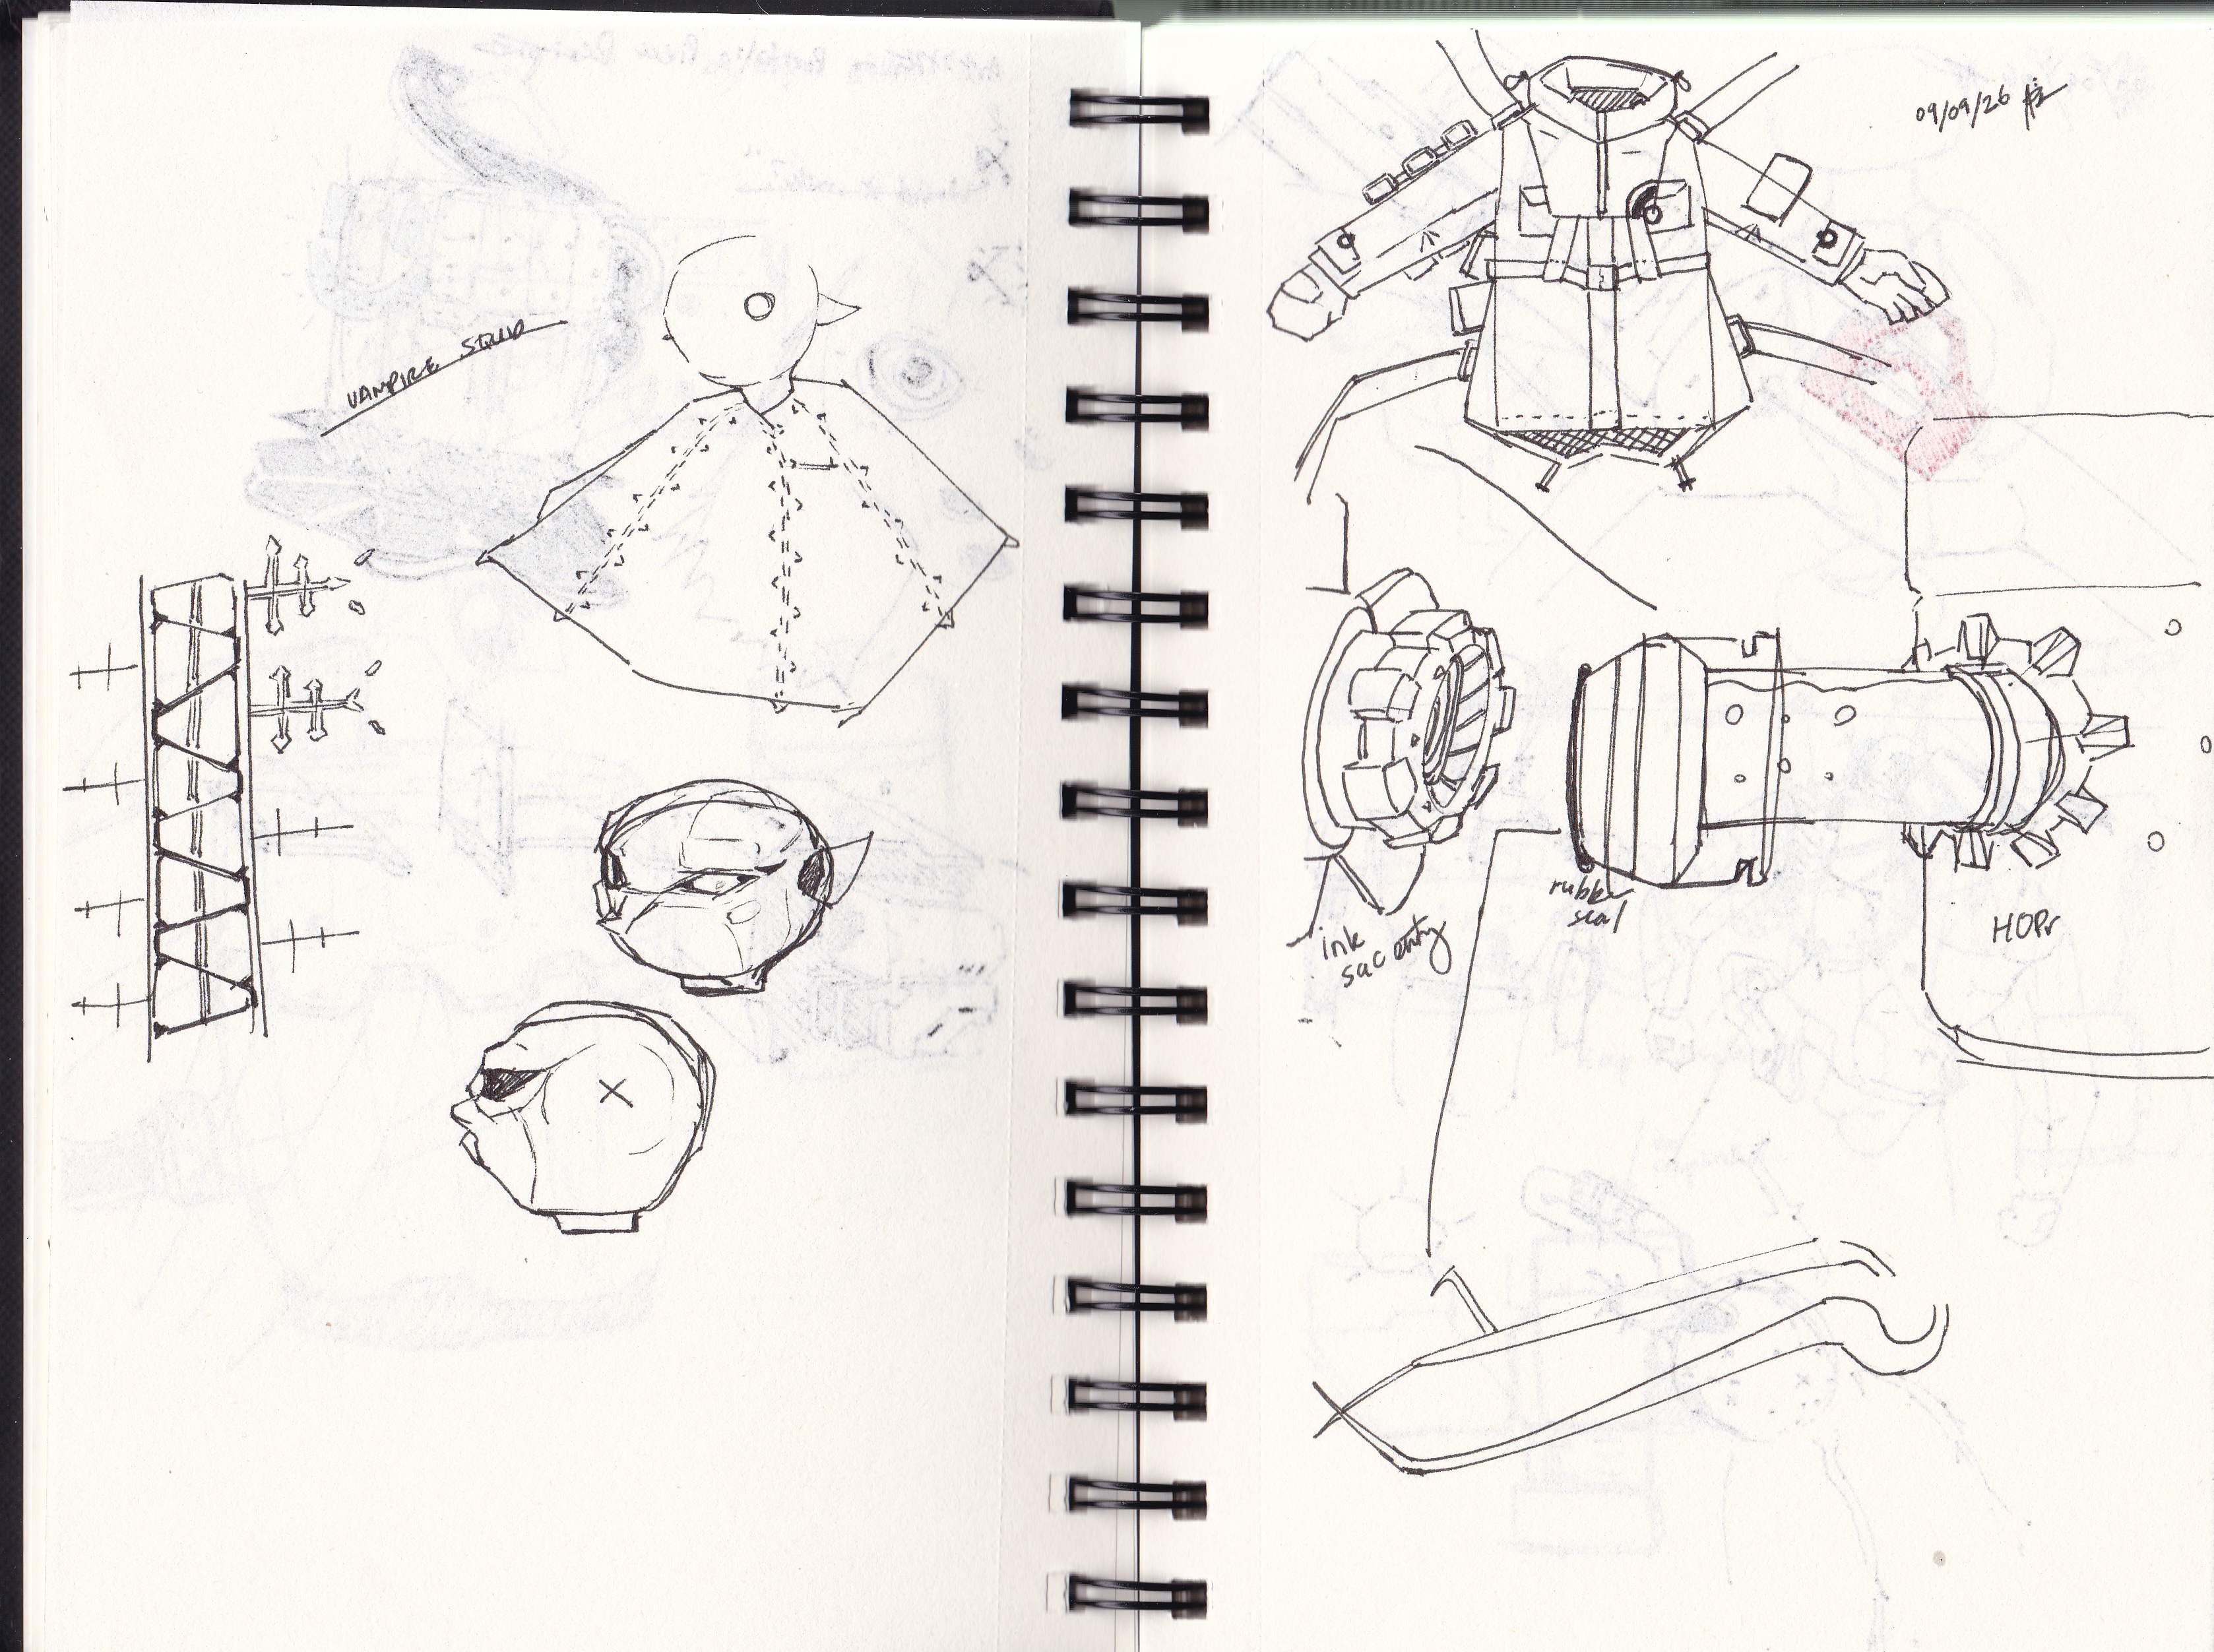
It’s been a while, had a lot of things happen, moved to a new city for my first 3D modeling job, developing my portfolio and just getting things in order all around! There’s been so many ideas I’ve accumulated and have been building slowly. Here is a preview of a project I am aiming to publish soon:
I have been in ideation purgatory with this, but this started out as a prop project and evolved into a fully character design project based on a story. Can you guess which universe this character is from?
This is all raw work right now, nothing cleaned up as you can see but am now working on finalizing designs and finally moving to building in 3d…
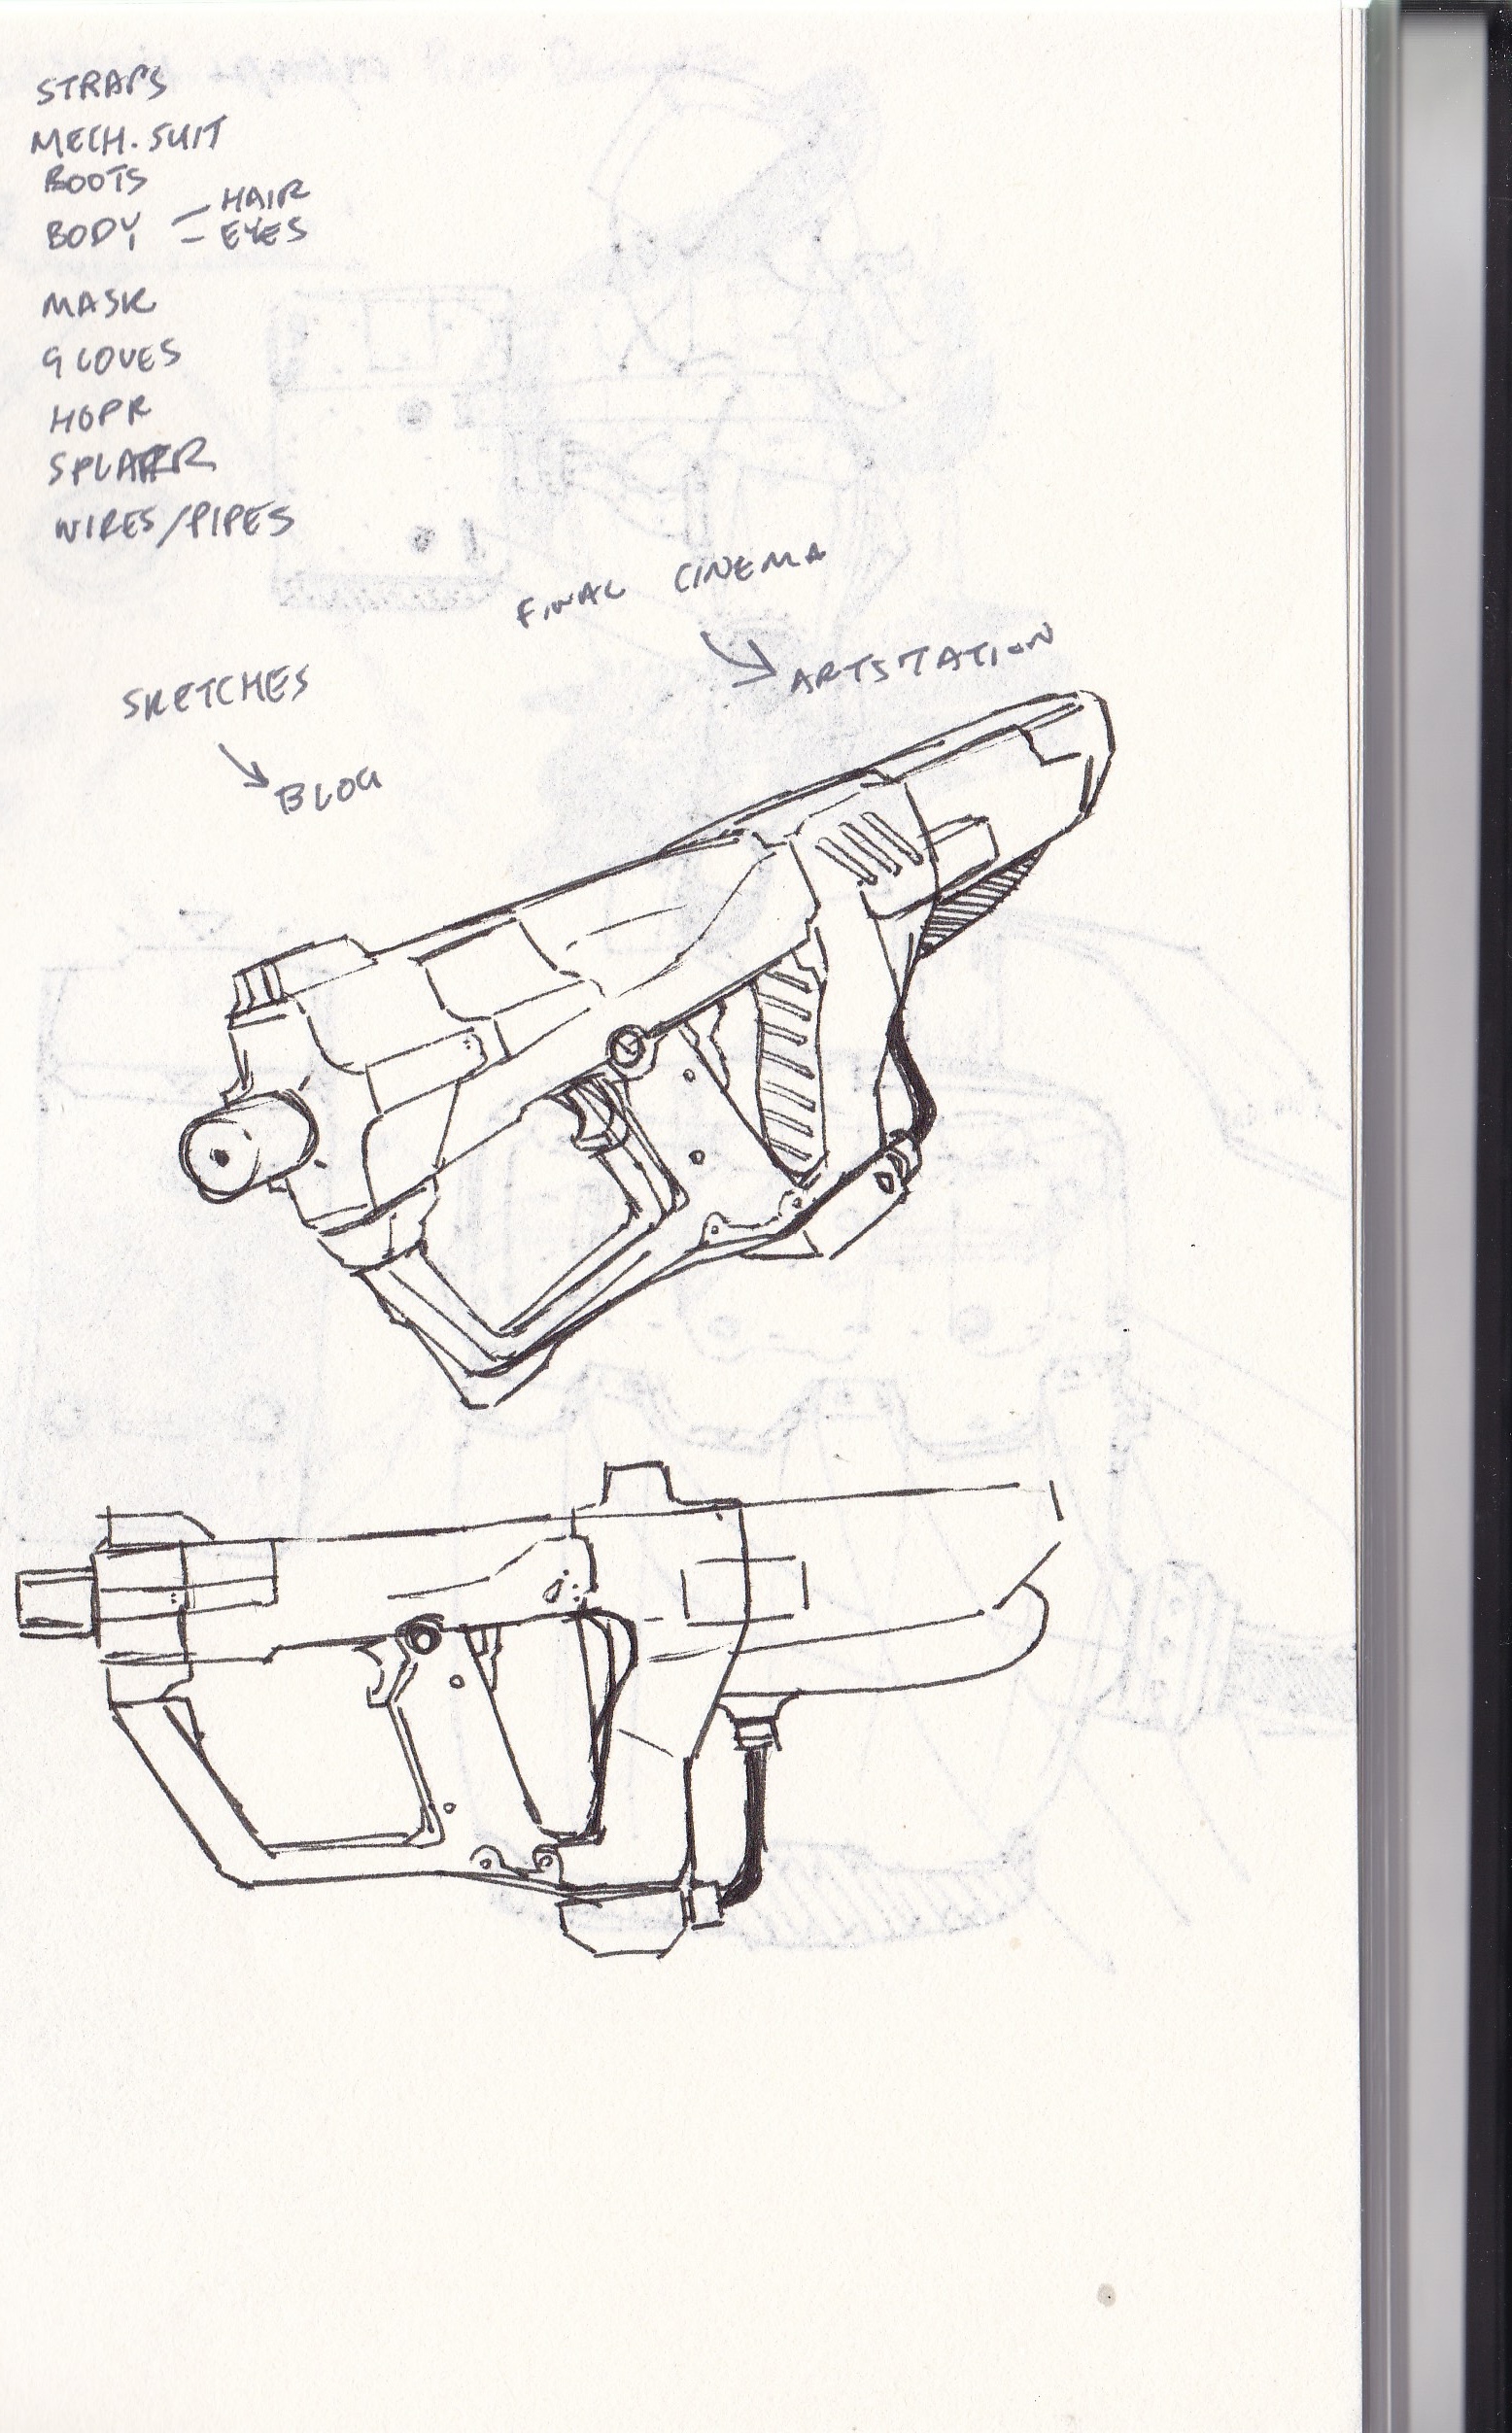
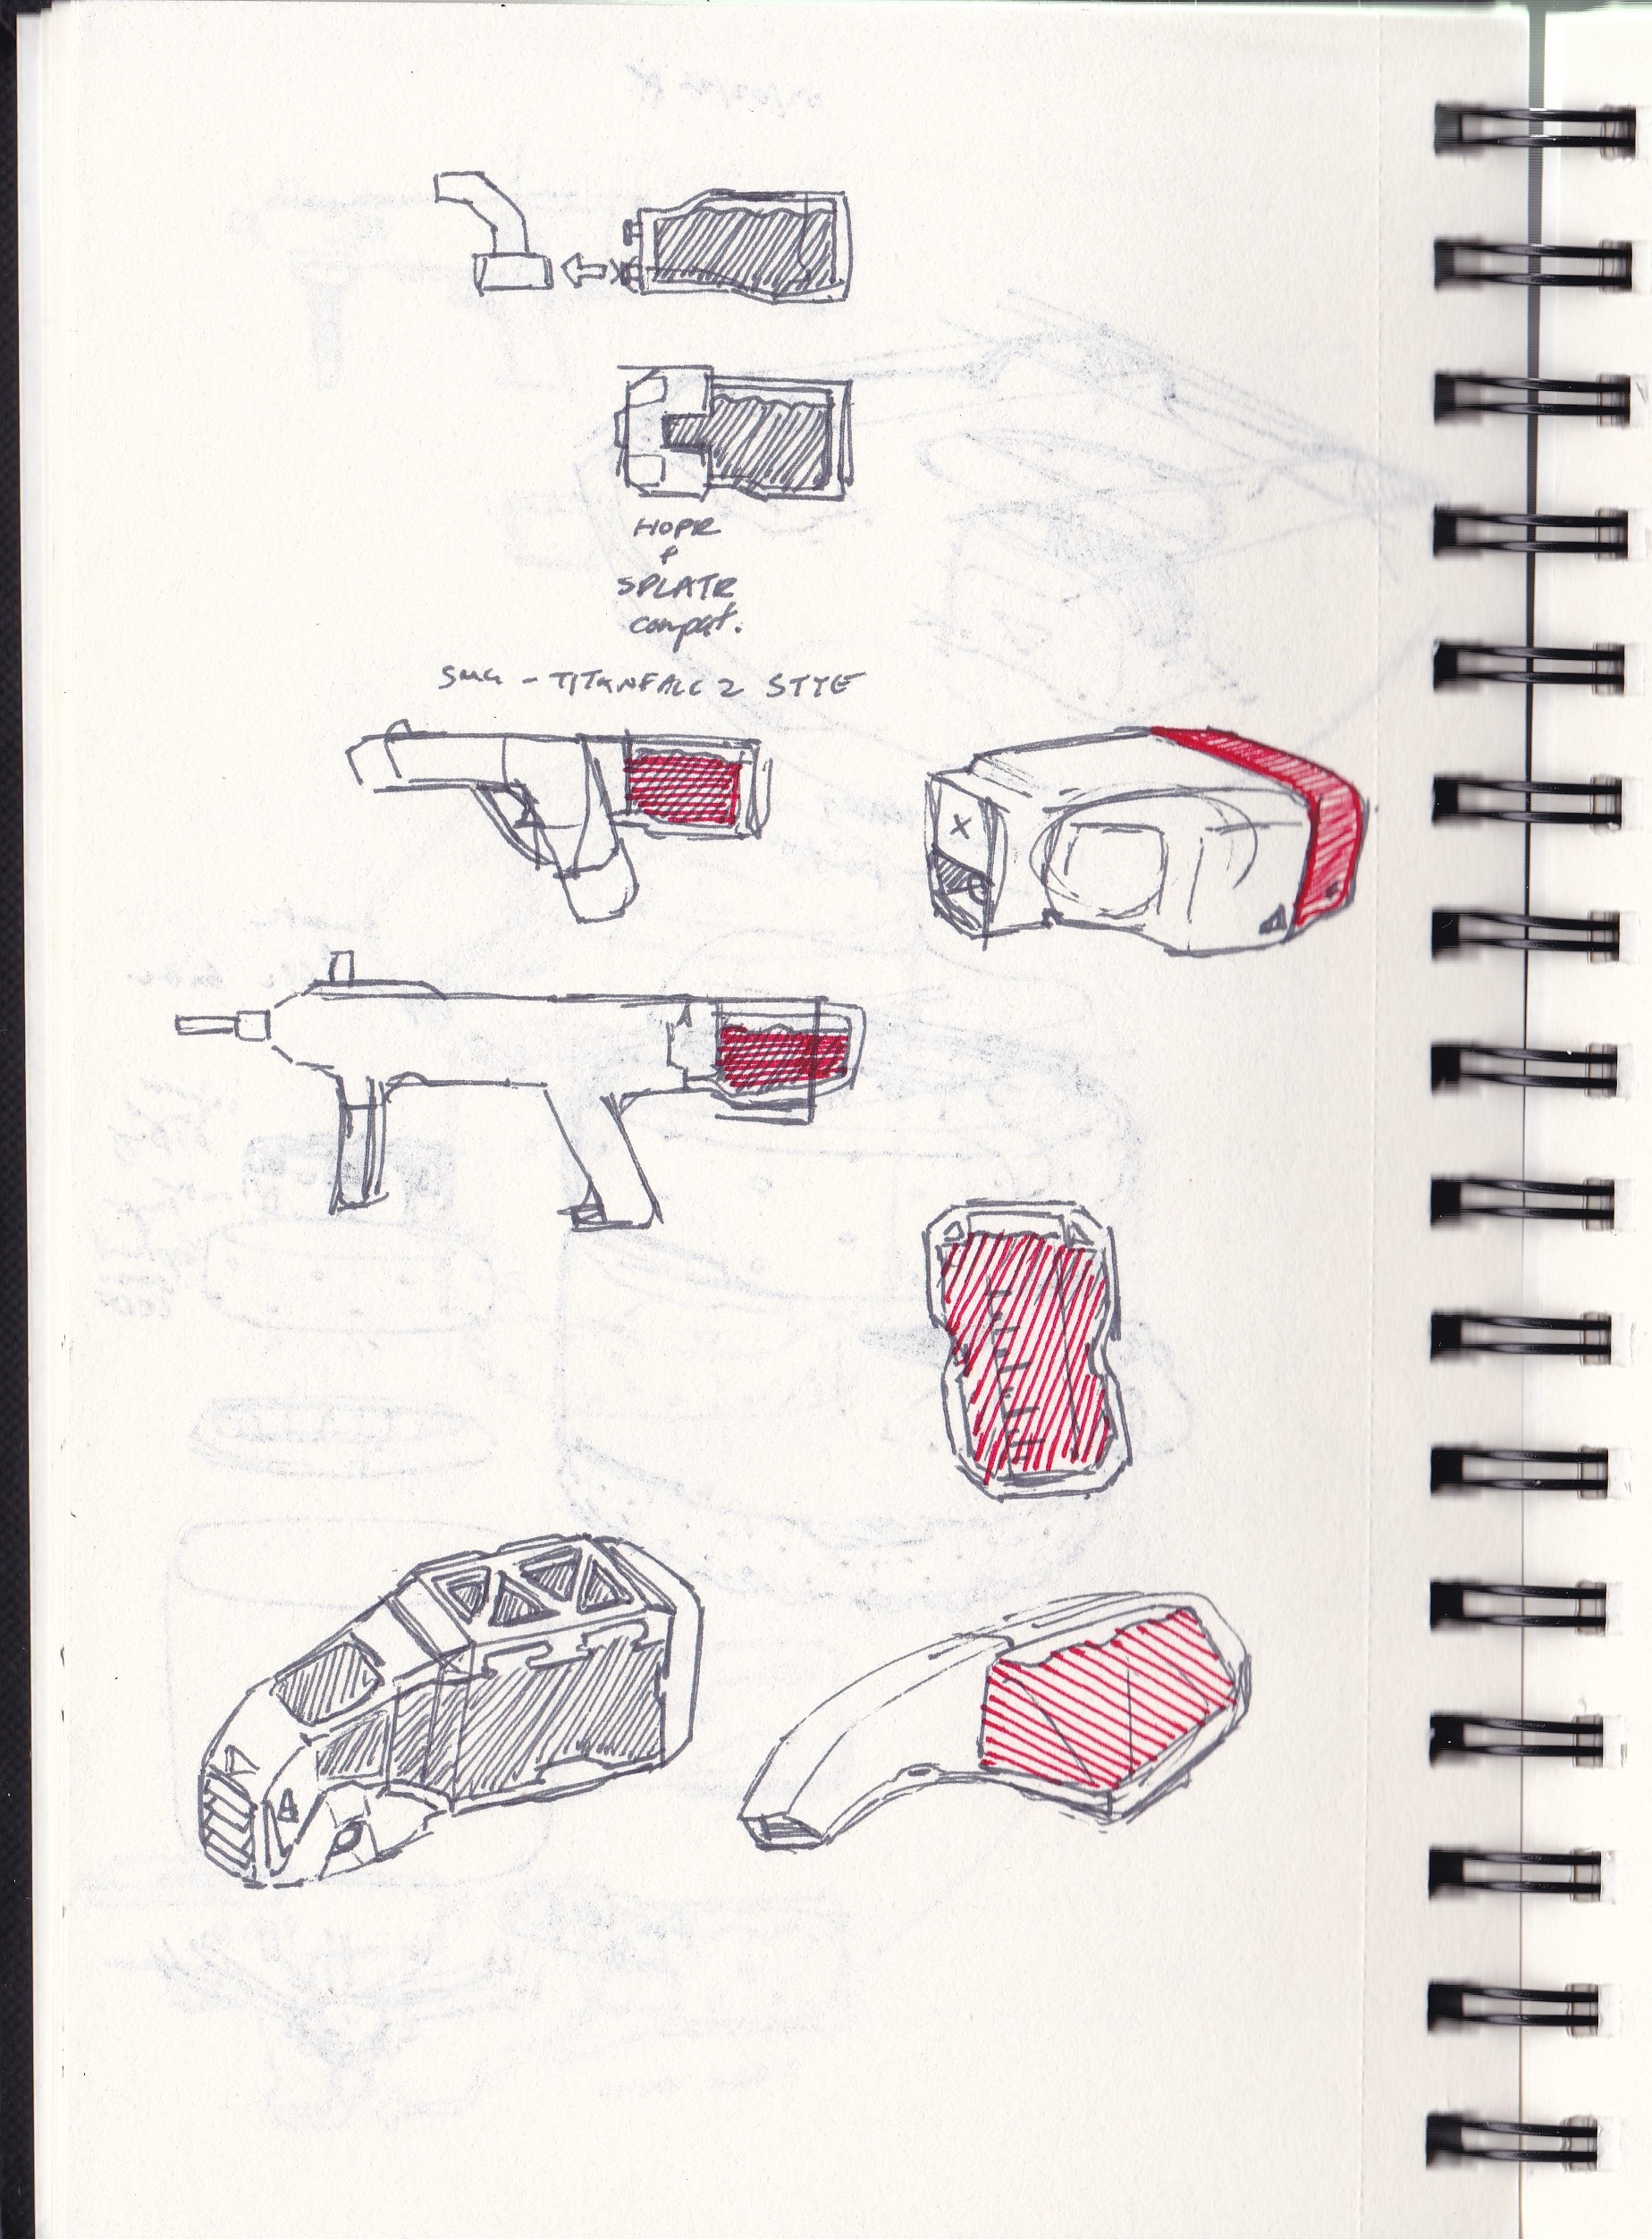
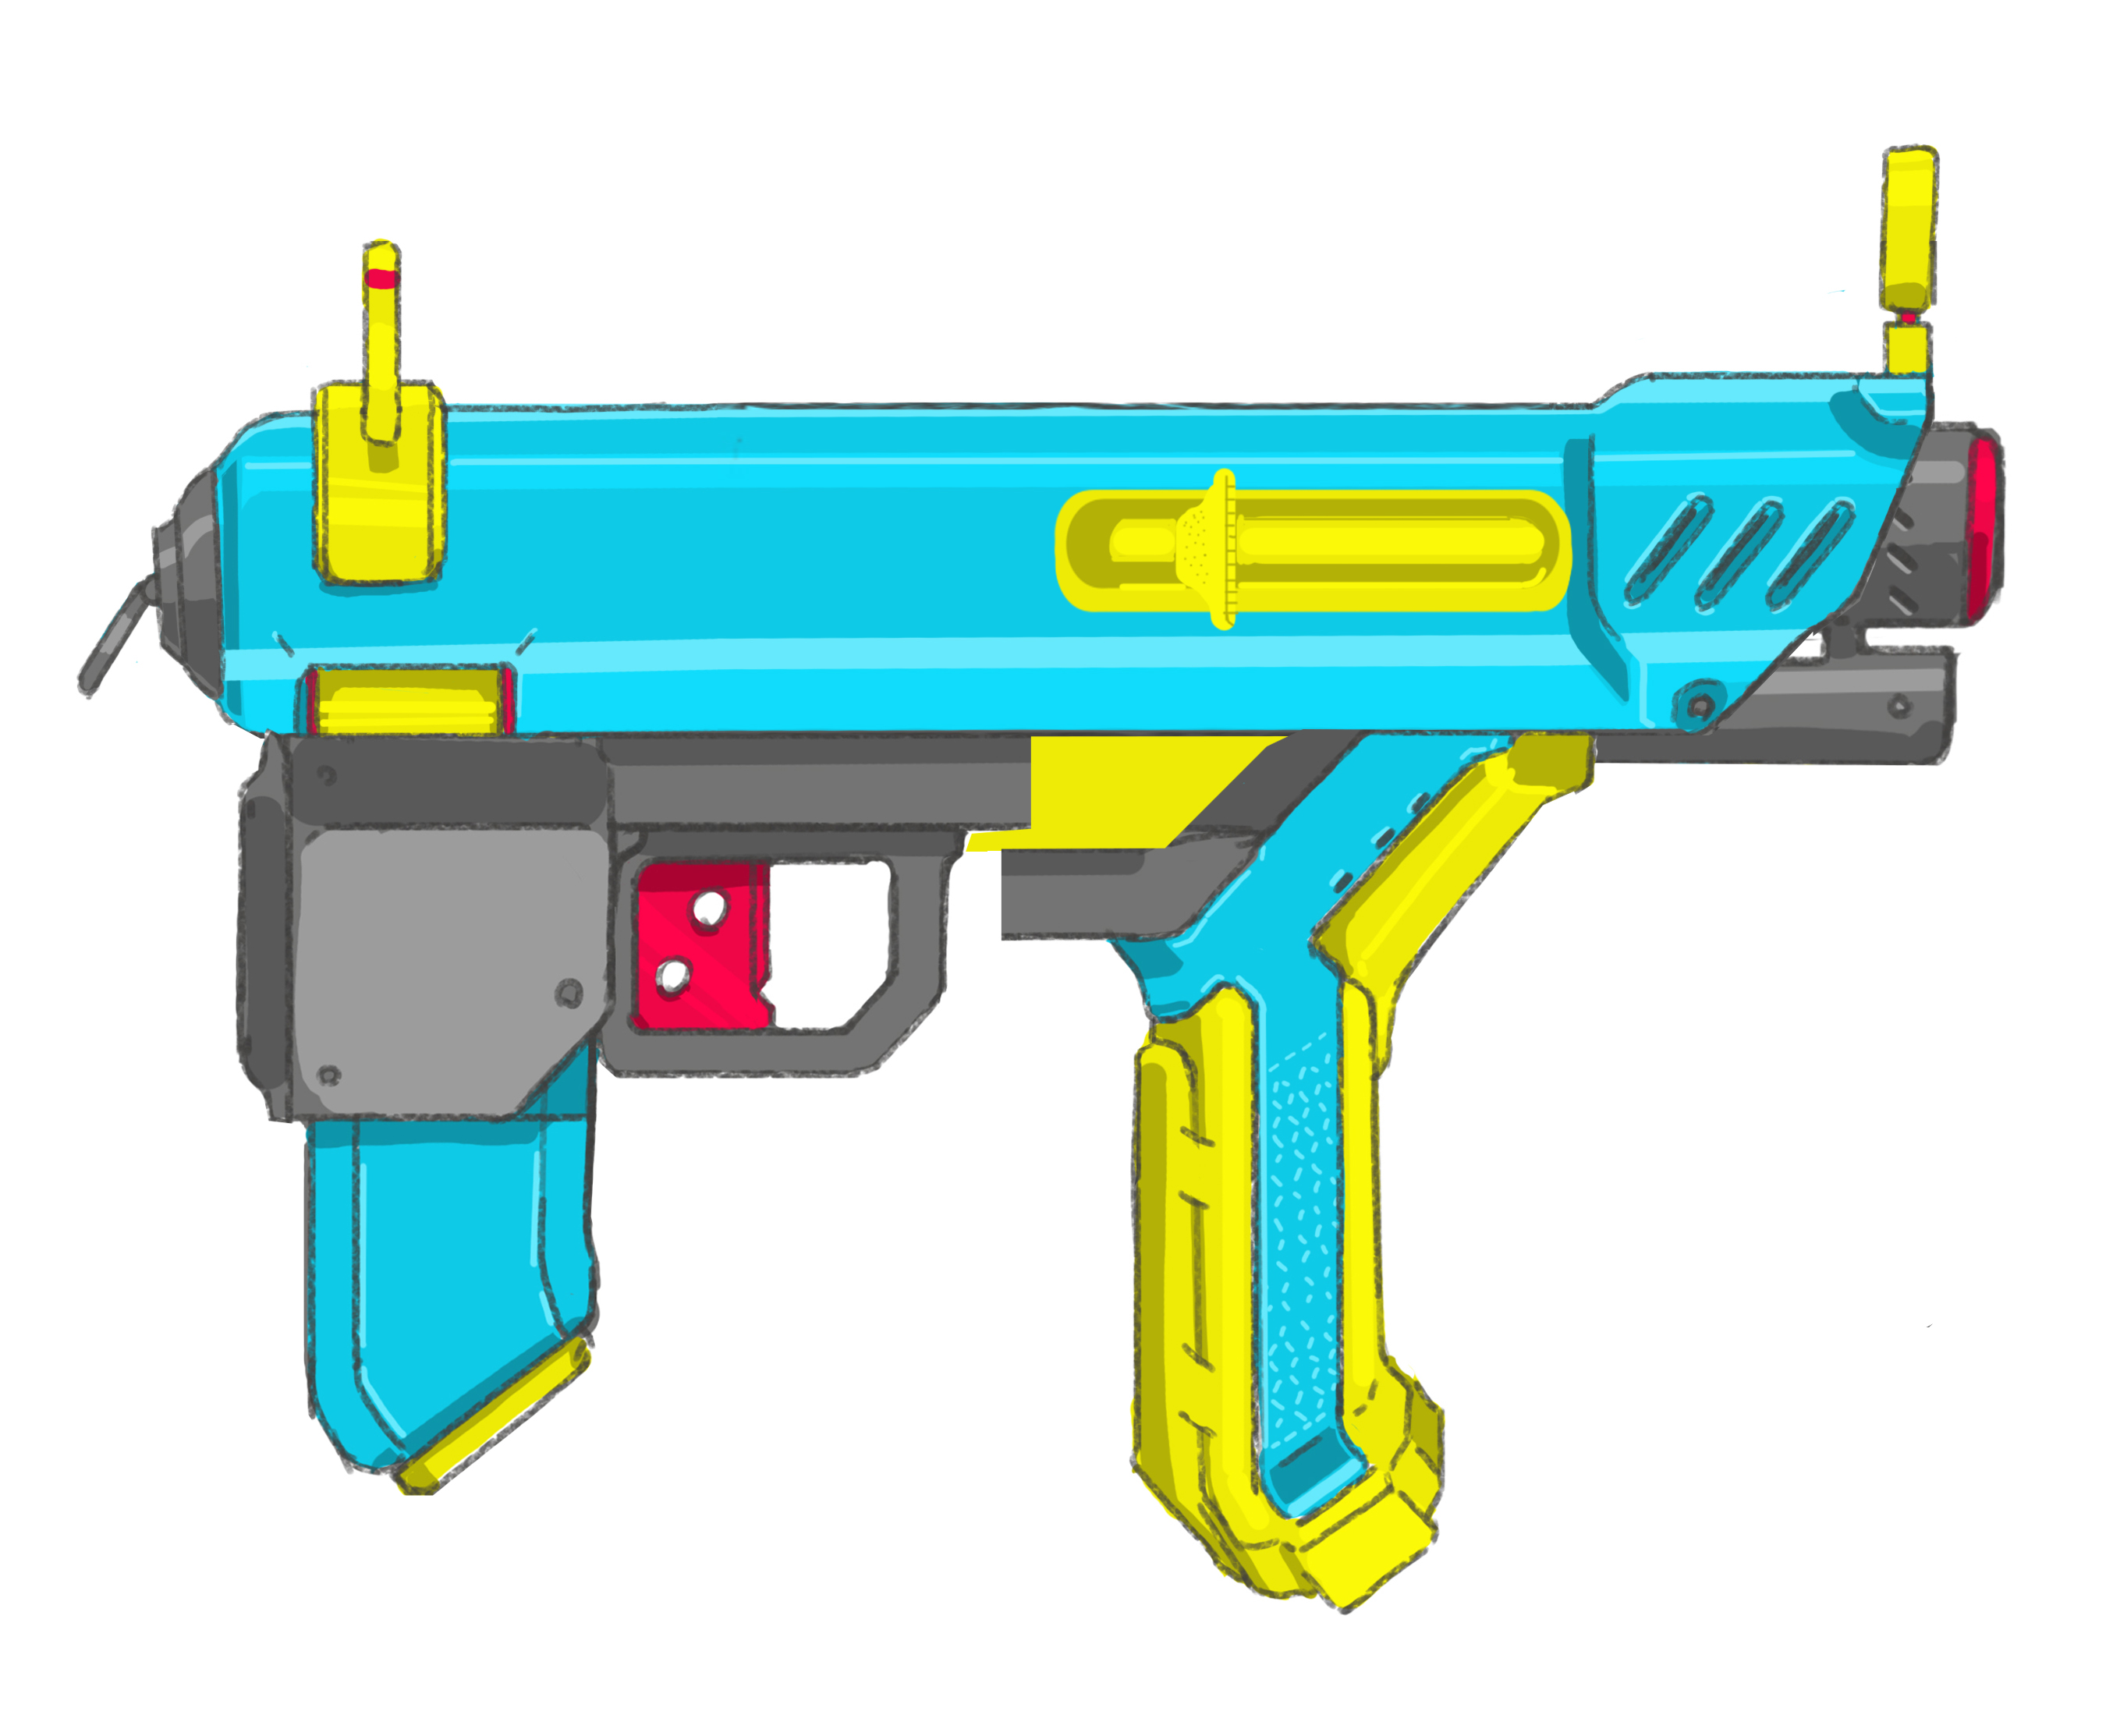
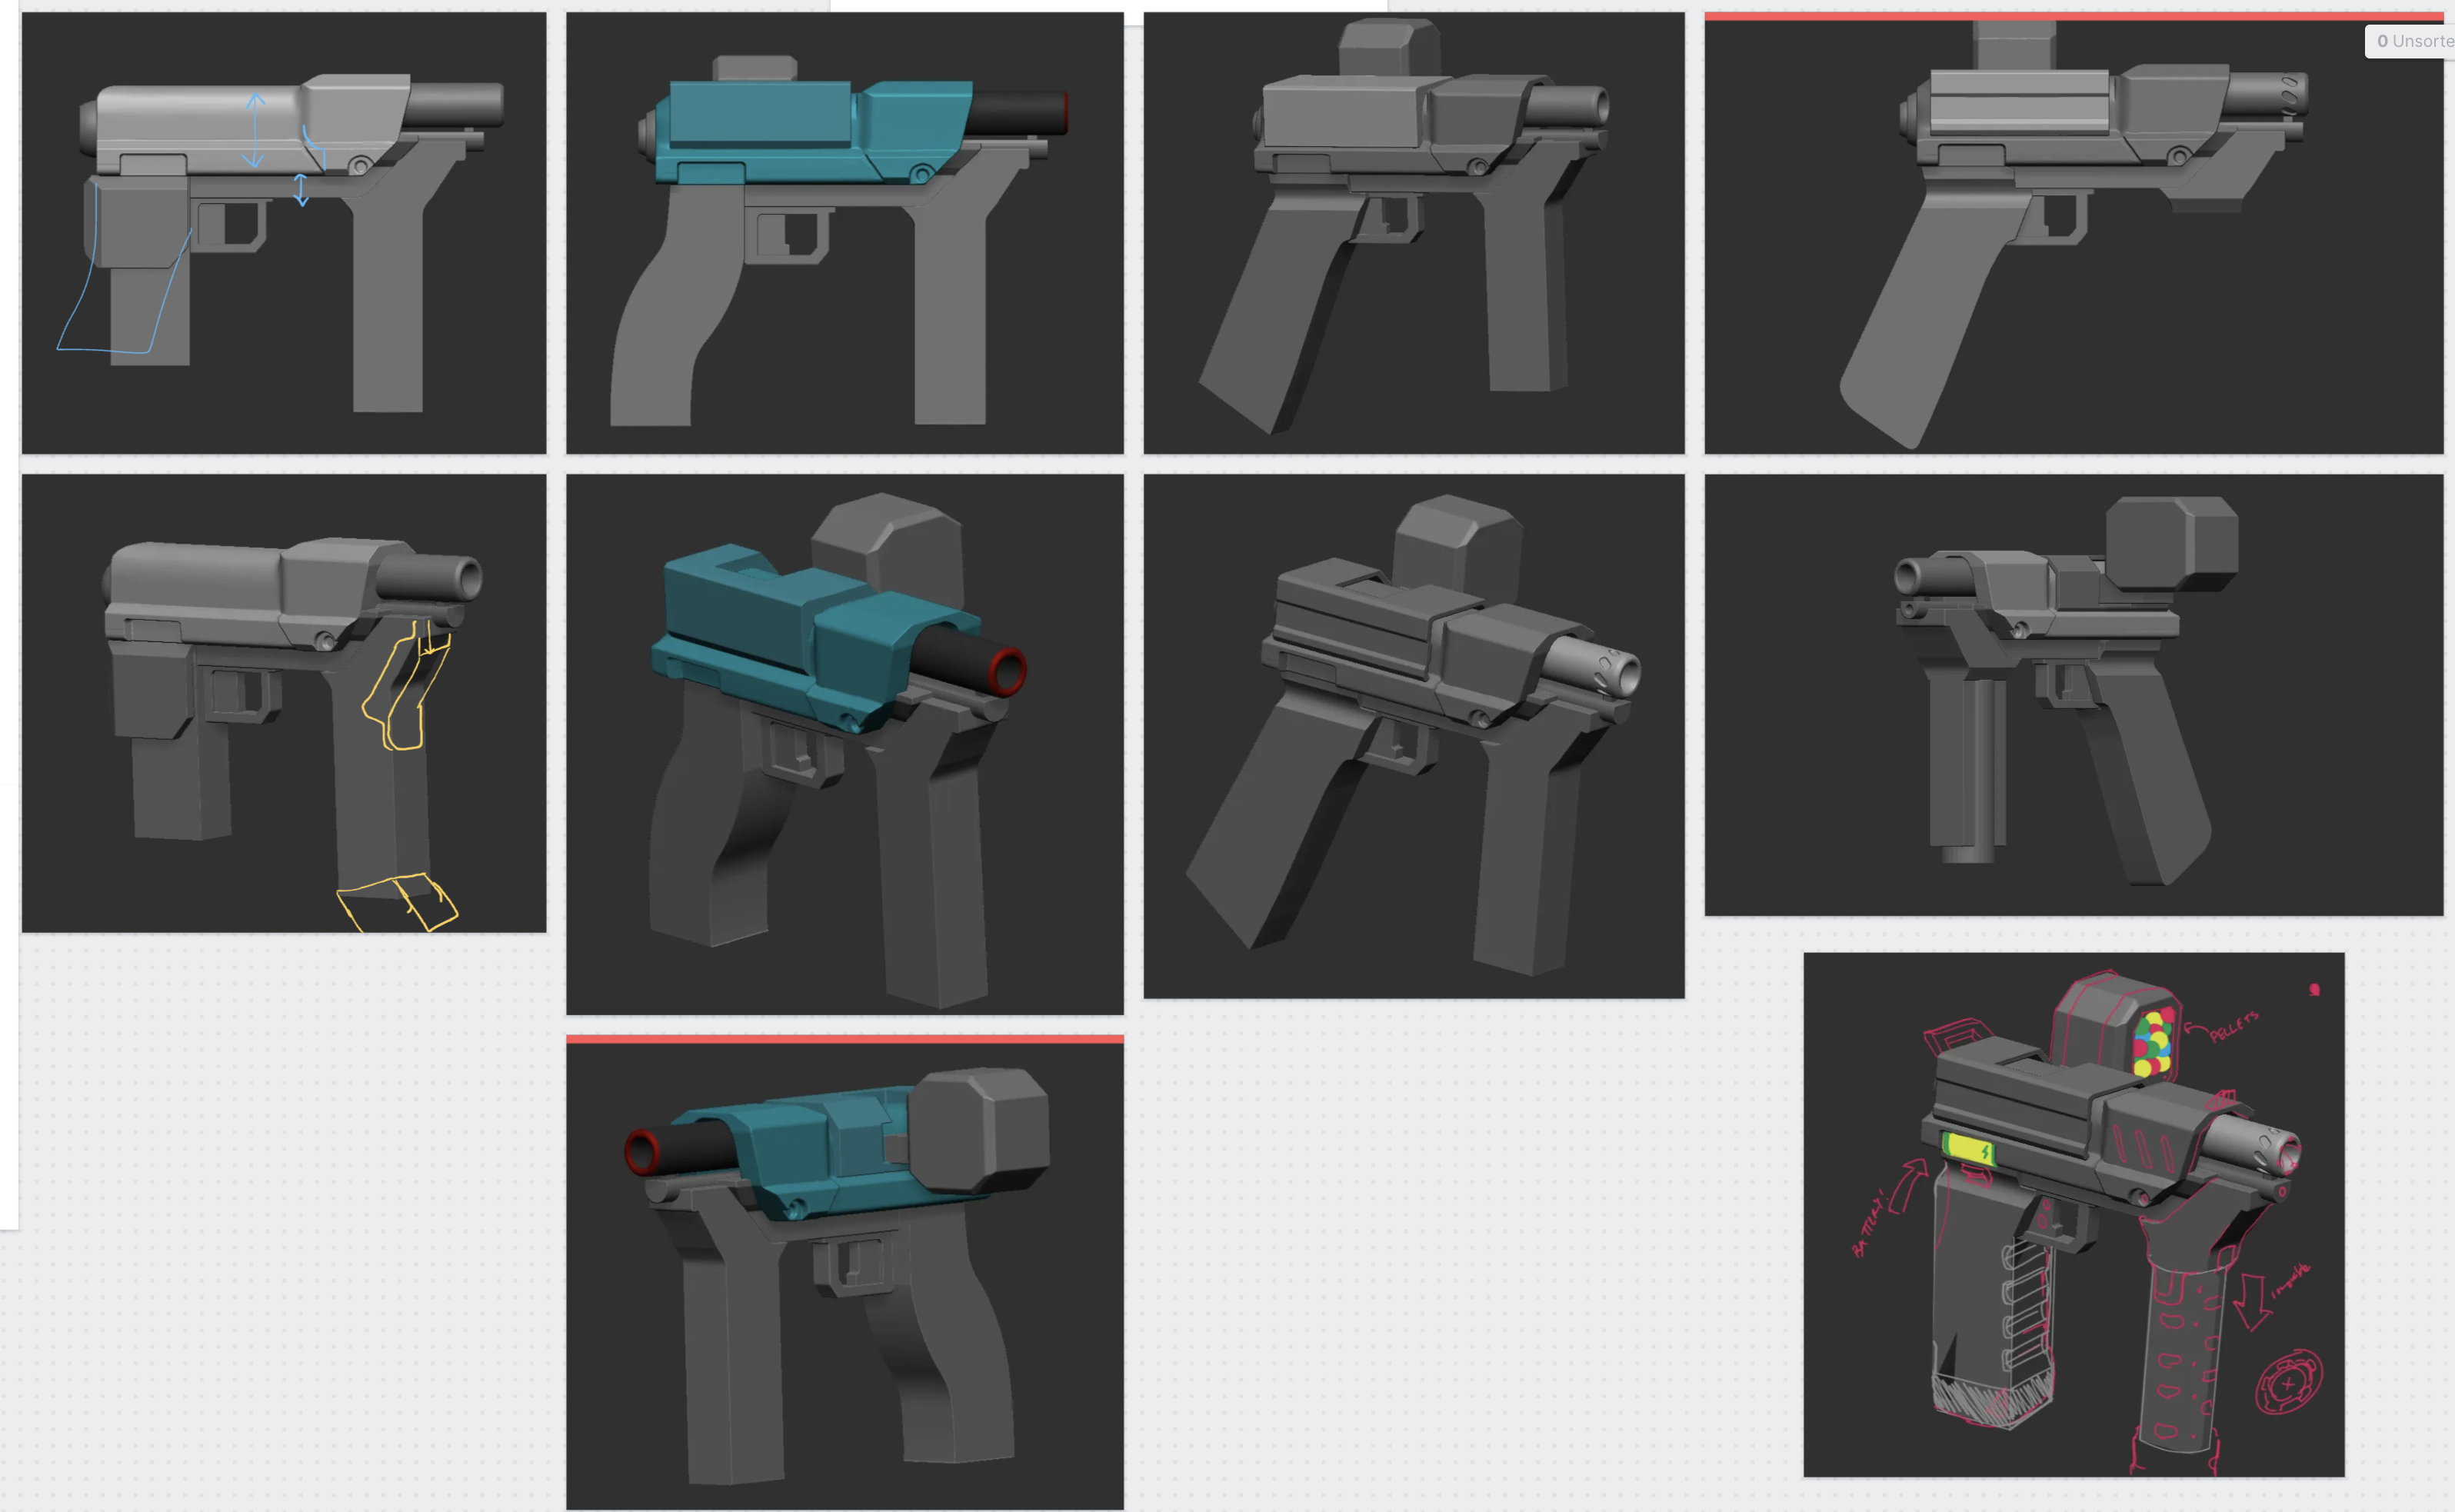
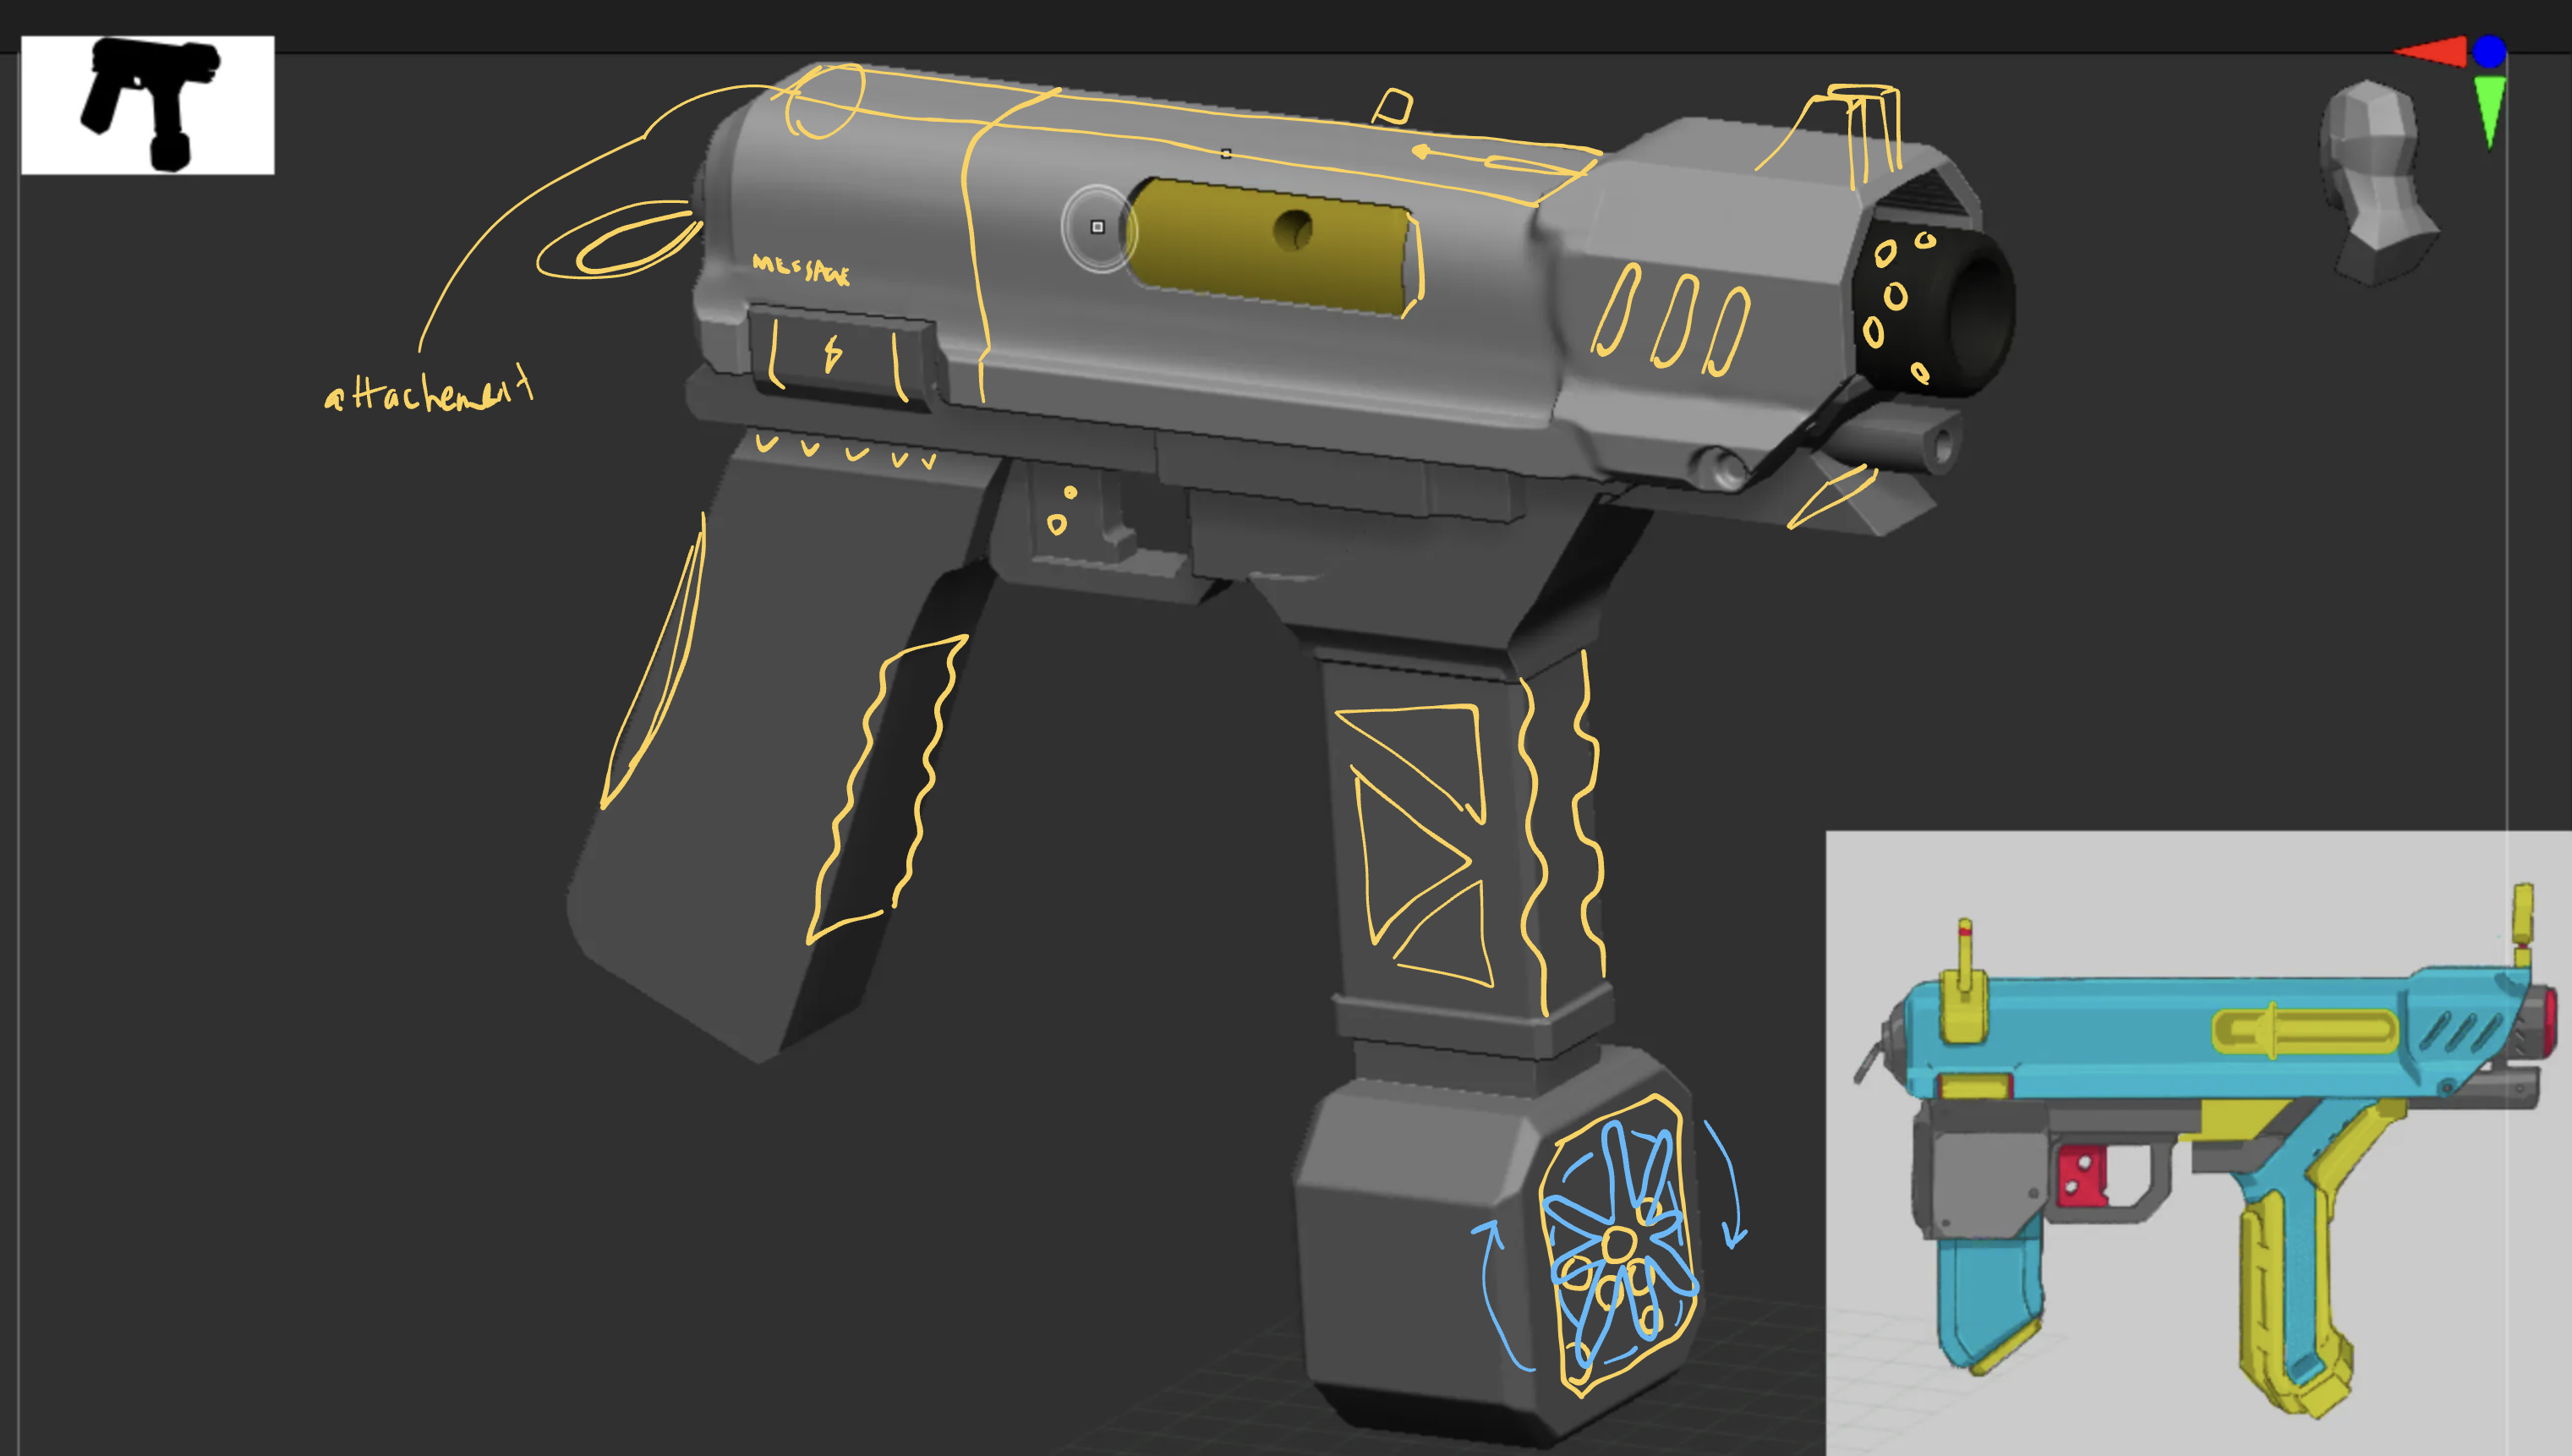
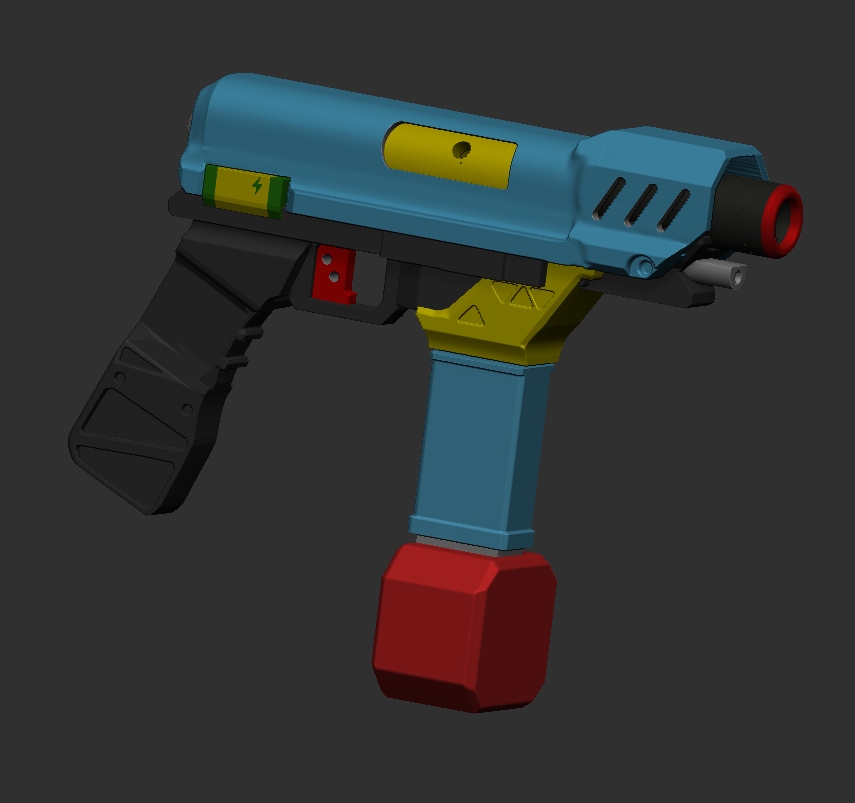
Wanted to start a simple weapon project and ended up with a gel blaster model, good to explore and discover several iterations and designs. Also learning more on the overall mechanics of weapon design, several changes and reiterations were made to just make it a realistic and accessible to the user.
Started out with a initial color pop design, bulky, and cubic, almost like a children’s toy.
Then blocking out and slowly fleshing out the design
Got to flesh it out further after deciding on a final design model, included details such as how the gel caps would be loaded from the fore-grip, electrical battery unit on the side, and such.
With some more free time I’d like to revisit this project to flesh and finalize further.
It’s been a while, been practicing my hard-surface sculpting skills, working on projects and having come back from a recent NJ trip with family, wanted to finally showcase my attempt at a Air Pod Container, in industrial-futuristic looking fashion.
Started with a simple container design and adding details from there. Heavily inspired by Metal Gear Solid V resource containers and Death Stranding containers, I made a Air Pod size container.
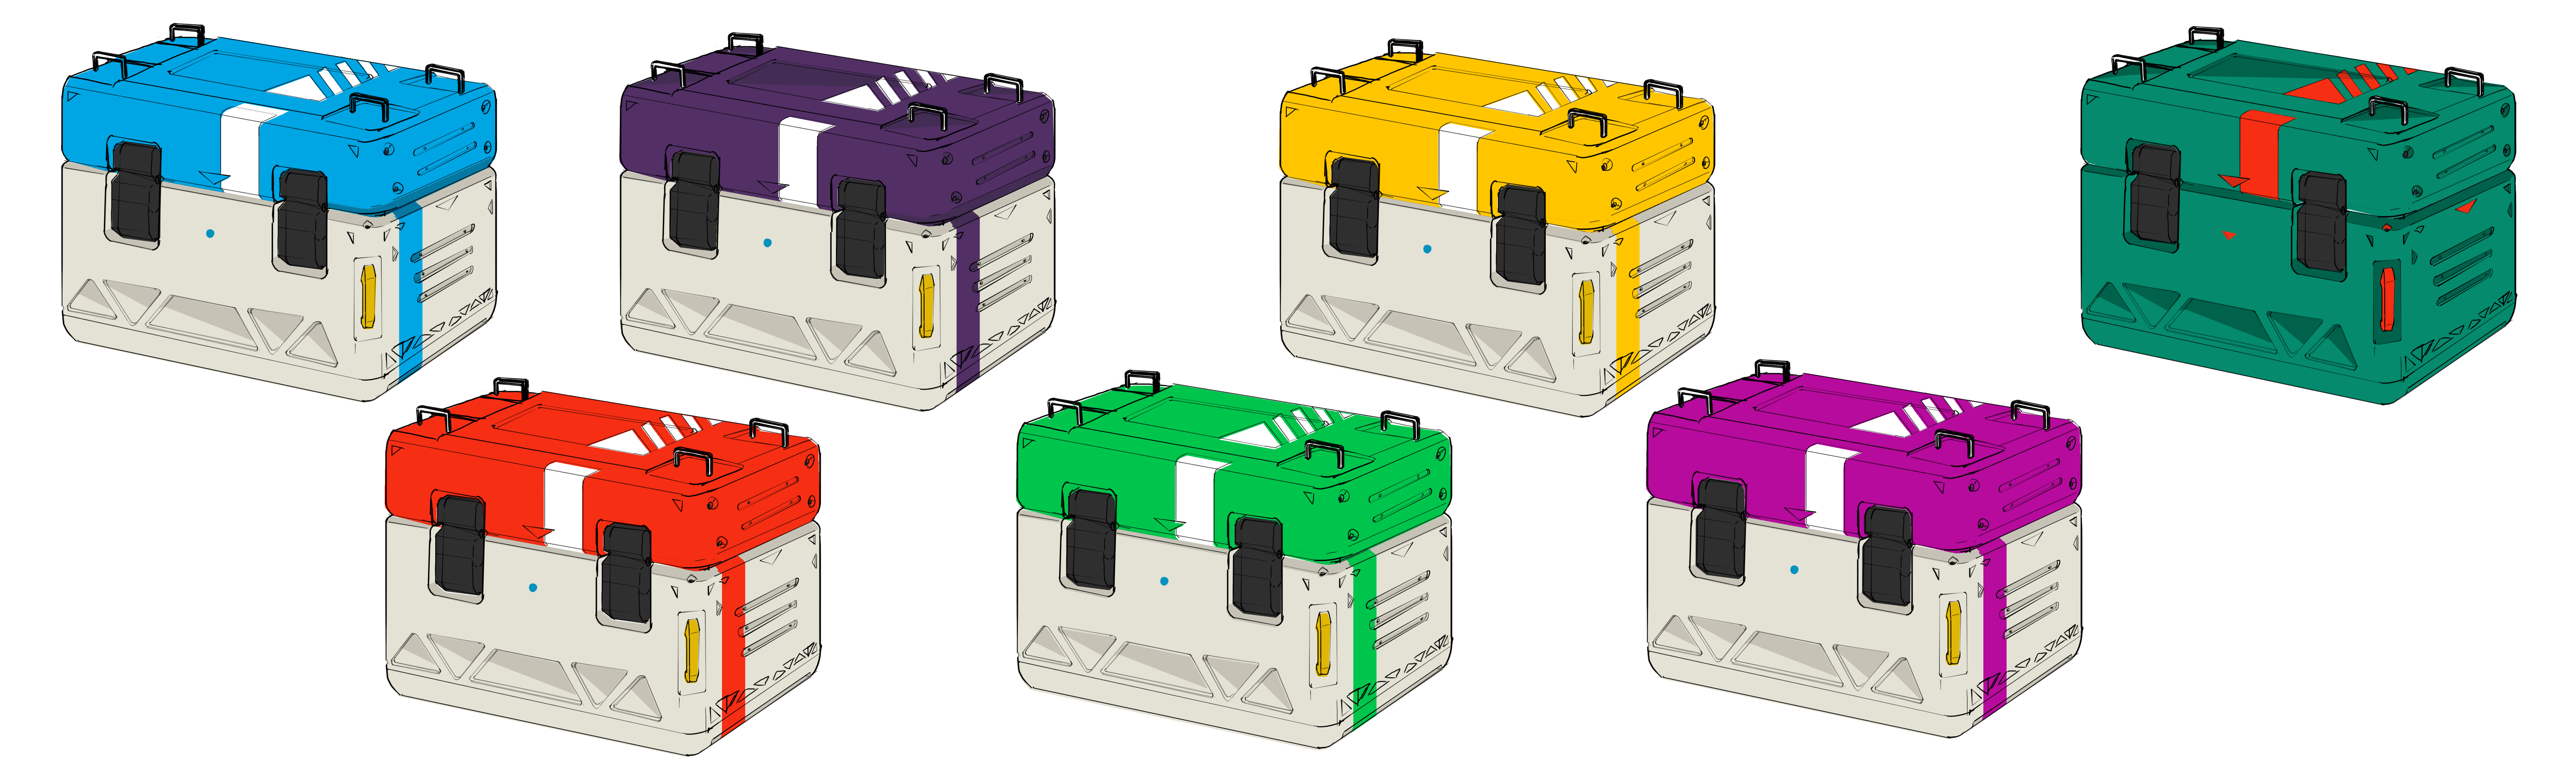
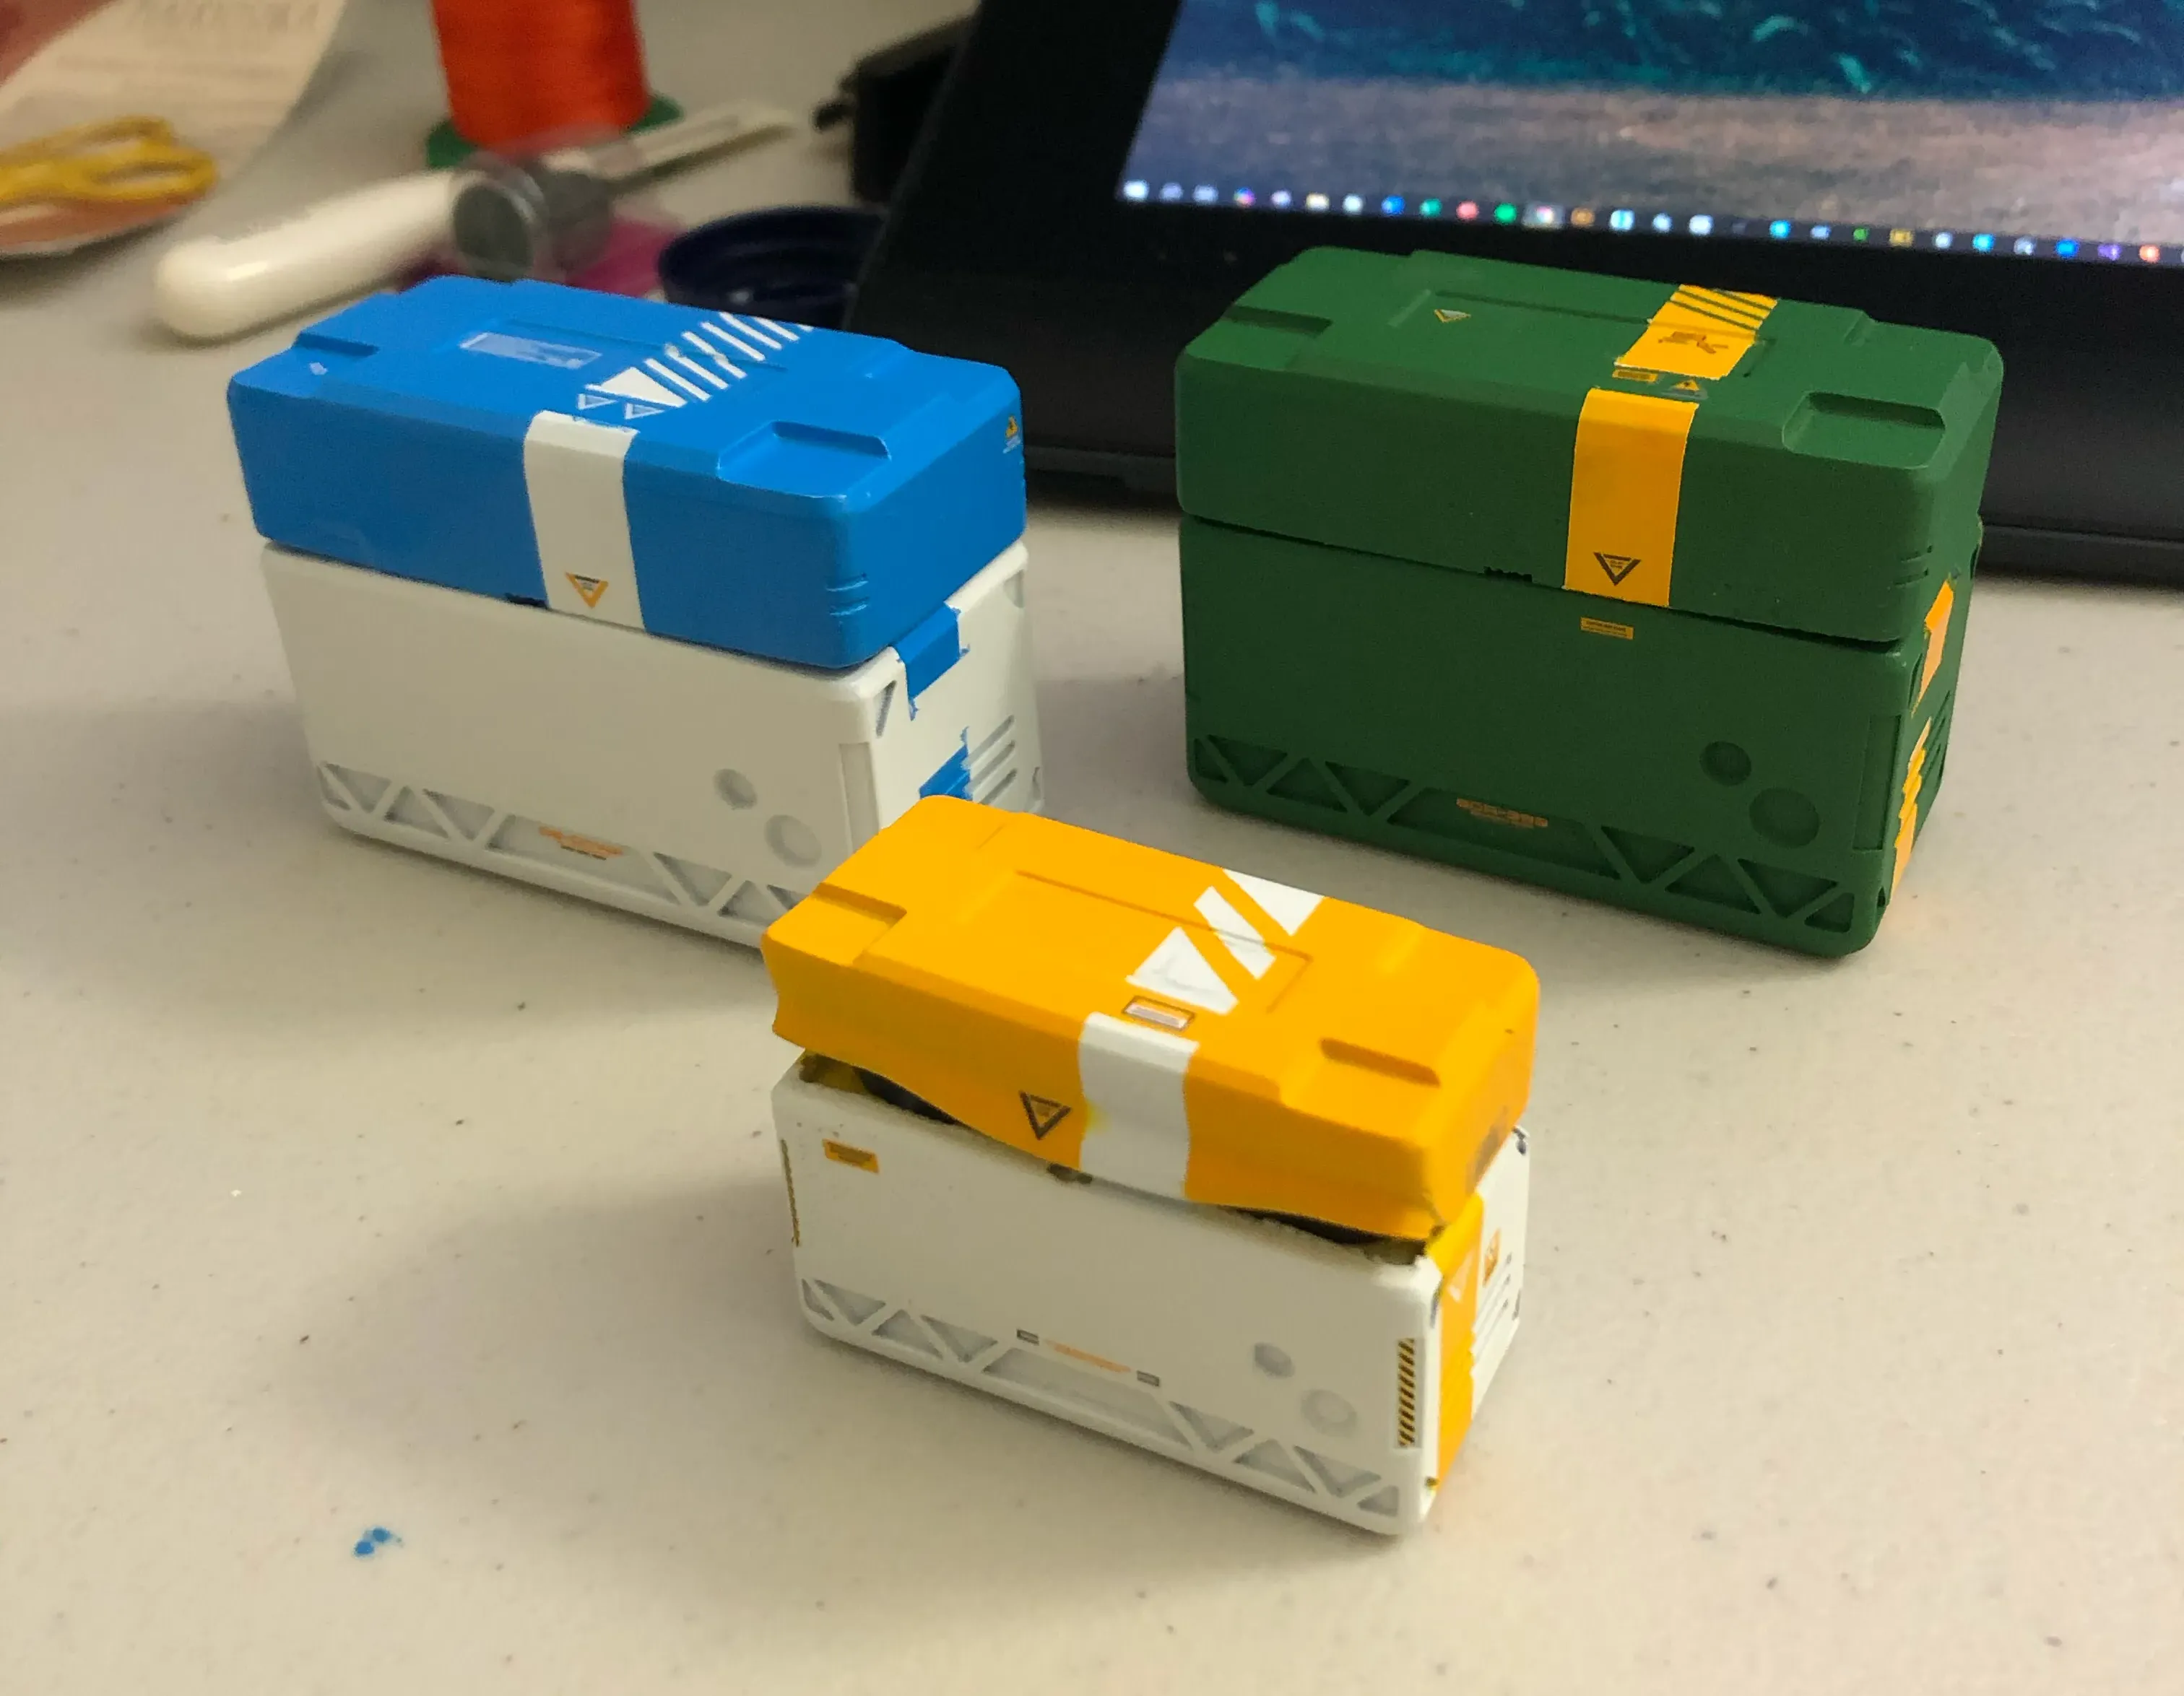
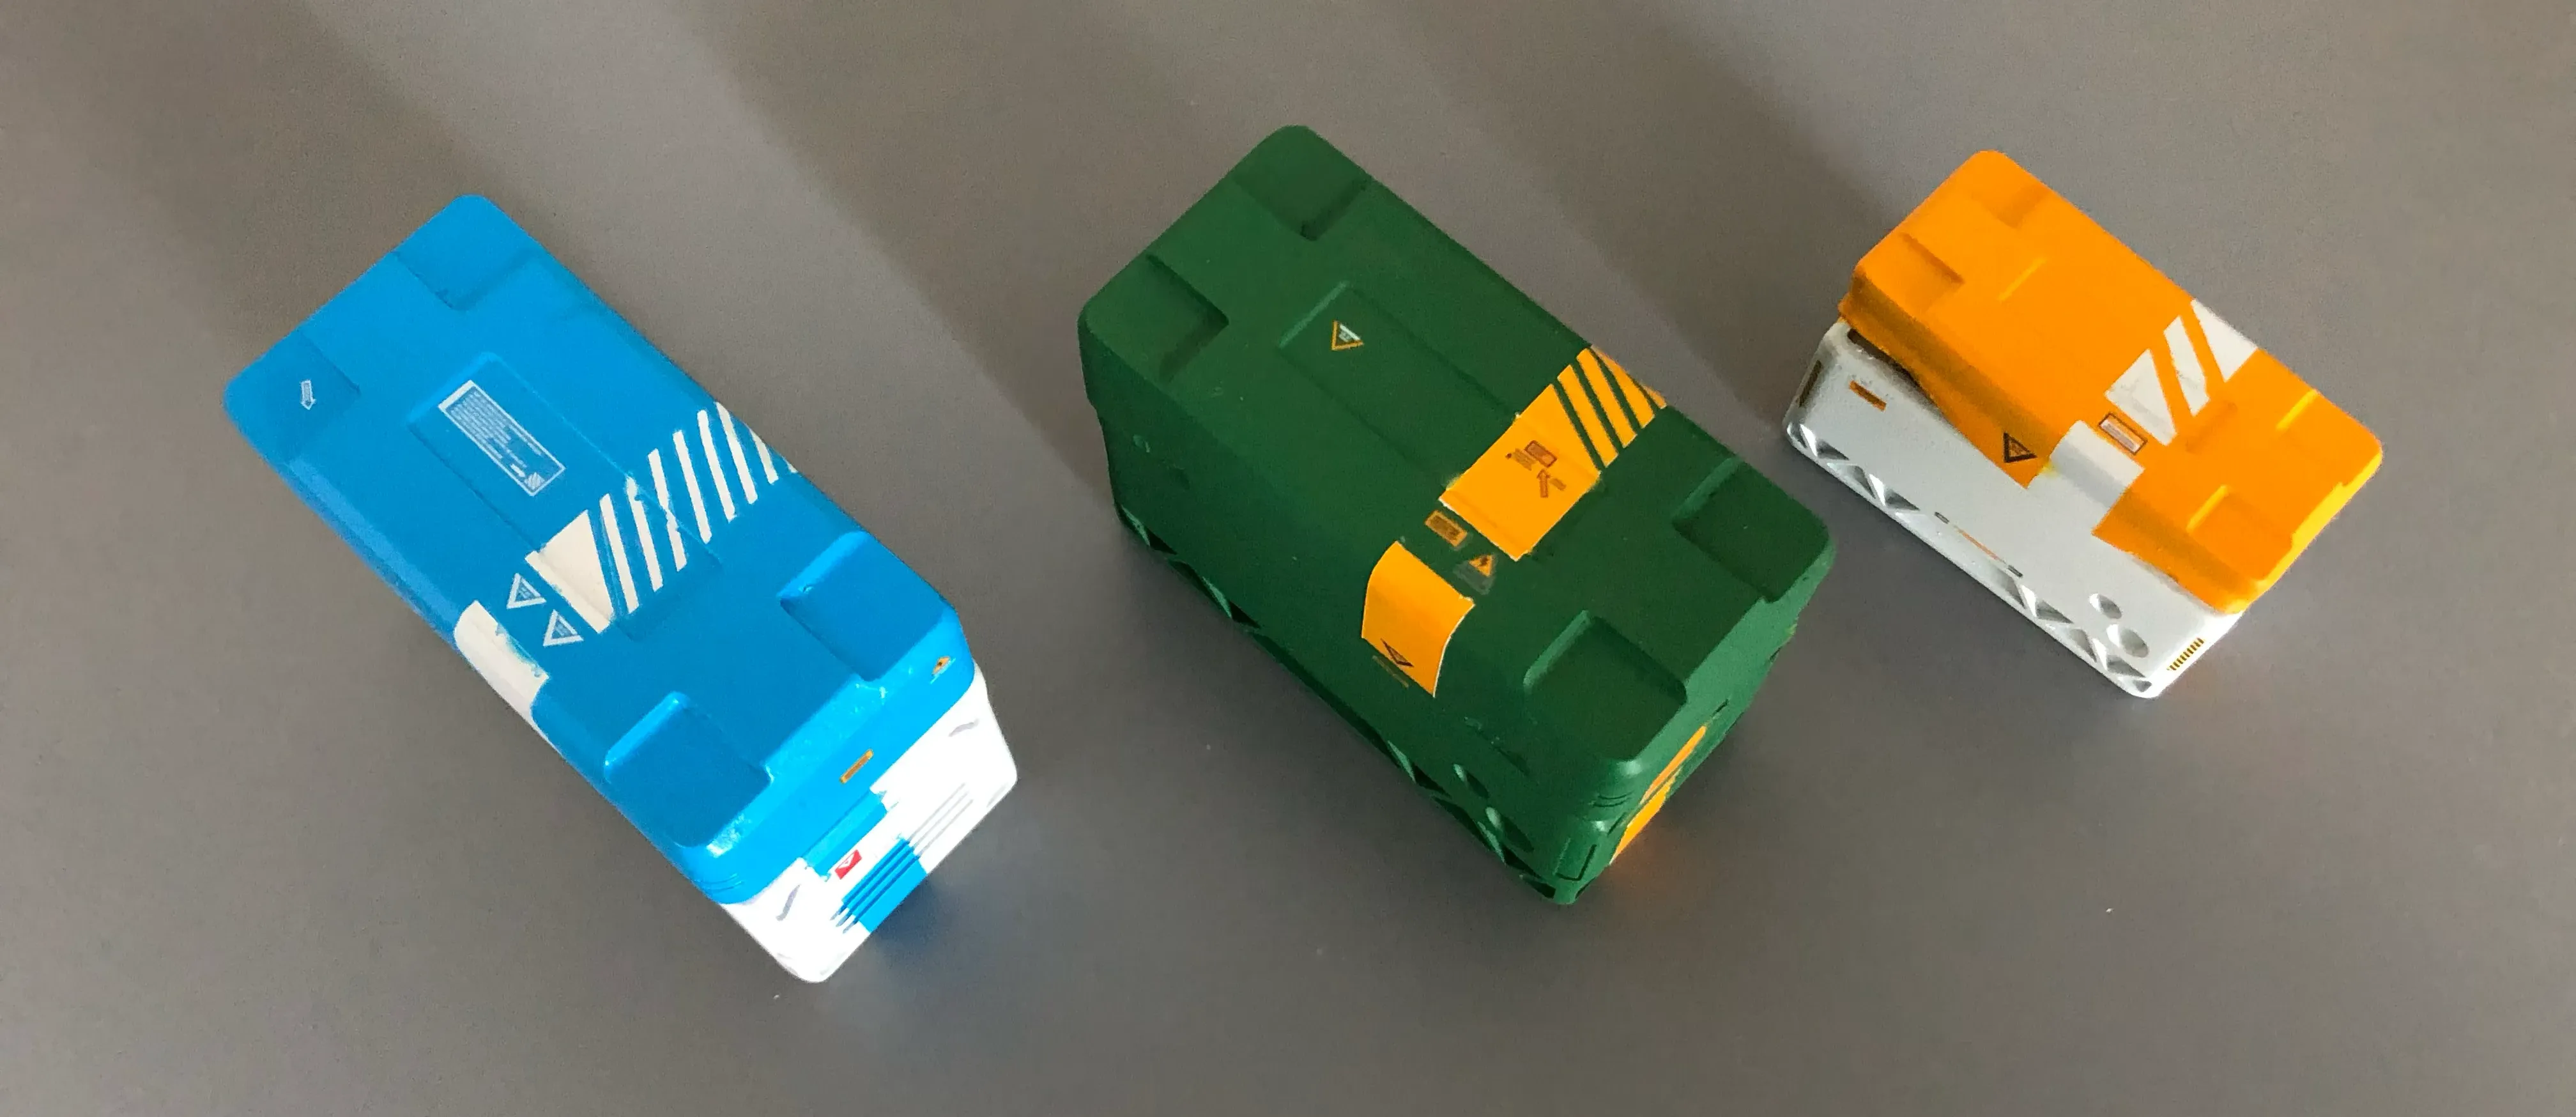
Picking a overall final design, I made some possible colorways that can come out of it.
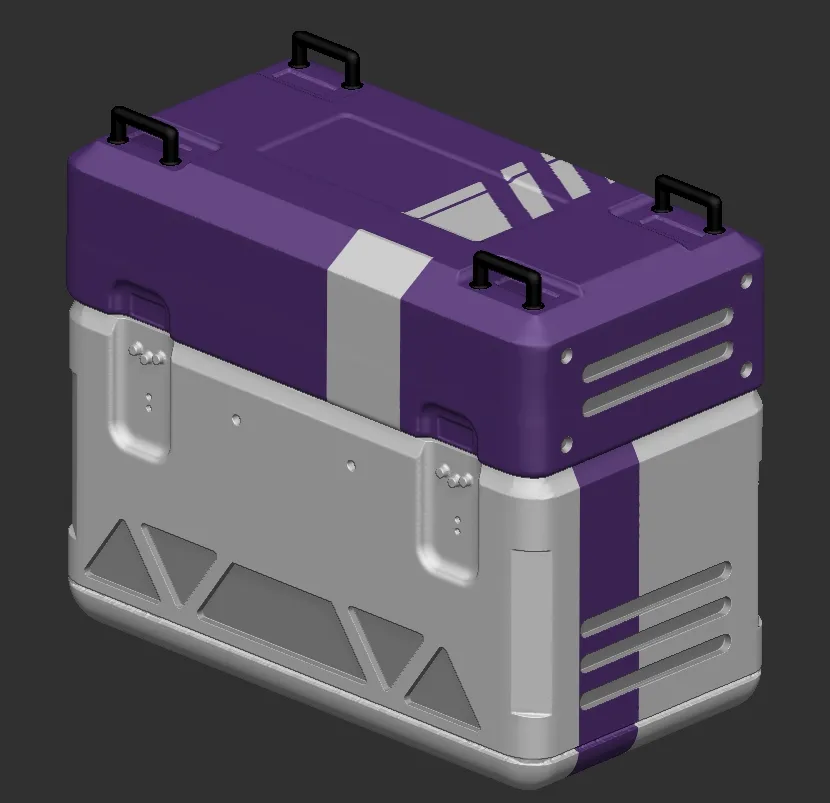
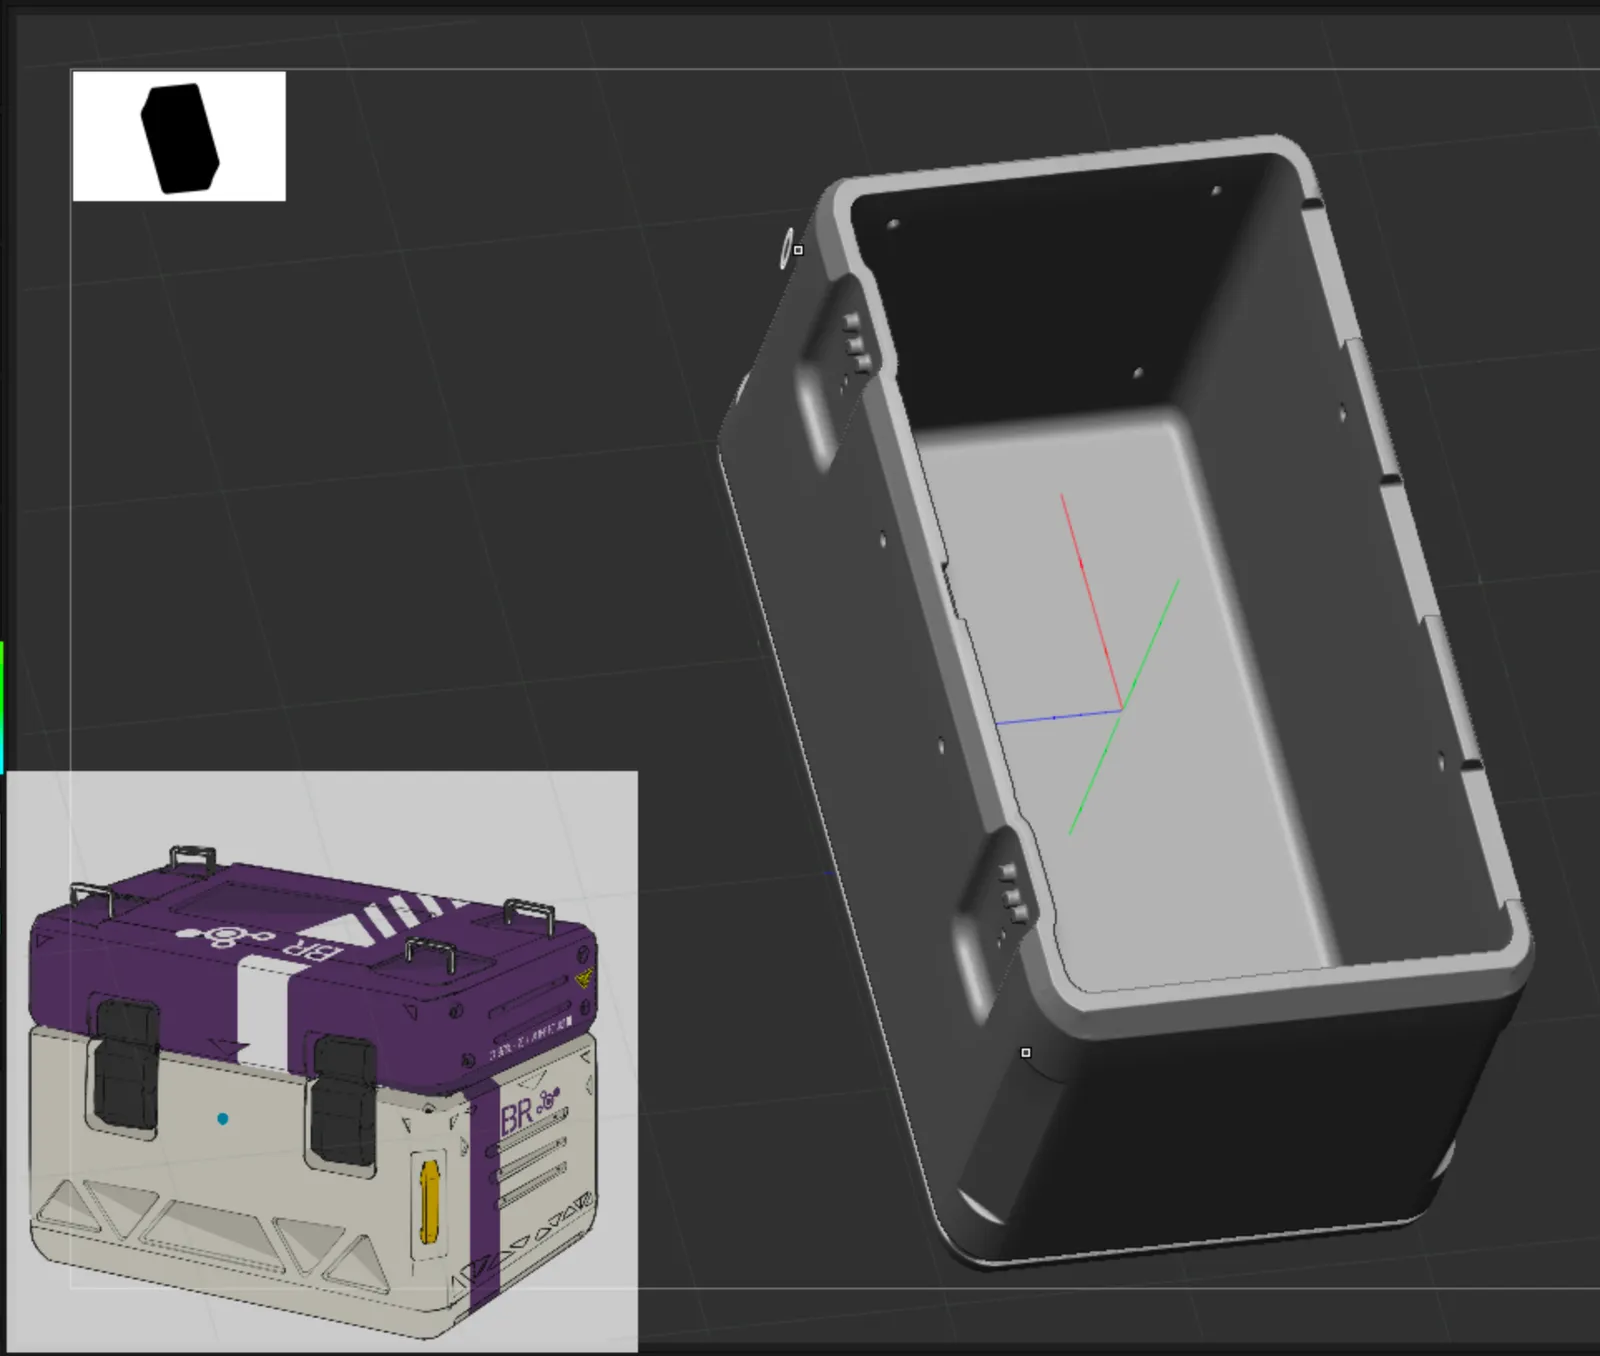
I had a bit of a monkey-wrench thrown in… when I built my first iteration using ZBrush version 2024 and had to go back to my personal version 2023 license. Unfortunately trying to open a ZBrush project file in a earlier version made it crash every time making my first design file unusable unless I upgraded…
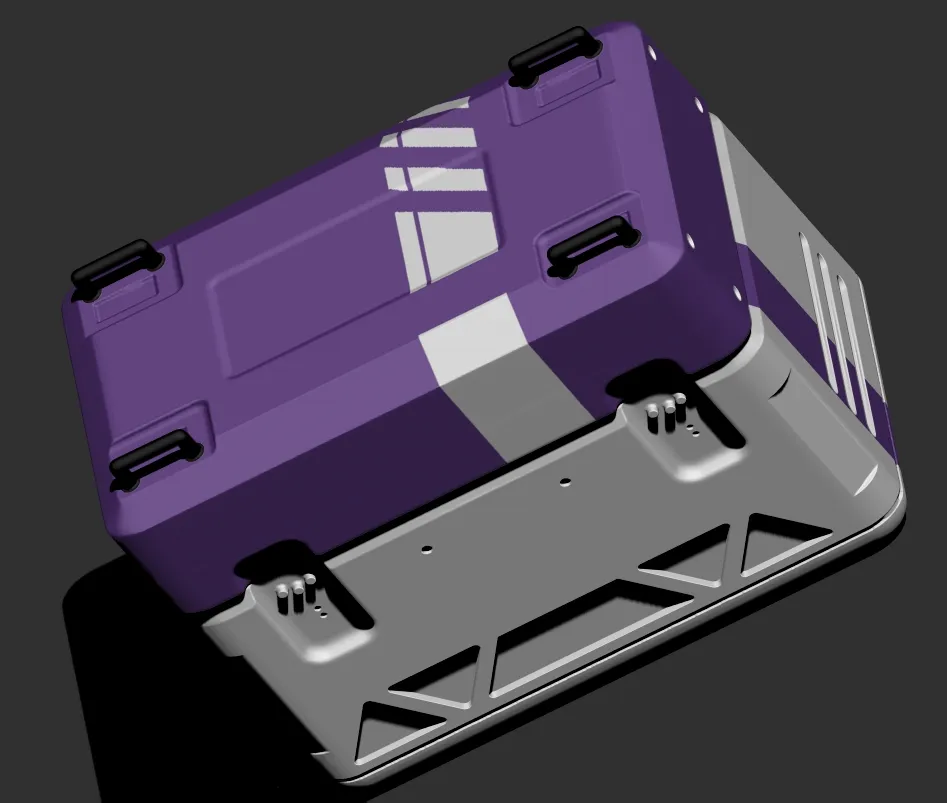
So I decided to start from scratch with a new iteration. Which wasn’t too hard as its just a simple cube with extrusion and hard-surface details. Went with a different take with this second-version:
From here I was reaching the two-week cycle, I promised myself to finish this project out here because as a designer you can always iterate and improve on your previous designs. And rather be stuck on a infinite loop, I have been keeping myself accountable to work in two-week sprints. If I decide to revisit this and spend more time I would add a lot more details, such as a key ring, handle, screws, panel-lines, etc.
I printed a models of various sizes, smaller ones first as test prints to ensure design looked good and resolve any faulty printer issues (there’s always something awry when printing the first time). And afterwards printed a couple working models, primed, painted, decaled and top-coated.
It was a fun project, definitely a good learning experience and exciting to further see new possibilities from here on. I was also amazed how the ZBrush model details were kept in the final print even to the surface etchings, a good sign for panel lines and even adding my signature.
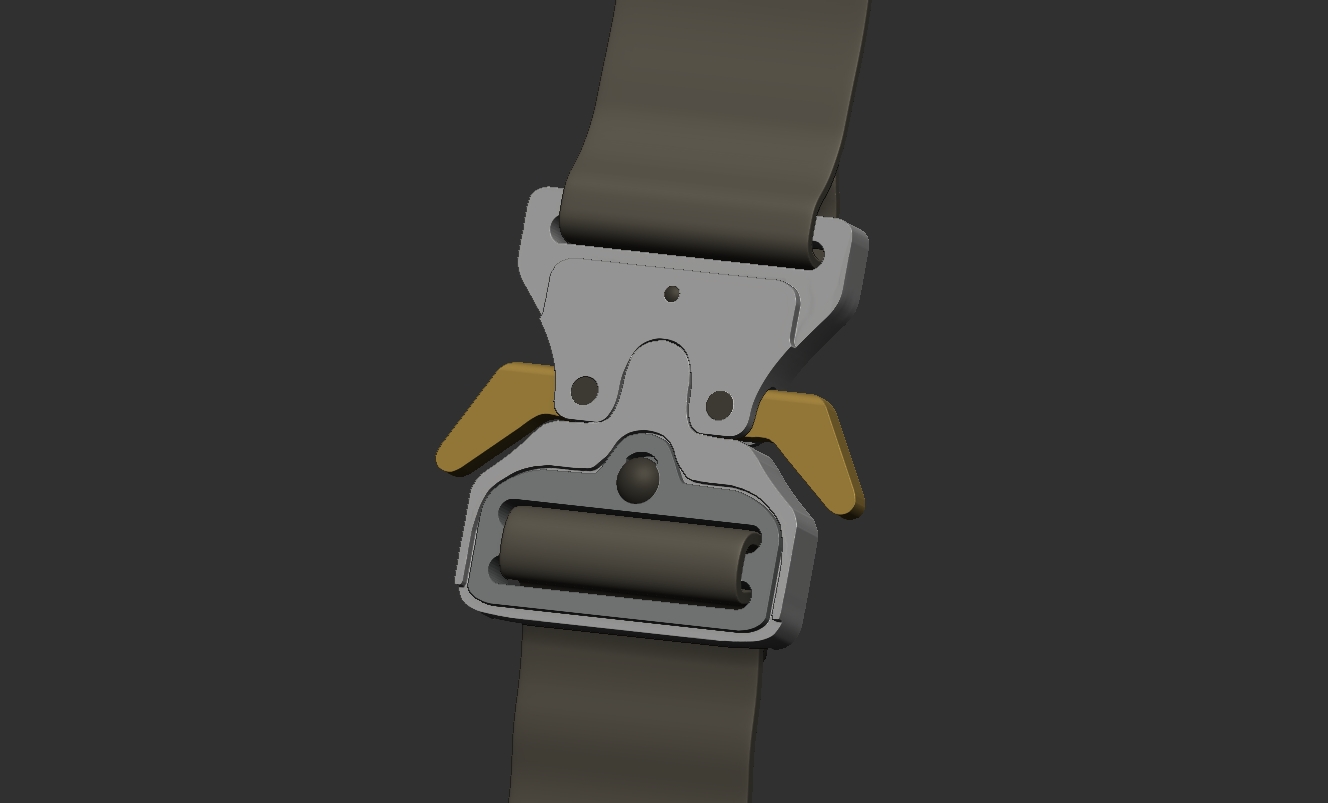
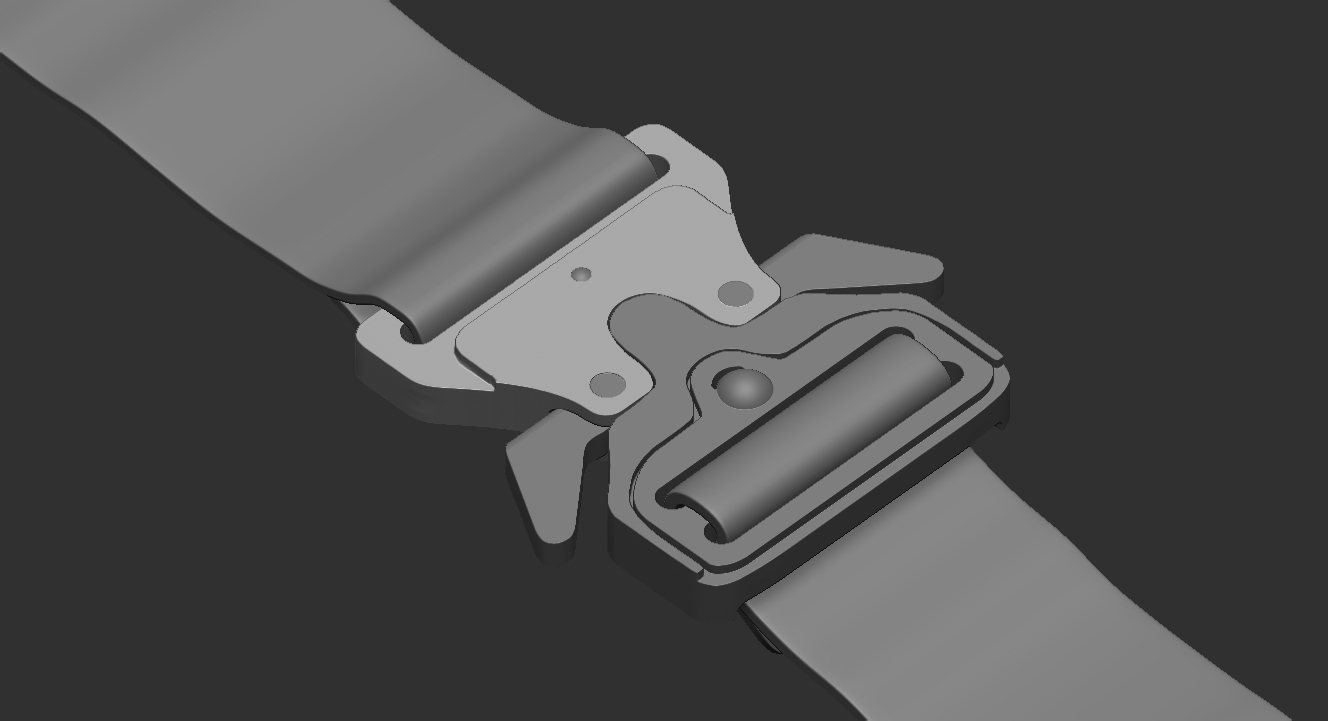
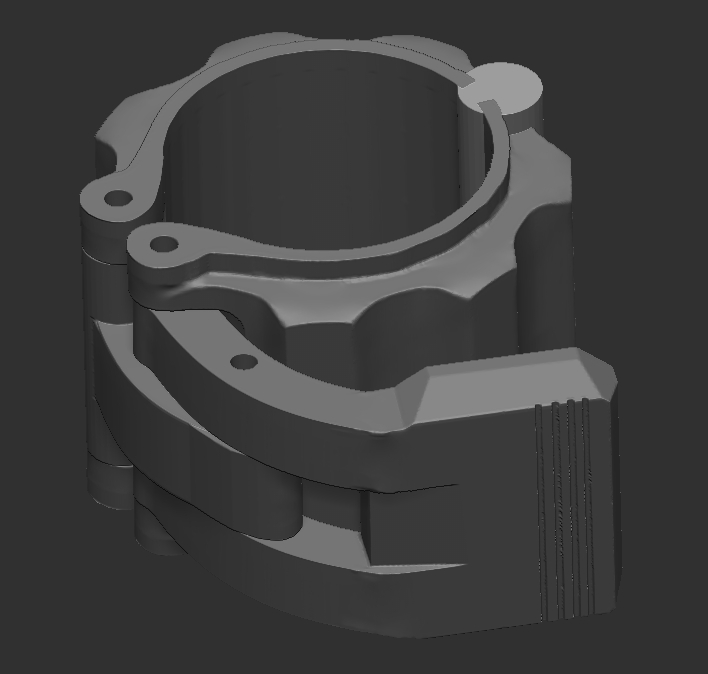
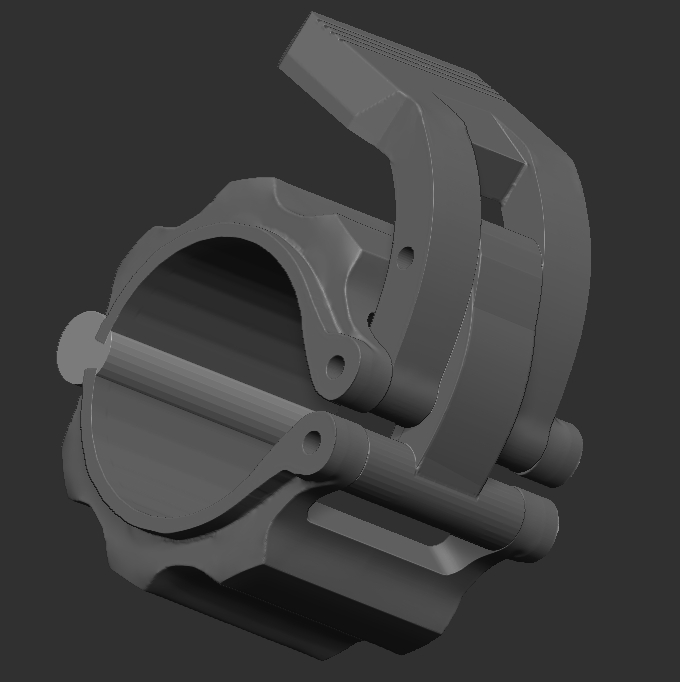
More modelling practice with ZBrush modeling from my reference board, this week I did the Alyx Belt found from Pinterest.
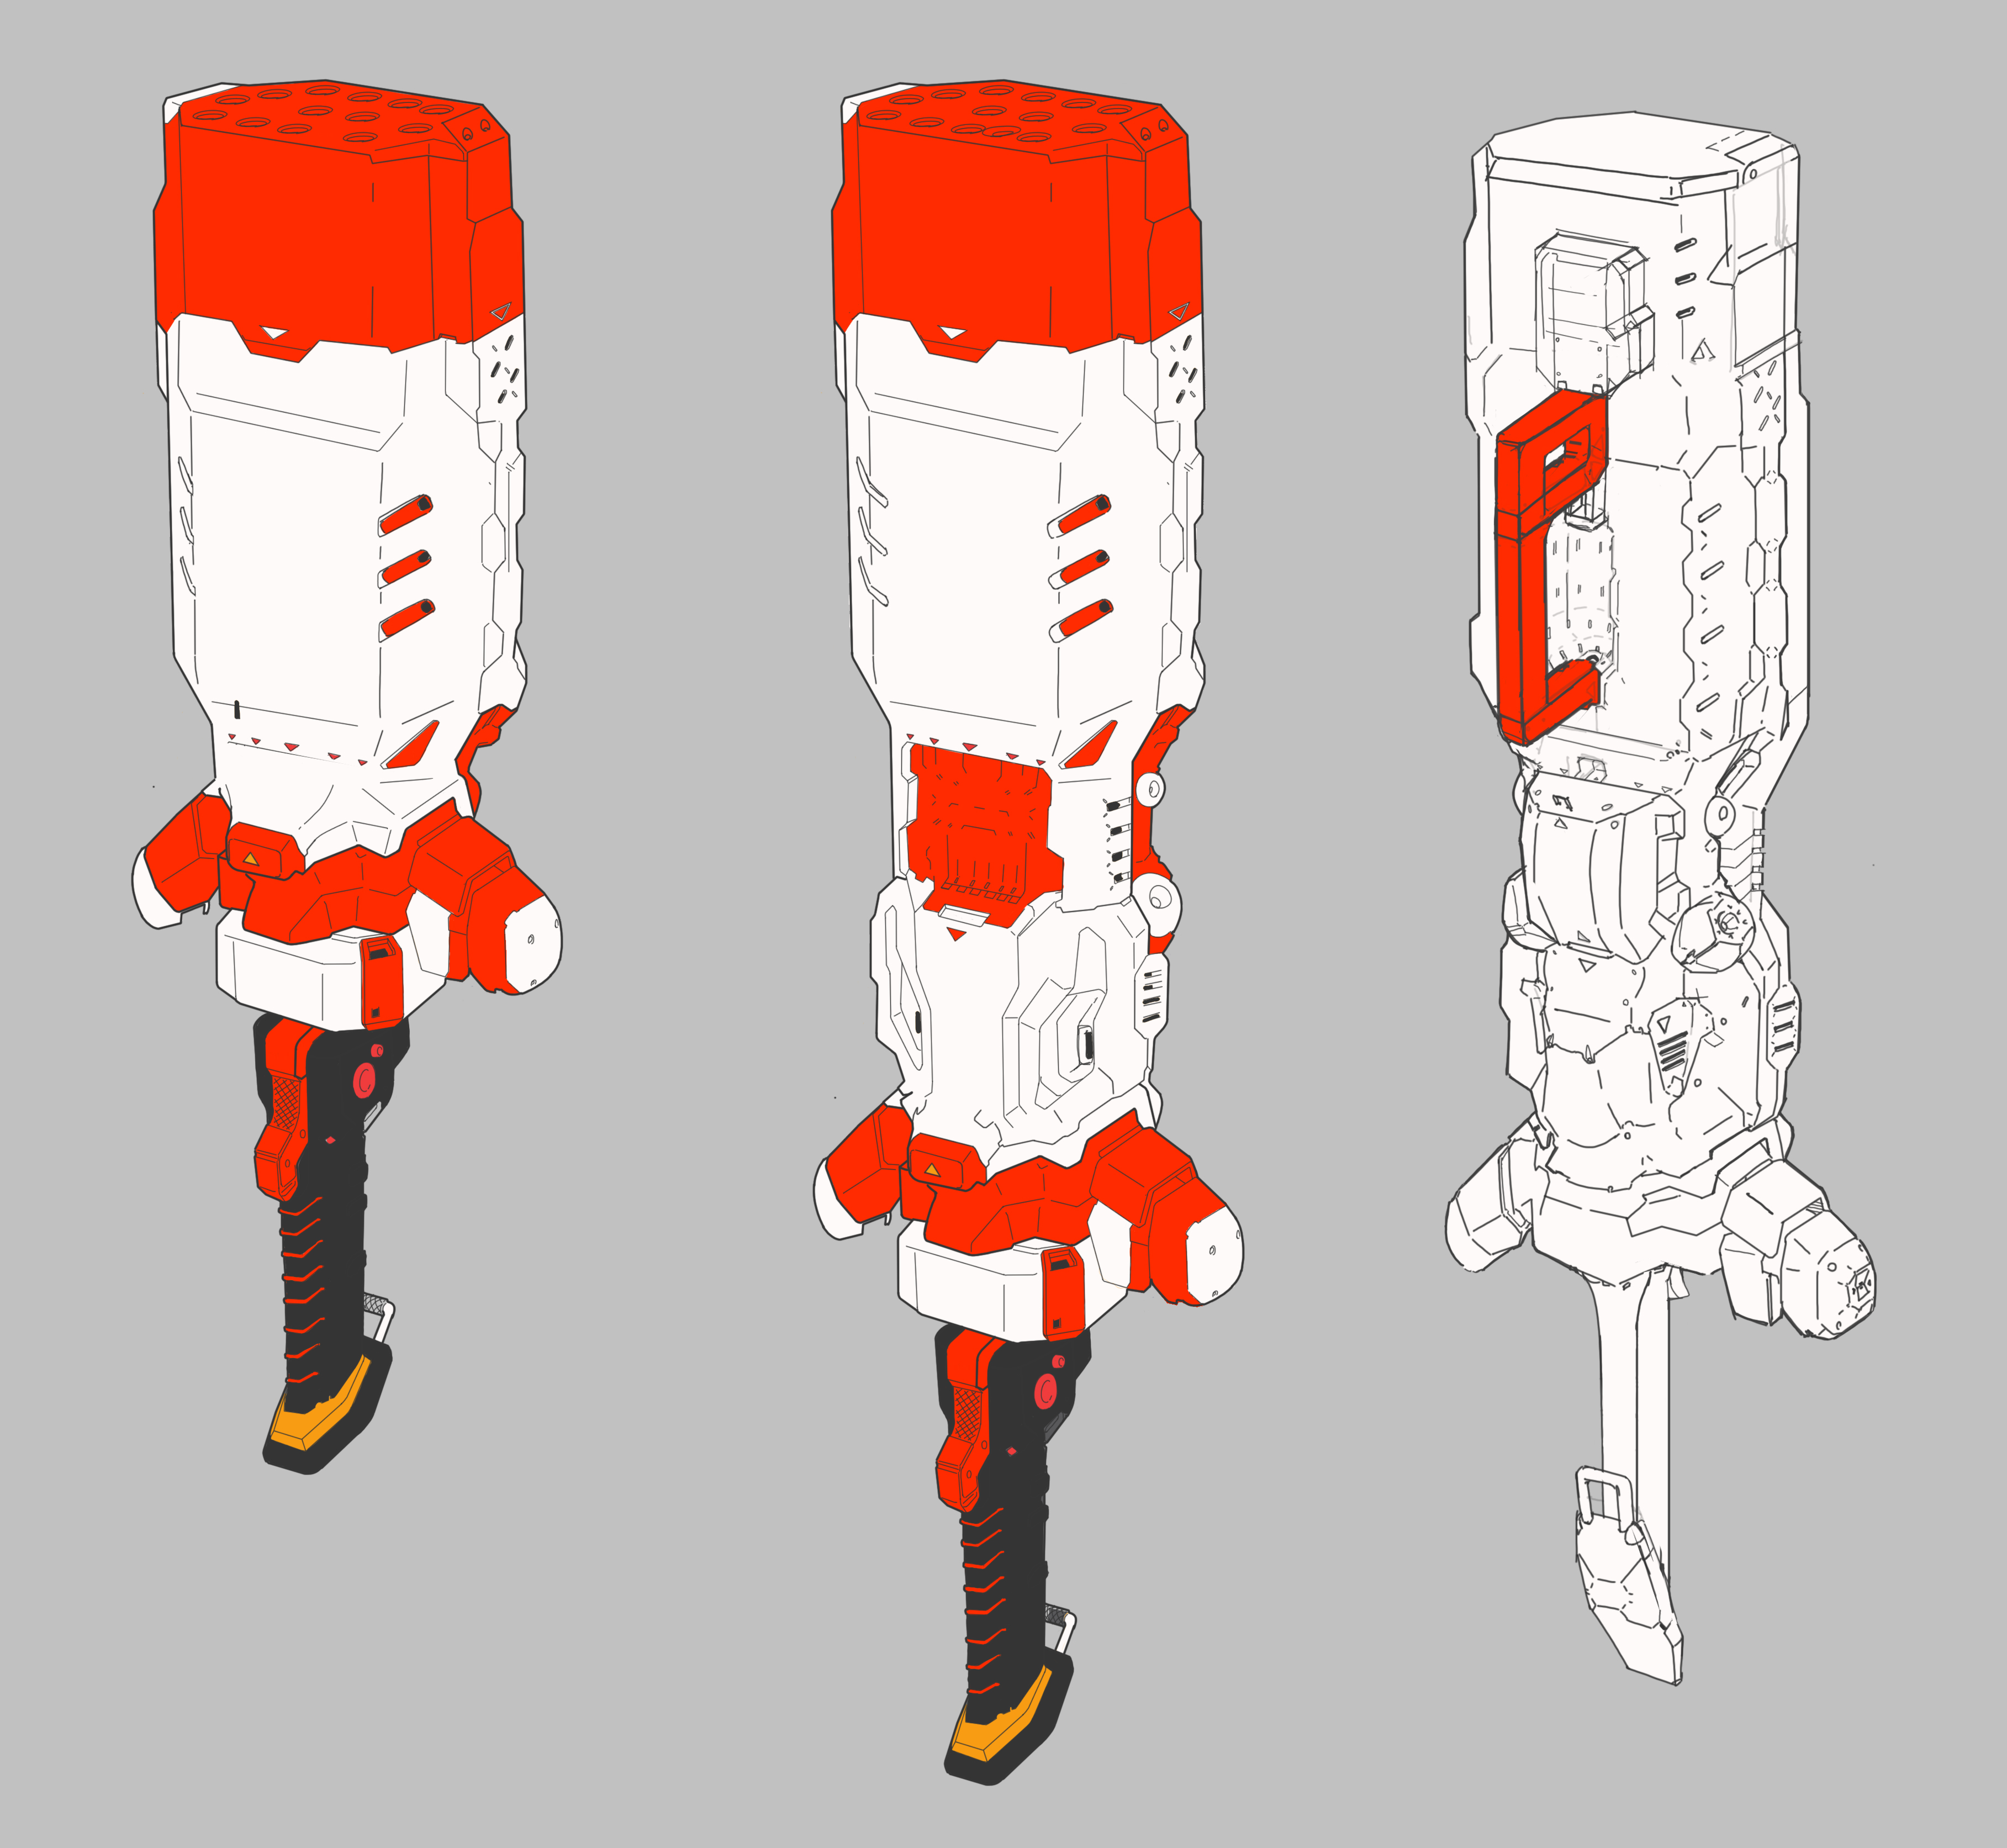
Coming back from my Colorado trip, I wanted to practice my Photoshop painting skills and during the process thought if I made the batter hammer a smushed version and 3d printed it as a backpack charm, going to see where this goes…
Also wanted to spend time using markers and started playing with the Copic markers I have
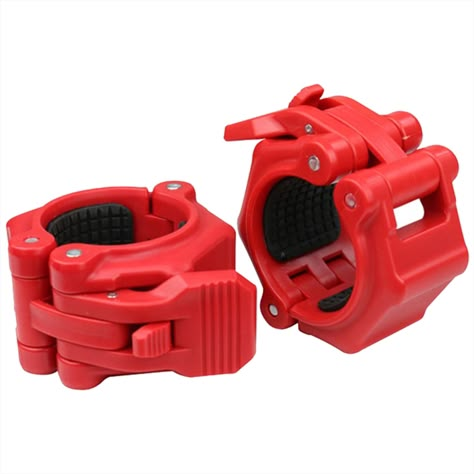
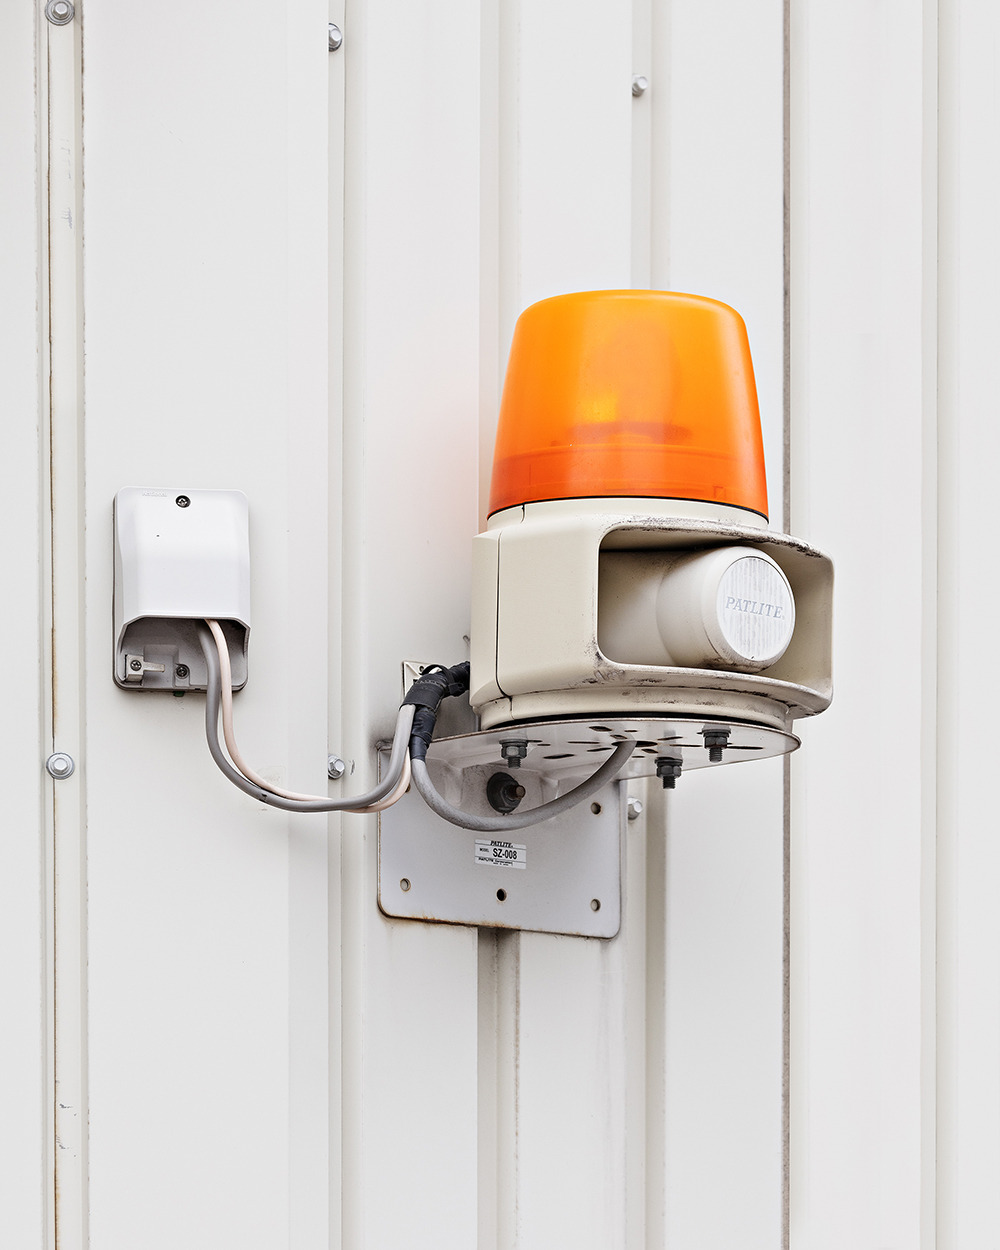
Using the collected reference images I found on Pinterest, I started my model which was a Japanese LED siren of the Patlite corporation, spending a couple hours everyday was able to get most of the model complete. If I go further with this model, I would include several more details such as the LED internals and back wall. And finalize the model in Keyshot.
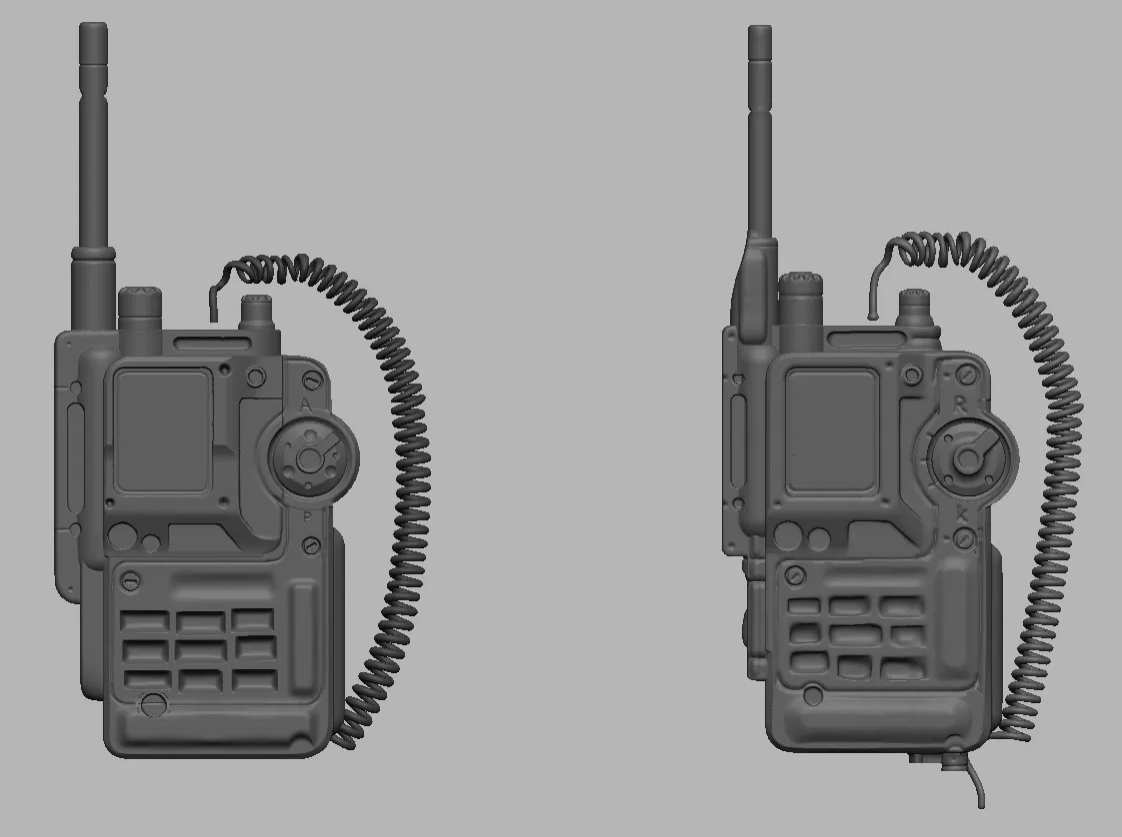
Throughout the week I continued to build the radio blockout with Cane’s hard-surface design course (check out his course here!) and was able to reblock the radio BBS-01 he provided in his starter files.
After this practice, I brainstormed ways to continue improvement and practice of my hard-surface skills using ZBrush, I collected 10+ mechanical reference images and will continue practicing by building these out to the best of my ability. Diverse design pieces are always good as they push different your limit in building through various curves, surfaces and complexities the shape can have. It’s a fun puzzle even with simple objects in how you approach replicating it based on what tool you have in hand.
Left side my iteration, right side Cane’s reference radio blockout
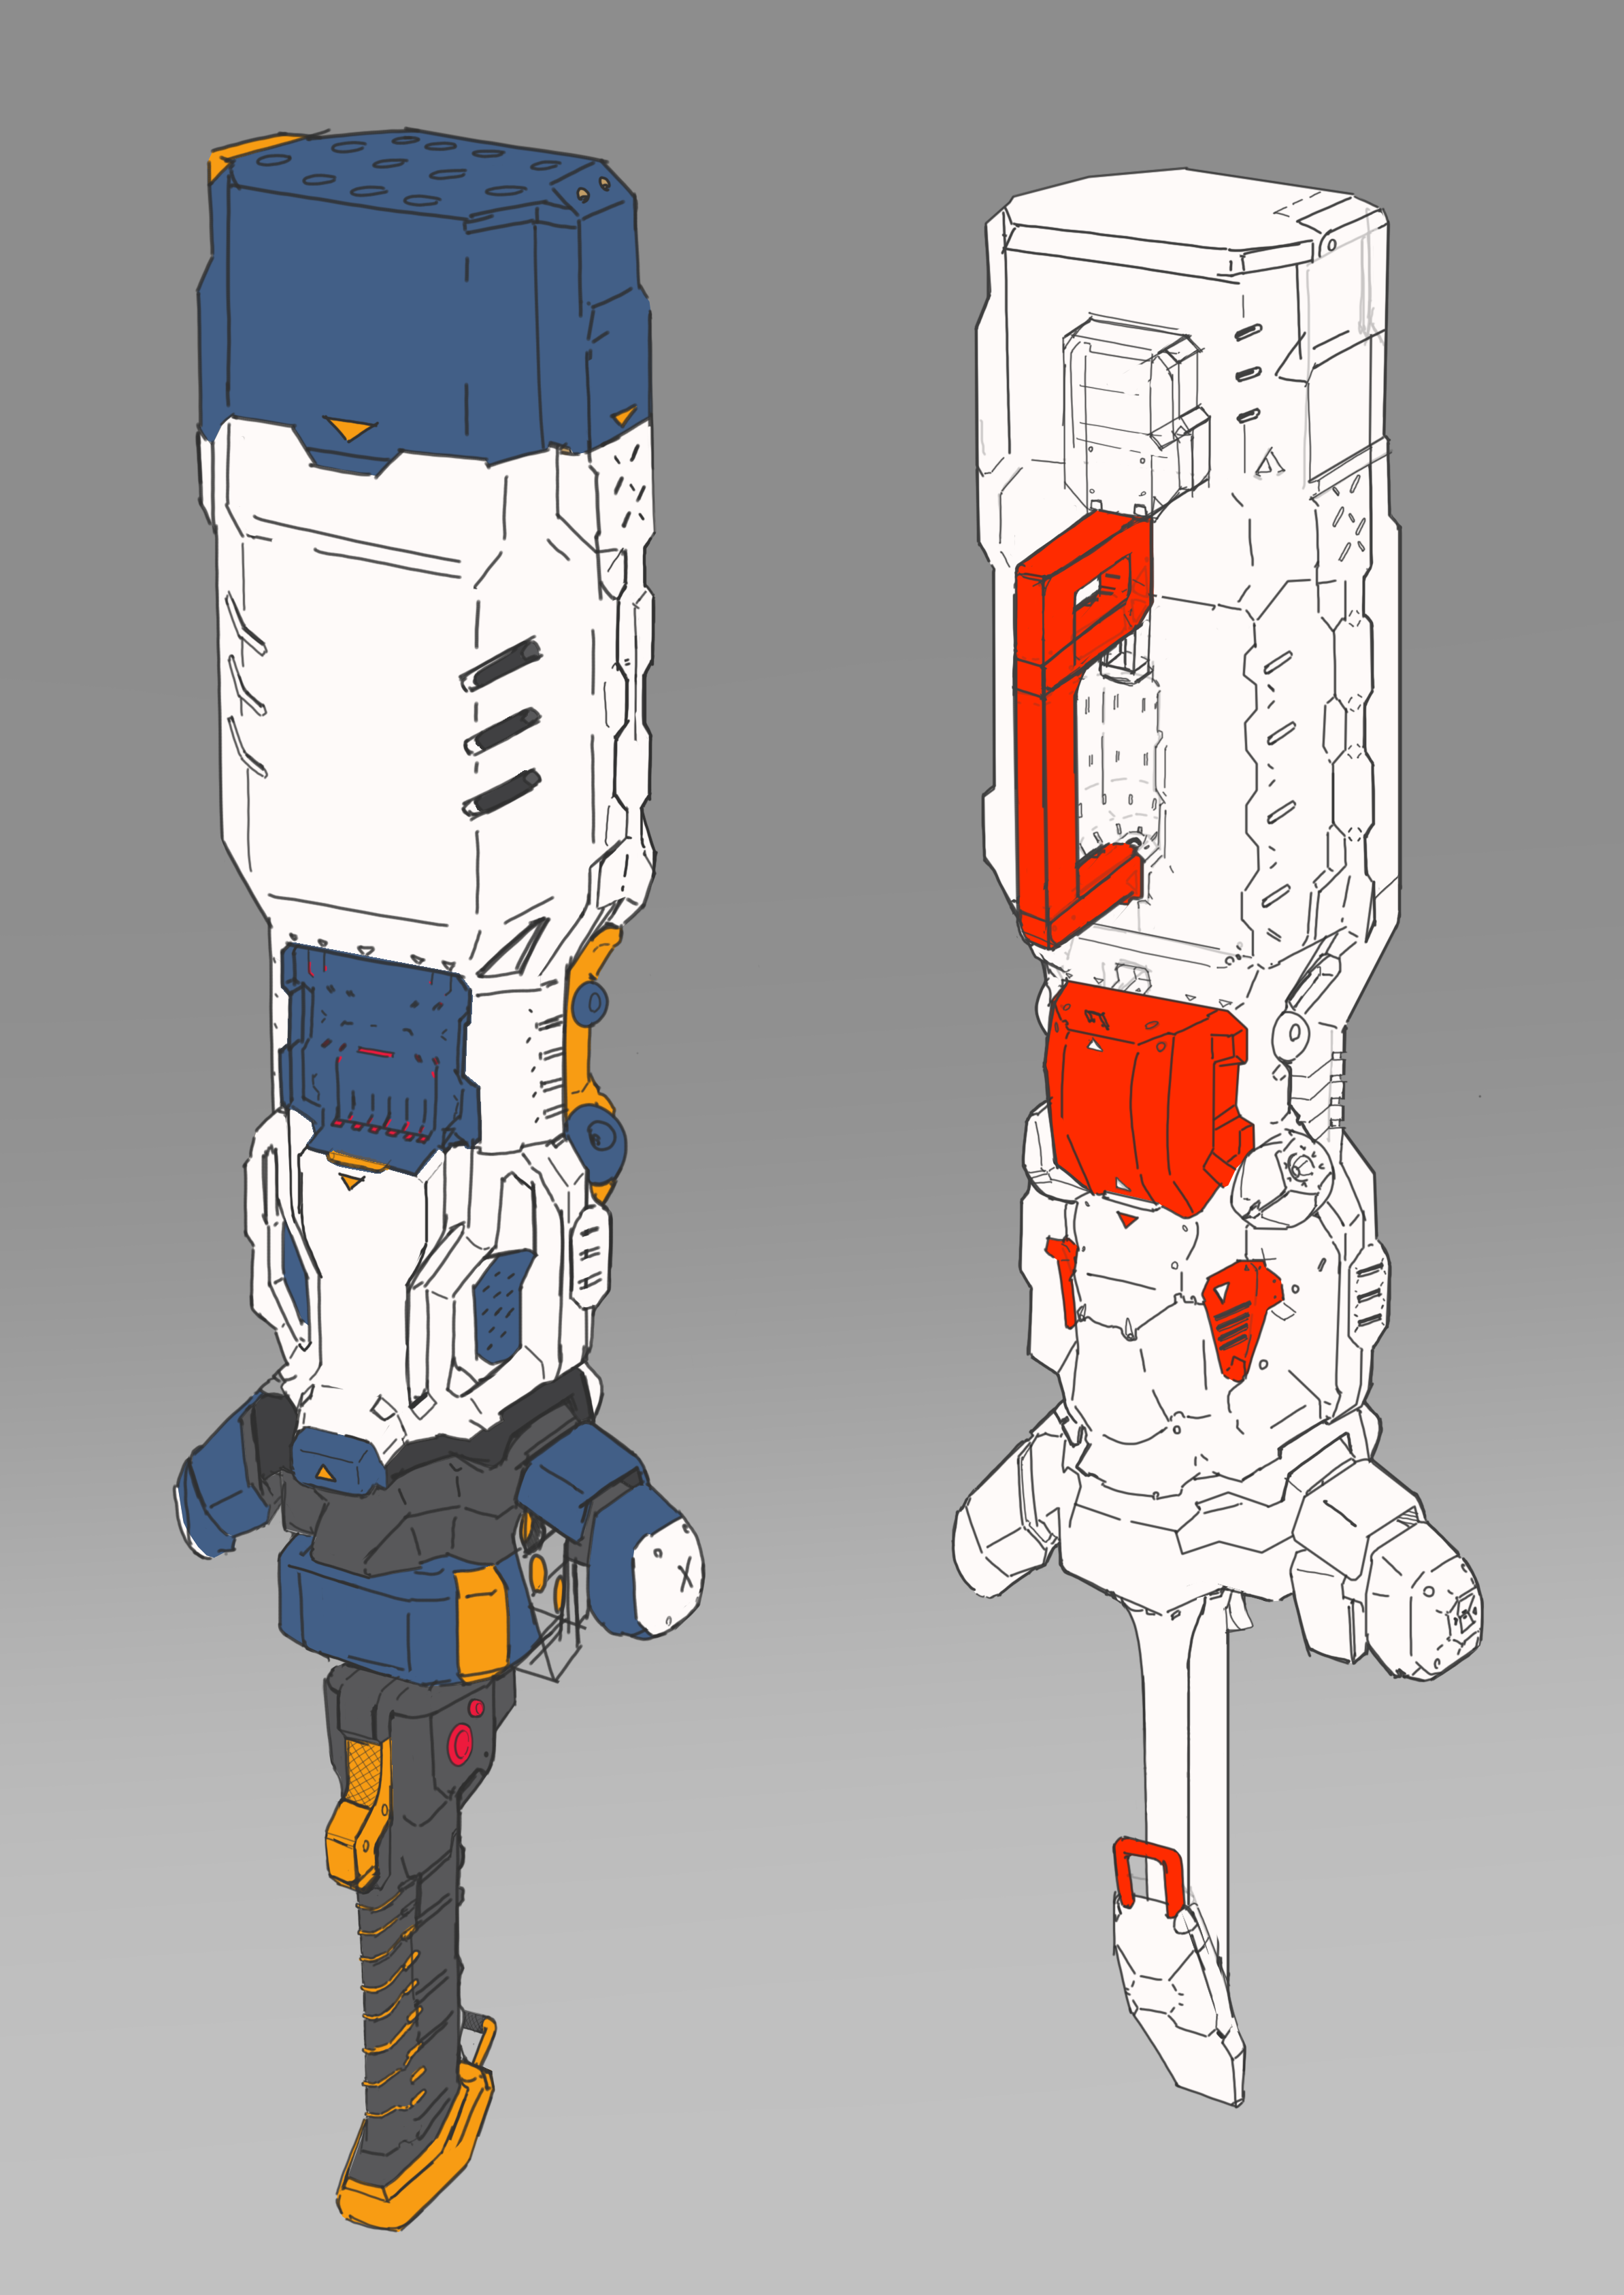
I also concentrated on the rear view of the Batter Hammer stun baton design, built a sketch ready for coloring.
Something about the simple orange-white color palette reminds me of tic-tacs…
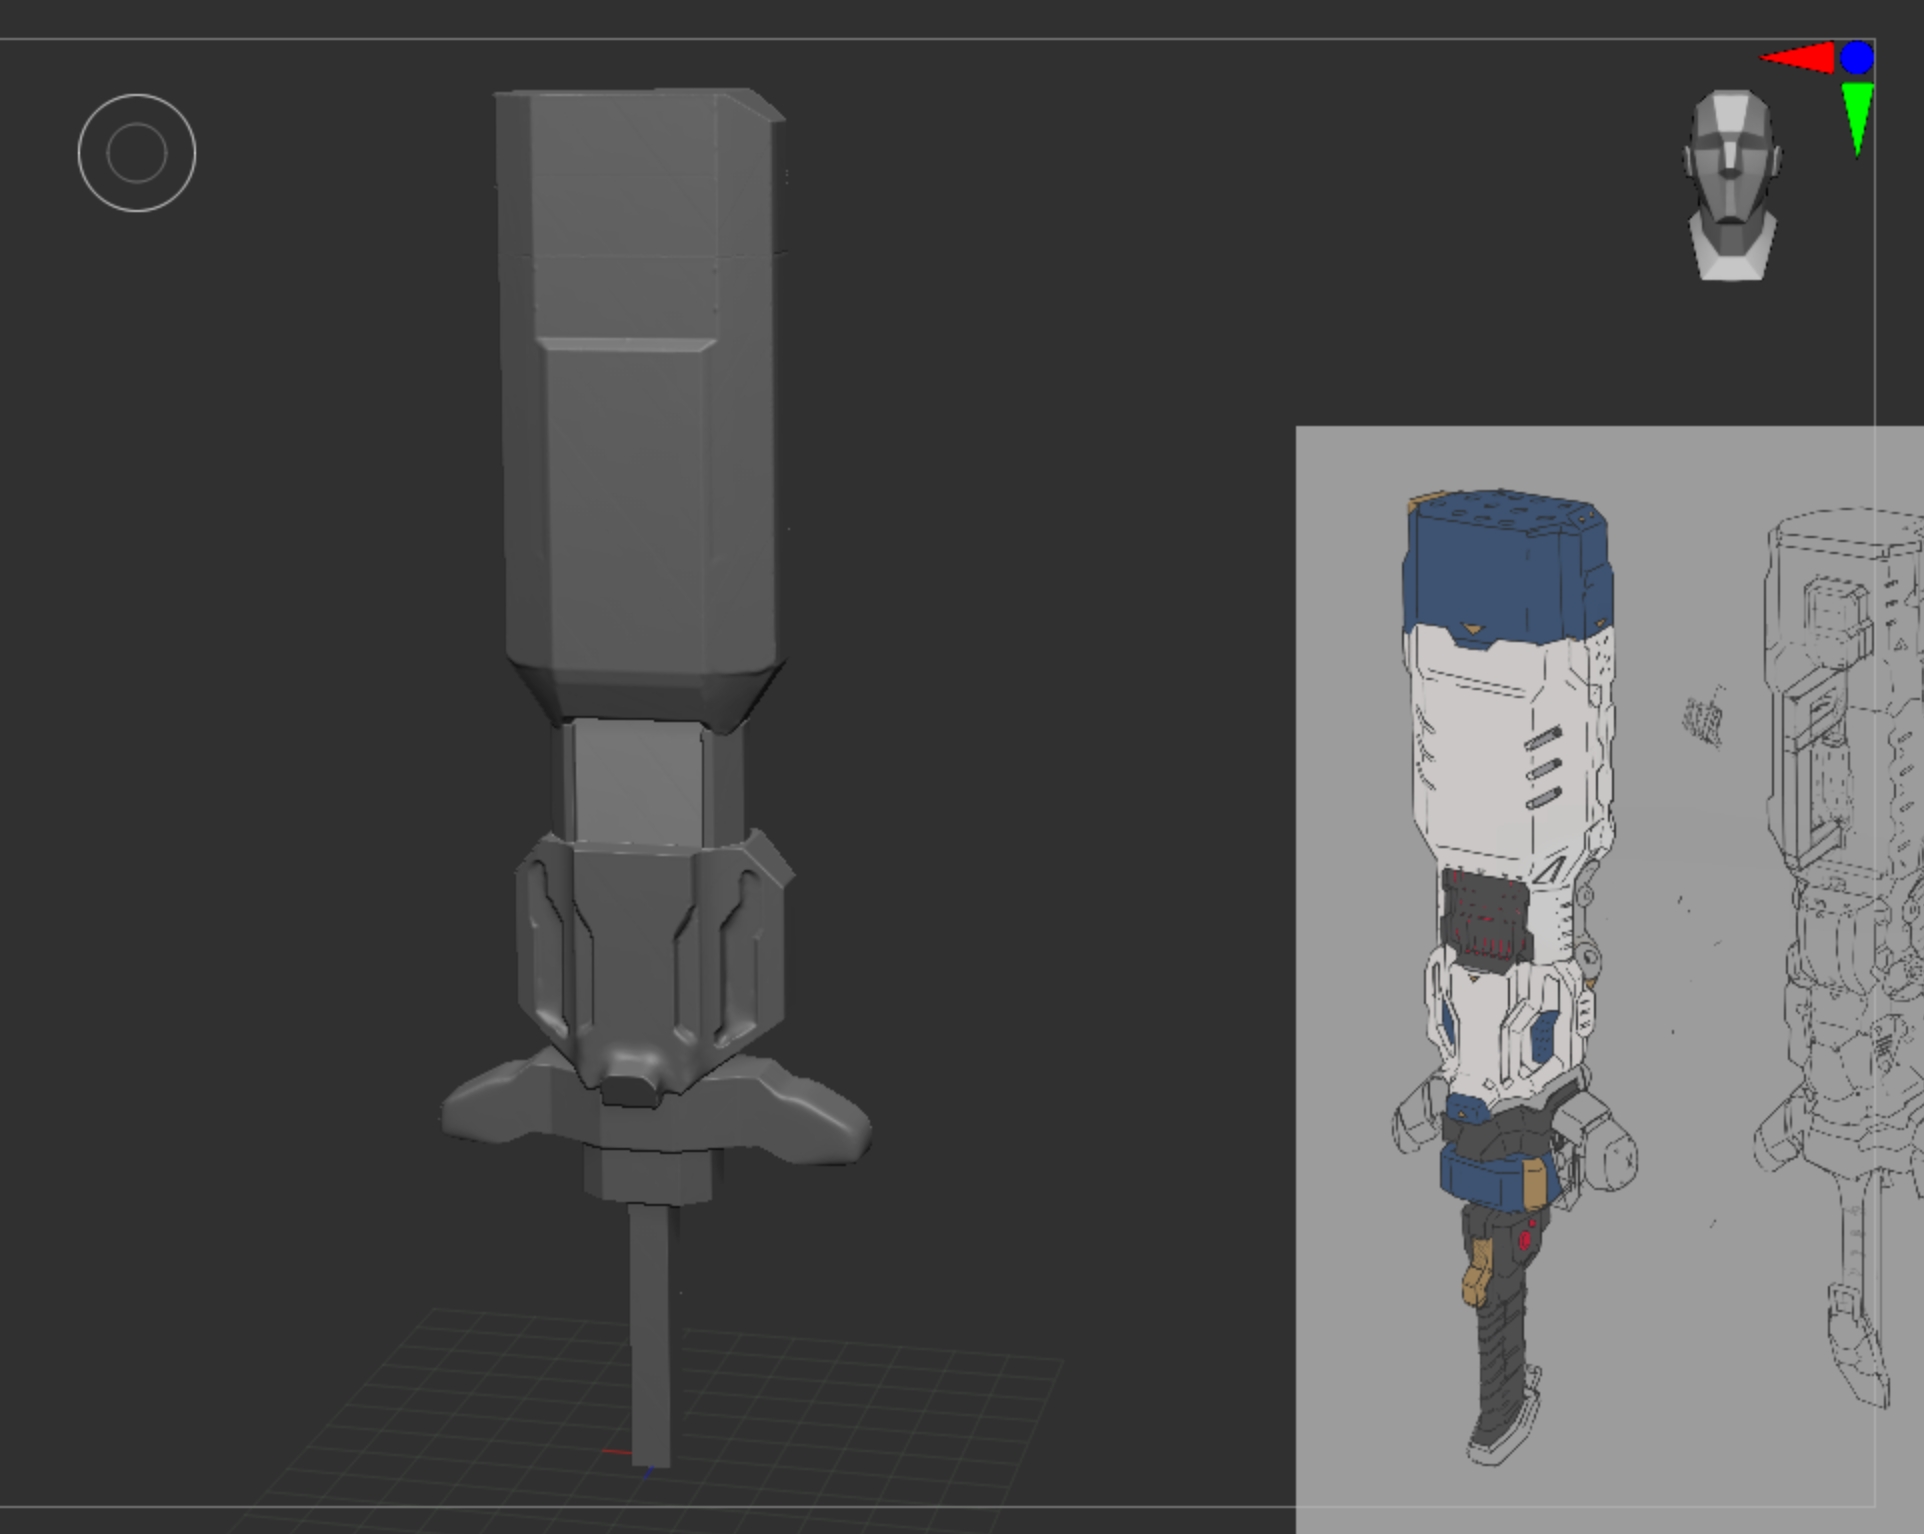
I started ZBrushing this design in a quick 1.5 hour session, needs a lot more work… pretty rough…
But not sure if I should continue pursuing this project or take a breather and go for a new project now entirely.